English
Integrating with WordPress
A hands-on guide and example to integrate WordPress with Logto.

Sijie
Developer
Developer
Stop wasting weeks on user auth
Launch secure apps faster with Logto. Integrate user auth in minutes, and focus on your core product.
Get started

This guide will walk you through the process of integrating Logto with WordPress using the OIDC plugin. But first, let's take a look at the user experience once the integration is complete.
The sign-in process with Logto integration
- The user accesses the WordPress site's login page, which is
[SITE URL]/wp-login.phpby default, and there is a sign in by OIDC button. - The user clicks the button, and is redirected to the Logto's sign in page with your customized sign in experience.
- The user choose a sign in method, and Logto will authenticate the user.
- Once the user is authenticated, Logto will redirect the user back to the WordPress site.
- WordPress will create a new user account or sign in the existing user account, and redirect the user to the previous page.
Now that we've seen the end result of integrating Logto with WordPress, let's get our hands dirty and dive into the integration process.
Prerequisites
Before we begin, make sure you have the following:
- A WordPress site: A fully operational WordPress site is required. Ensure administrative access to manage plugins and configure settings.
- A Logto instance: Create a new Logto instance by visiting the Logto Console, or host your own instance by following the installation guide.
Integration Steps
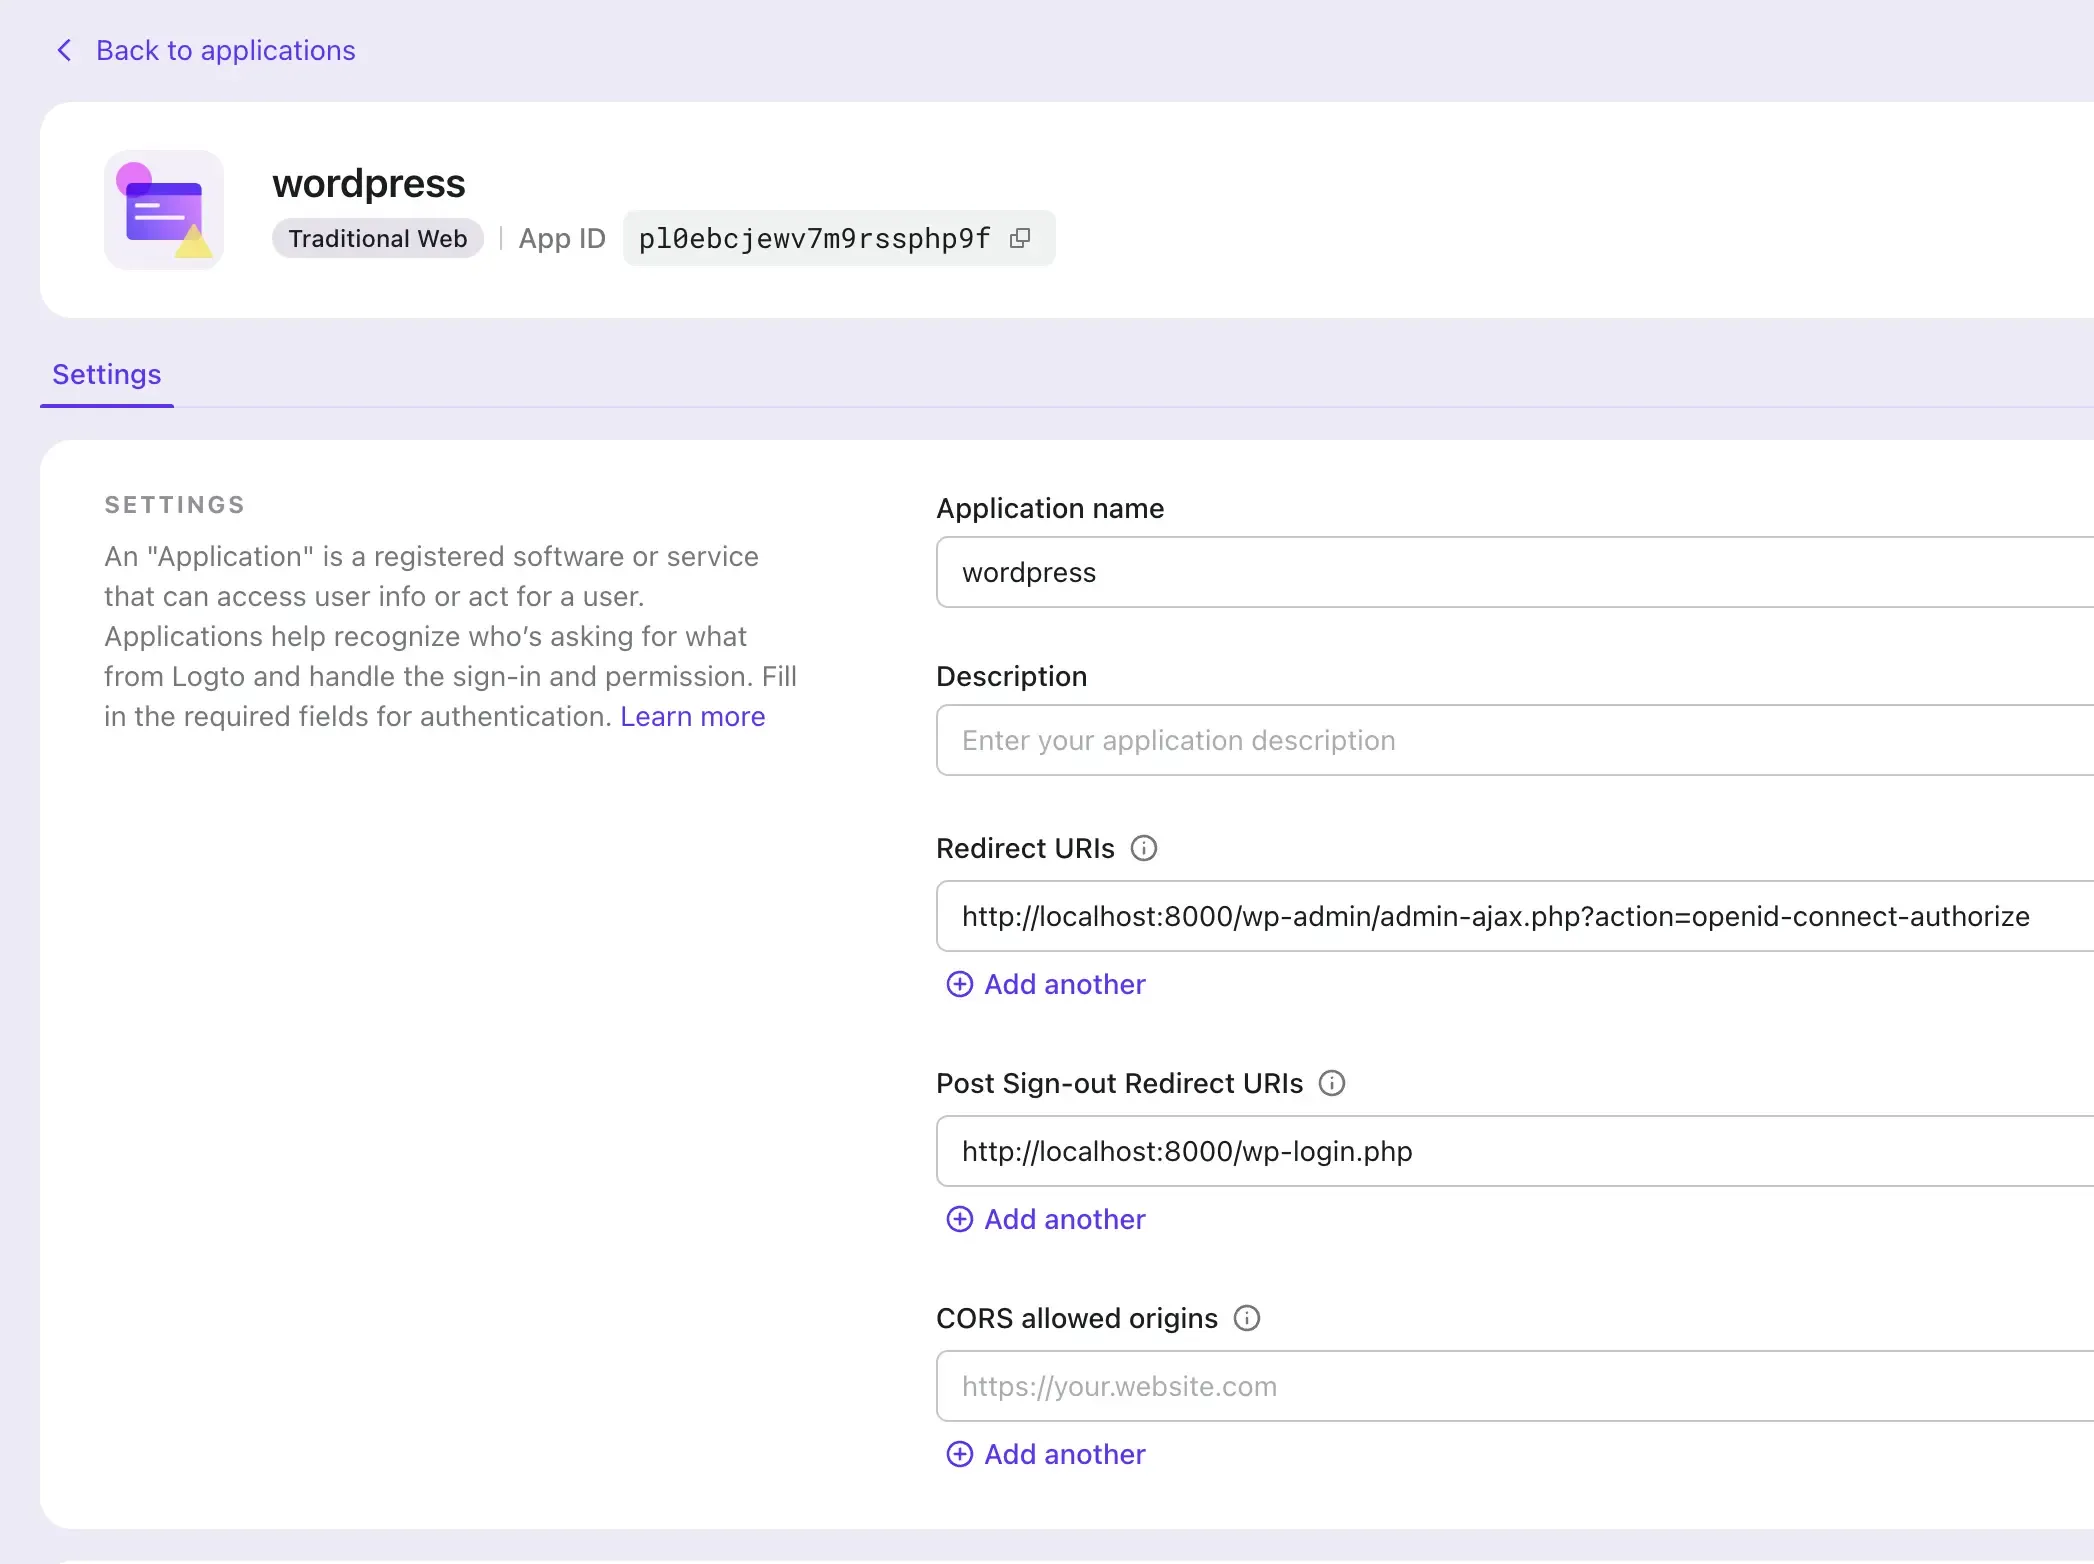
Step 1: Create a Logto application
- Visit the Logto Console.
- Navigate to "Applications" and click "Create application".
- Click "Create app without framework".
- Select "Traditional Web" as the application type.
- Name your application and click "Create application".
Step 2: Install the plugin
- Log in to your WordPress site.
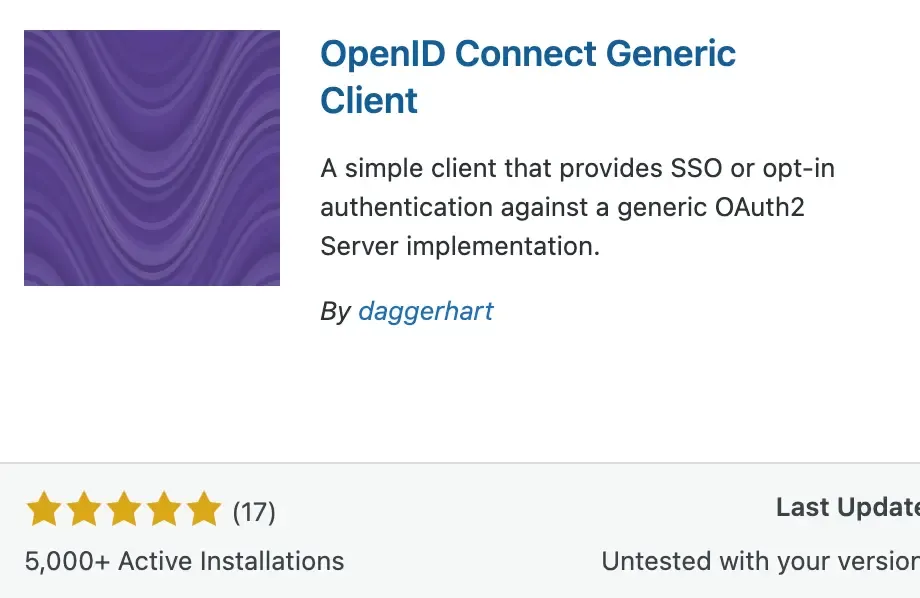
- Navigate to "Plugins" and click "Add New".
- Search for "OpenID Connect Generic" and install the plugin by daggerhart.
- Activate the plugin.
Step 3: Configure the plugin
- Open the plugin settings by navigating to "Settings" > "OpenID Connect Generic".
- Fill in the following fields:
- Client ID: The app ID of your Logto application.
- Client Secret: The app secret of your Logto application.
- OpenID Scope: Enter
email profile openid offline_access. - Login Endpoint URL: The authorization endpoint URL of your Logto application, which is
https://[tenant-id].logto.app/oidc/auth, you can click "show endpoint details" in the Logto application page to get the URL. - Userinfo Endpoint URL: The userinfo endpoint URL of your Logto application, which is
https://[tenant-id].logto.app/oidc/me. - Token Validation Endpoint URL: The token validation endpoint URL of your Logto application, which is
https://[tenant-id].logto.app/oidc/token. - End Session Endpoint URL: The end session endpoint URL of your Logto application, which is
https://[tenant-id].logto.app/oidc/session/end. - Identity Key: The unique key in the ID token that contains the user's identity, it can be
emailorsub, depending on your configuration. - Nickname Key: The key in the ID token that contains the user's nickname, you can set it to
suband change it later.

Step 4: Configure the application
- In the plugin settings, scroll down to the "Notes" section, and copy the "Redirect URI" value.
- In the Logto Console, navigate to your application's settings.
- Add the copied "Redirect URI" value to the "Redirect URIs" field.
Step 5: Test the integration
- Log out of your WordPress site.
- Visit the WordPress login page and click the "Sign in with Logto" button.
- You will be redirected to the Logto sign-in page.
- Sign in with your Logto account.
- You will be redirected back to the WordPress site and logged in automatically.
Final steps
Congratulations! You have successfully integrated Logto with WordPress.
To further customize the integration, you can explore additional features in the plugin's setting page, such as linking existing users, customizing the login button, using SSO mode, and more.