Add Logto auth to your Next.js application using Server Actions
Integrates Logto auth to your Next.js application using Server Actions.

Developer

Server Actions presents a refreshed approach to create robust web applications without the need for traditional REST APIs. We've previously discussed this in our article.
Today, we're thrilled to announce the official support for Server Actions in our Next.js SDK, despite it being an experimental feature.
For a quick overview, check out this sample and follow along as we detail how to integrate Logto with Server Actions in this guide.
Prerequisites
To get started, make sure you have the following:
- A running Logto instance or access to a Logto Cloud account.
- A Next.js project with Server Actions feature enabled.
Configure Logto
If you are self-hosting Logto, refer to the Logto "Get started" documentation to set up your Logto instance.
Open Logto Console by entering the URL https://cloud.logto.io/ if you are using Logto Cloud, or the endpoint you have set up for self-hosting.
Next, navigate to the "Applications" tab and click on "Create application".
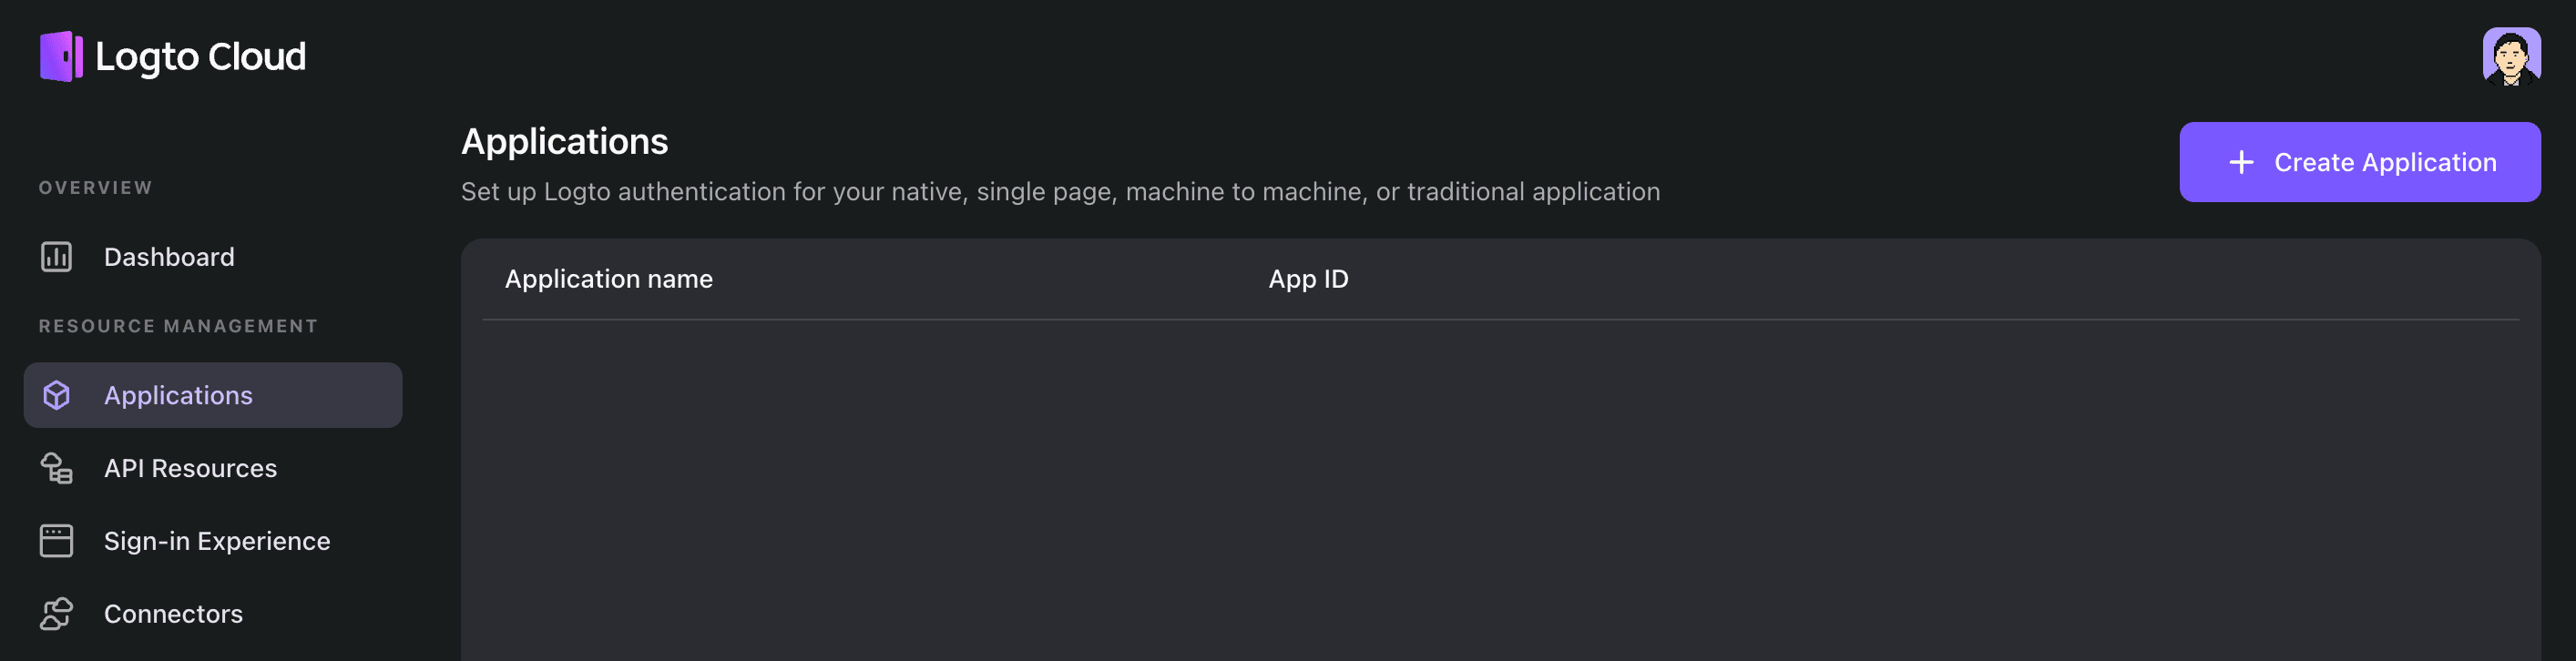
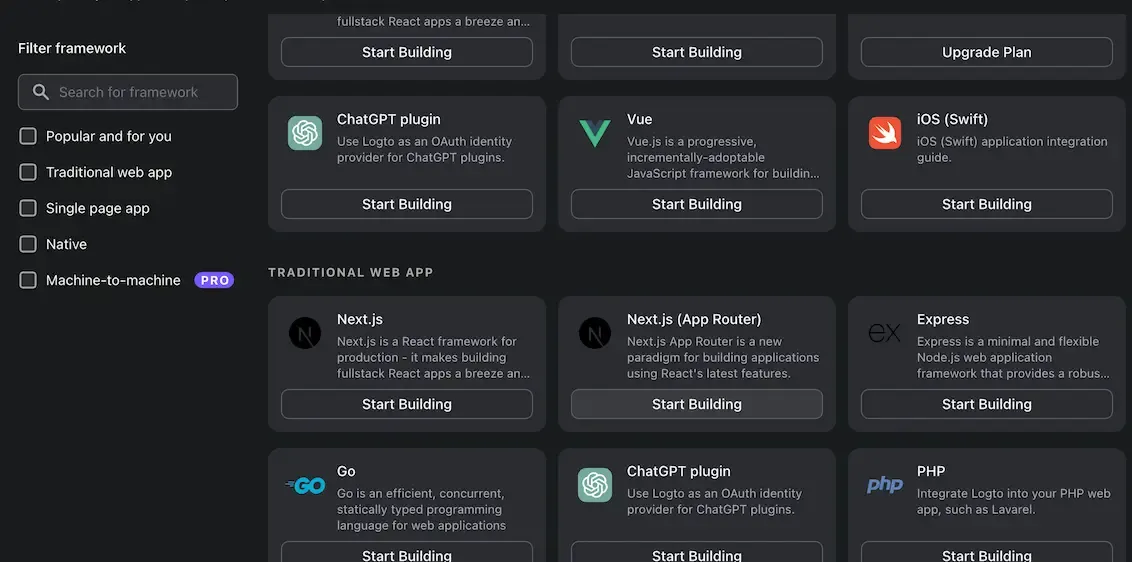
In the modal that appears, choose "Next.js (App Router)" and provide an application name, such as "Next.js App". Then click on "Create application”.
You will be directed to a tutorial page in Logto. Click on "Finish and done" to proceed to the Application details page.
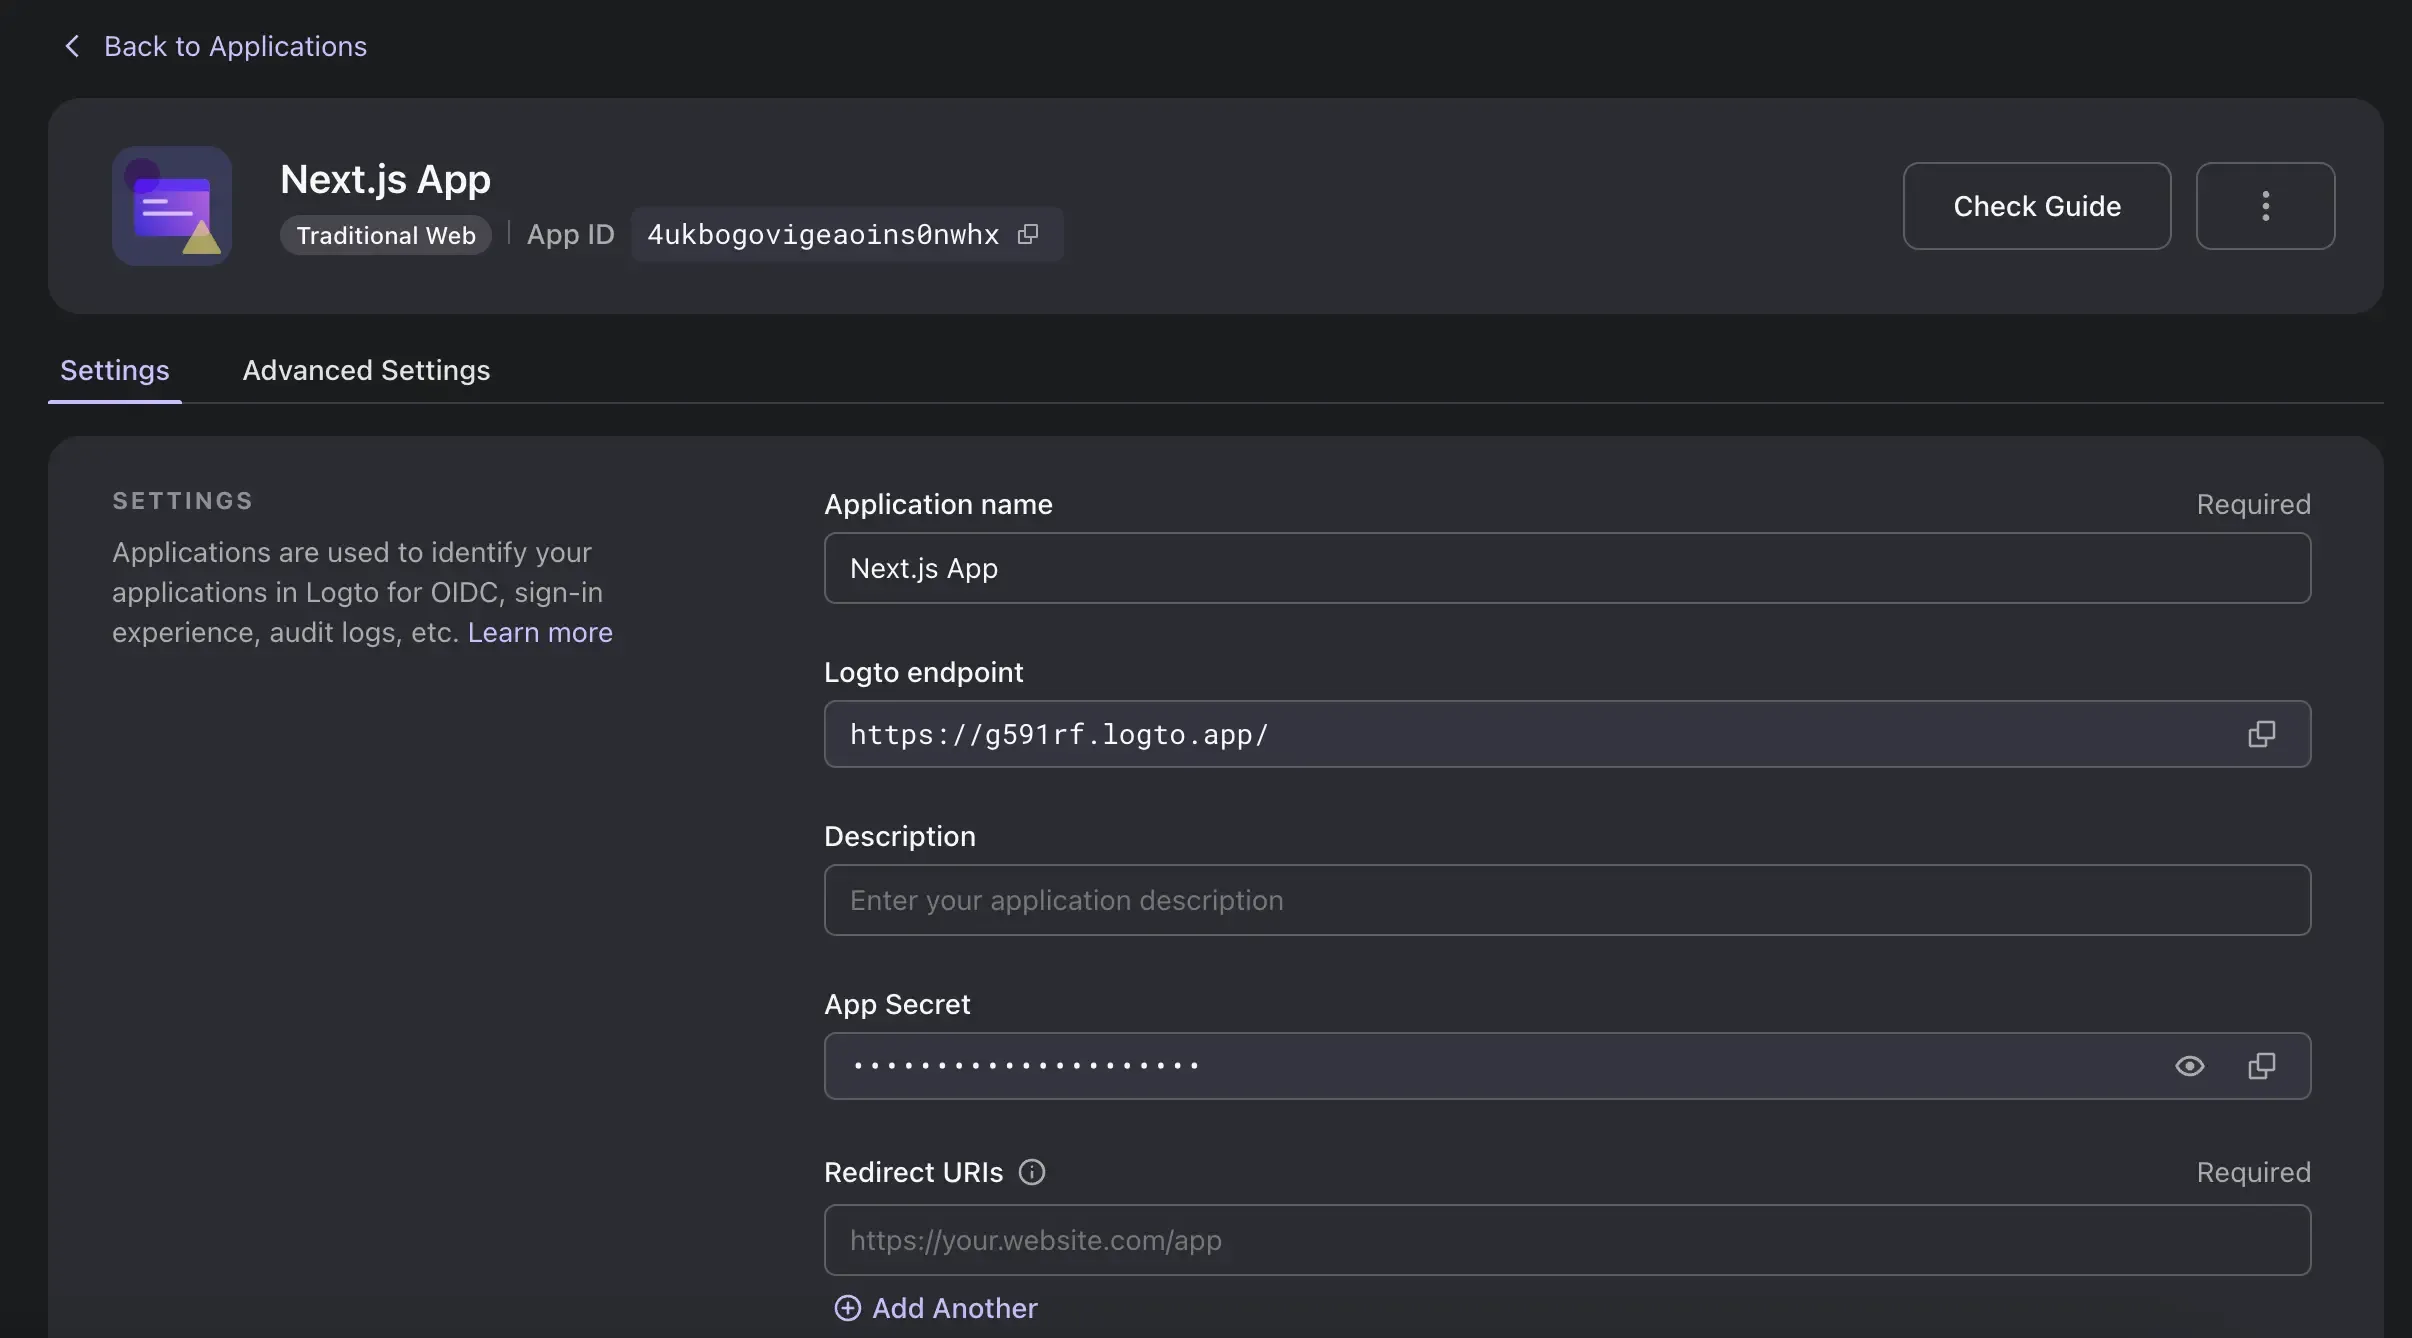
In the "Redirect URIs" section, enter the following value:
For example, if you are hosting Next.js on http://localhost:3000, the value should be:

Click on the "Save Changes" button at the bottom. Once successful, keep this page open as it will be useful for the Next.js configuration.
Set up Next.js application
Ensure you have a project with the latest version of Next.js. If you don't have one yet, you could follow the offical installation guide to create one.
At the time of writing this guide, the feature is experimental and requires activation in the next.config.js
Define the Logto library
Start by install the @logto/next module using npm as follows:
You can alse use yarn or pnpm.
Then let's create some functions as "server actions”, create the new file libraries/logto.ts:
In this file, we export four functions for authentication purposes. Note the first line, "use server" indicates that the code in the file can only run on the server side. We use "next/headers" to manage cookie-based sessions.
- Reference for
"user server": https://react.dev/reference/react/use-server - Reference for using
"next/headers"to manage cookies: https://nextjs.org/docs/api-reference/next/headers
The above functions we exported can be called directly from the client side React component. That is the main advantage of using Server Actions. Let's go to the next chapter to see how to use these functions.
Implement sign in and sign out buttons
With the authentication functions in place, let's construct the page. We'll create two client components to initiate the sign in and out actions.
Sign in
/app/sign-in.tsx:
Here we import the signIn function that was just defined in the previous chapter. Although the code is executed on the server side, this function can still be directly invoked by the <button> component when a user clicks the sign-in button. By doing this, we eliminate the need to write any REST API to handle the sign-in process. In fact, Next.js handles the "POST" request dispatcher details for us. Upon receiving the redirectUrl, we can call router.push to redirect to the Logto sign-in page.
Sign out
/app/sign-out.tsx:
The sign-out process is similar to the sign-in process.
Prepare a callback page
As a standard OIDC identity provider, Logto redirects users to a callback URL after authentication. We must, therefore, prepare a callback page to handle the sign-in result.
/app/callback/page.tsx
Here we use a client component with useEffect, that makes it easy to display a “loading” page for better user experience.
Display user context and secure page
Now, let's make a minimal home page to exhibit the utility of the Logto SDK. If needed, protect any resource from unknown users by checking the isAuthenticated value and redirecting to the sign-in page or showing error messages.
app/page.tsx
As you can observe, this is a server component that obviates the need for useEffect and managing complex state changes.
Conclusion
Server actions offer a streamlined and straightforward way to implement authentication compared to traditional Next.js applications that rely on REST APIs.
The entire code sample can be found in this repository: https://github.com/logto-io/js/tree/master/packages/next-server-actions-sample
Why not give Logto Cloud a try and experience the ease in action?