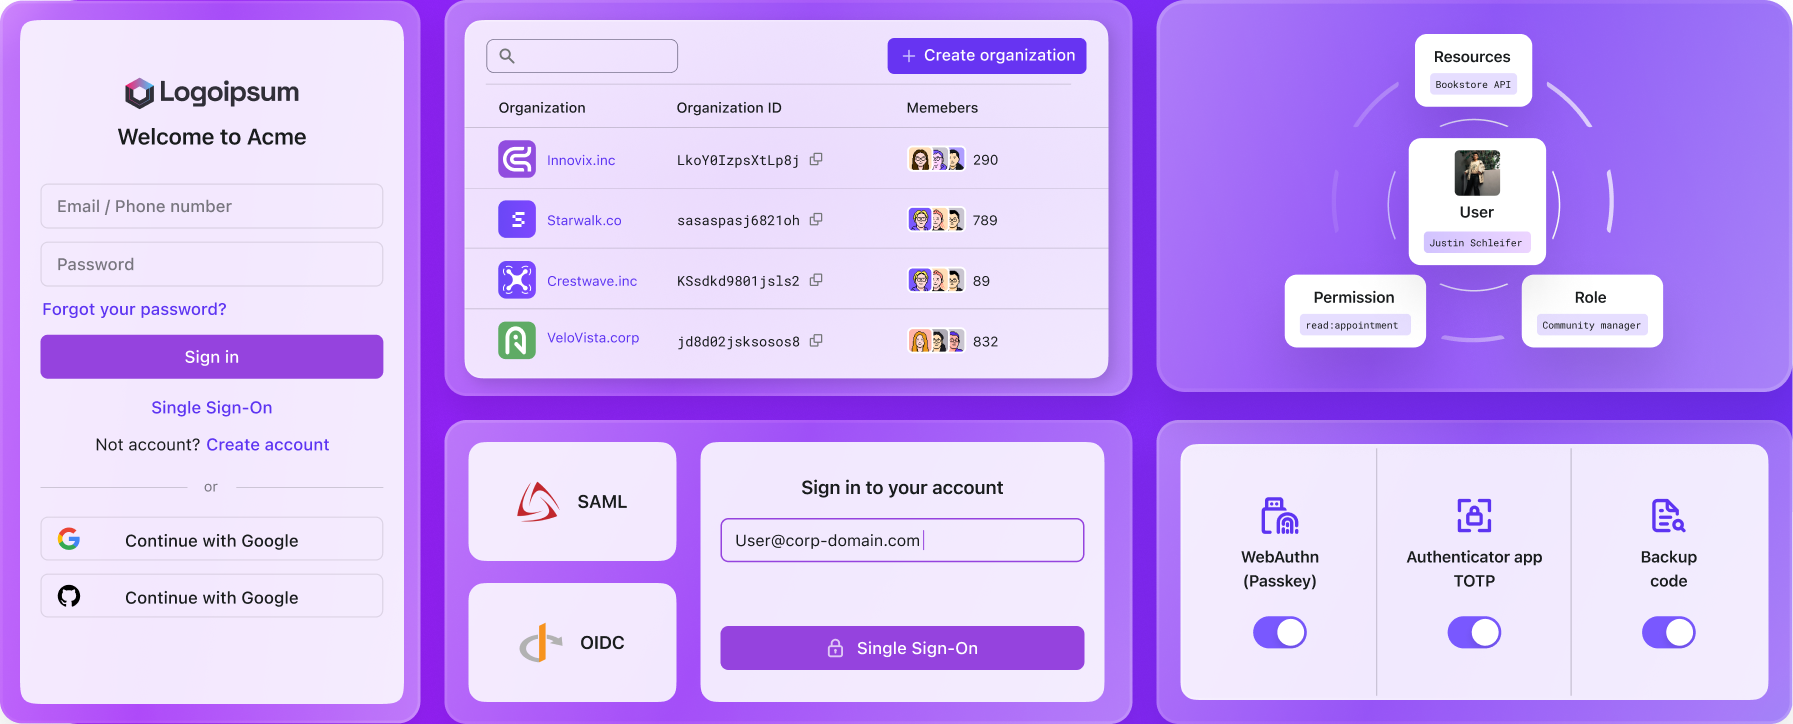
Logto is a modern Auth0 alternative for building customer identity infrastructure with minimal effort. It supports various sign-in methods, including username, email, phone number, and popular social sign-ins like Google and GitHub.
ASP.NET Core is a cross-platform, high-performance, open-source framework for building modern, cloud-based, Internet-connected applications.
In this tutorial, we will show you how to build a user authentication flow with ASP.NET Core by integrating Logto SDK. The tutorial uses C# as the programming language.
A Logto account. If you don't have one, you can sign up for free.
A .NET development environment and an ASP.NET Core project. If you don't have one, you can install .NET and follow the ASP.NET tutorials to set up your project.
In the left navigation bar, click on Applications.
Click on Create application.
In the opened page, find the "Traditional web app" section and locate the "ASP.NET Core" card.
Click on Start building, and input the name of your application.
Click on Create.
Then you should see an interactive tutorial that guides you through the process of integrating Logto SDK with your ASP.NET Core application. The following content can be a reference for future use.
Add the following URI to the Redirect URIs list in the Logto application details page:
To sign-in with Logto, you can use the ChallengeAsync method:
The ChallengeAsync method will redirect the user to the Logto sign-in page.
The RedirectUri property is used to redirect the user back to your web application after authentication. Note it is different from the redirect URI you configured in the Logto application details page:
The redirect URI in the Logto application details page is the URI that Logto will redirect the user back to after the user has signed in.
The RedirectUri property is the URI that will be redirected to after necessary actions have been taken in the Logto authentication middleware.
The order of the actions is 1 -> 2. For clarity, let's call the redirect URI in the Logto application details page the Logto redirect URI and the RedirectUri property the application redirect URI.
The Logto redirect URI has a default value of /Callback, which you can leave it as is if there's no special requirement. If you want to change it, you can set the CallbackPath property for LogtoOptions:
Remember to update the value in the Logto application details page accordingly.
Add the following URI to the Post sign-out redirect URIs list in the Logto application details page:
To sign-out with Logto, you can use the SignOutAsync method:
The SignOutAsync method will clear the authentication cookie and redirect the user to the Logto sign-out page.
The RedirectUri property is used to redirect the user back to your web application after sign-out. Note it is different from the post sign-out redirect URI you configured in the Logto application details page:
The post sign-out redirect URI in the Logto application details page is the URI that Logto will redirect the user back to after the user has signed out.
The RedirectUri property is the URI that will be redirected to after necessary actions have been taken in the Logto authentication middleware.
The order of the actions is 1 -> 2. For clarity, let's call the post sign-out redirect URI in the Logto application details page the Logto post sign-out redirect URI and the RedirectUri property the application post sign-out redirect URI.
The Logto post sign-out redirect URI has a default value of /SignedOutCallback, which you can leave it as is if there's no special requirement. If you want to change it, you can set the SignedOutCallbackPath property for LogtoOptions:
Remember to update the value in the Logto application details page accordingly.