Microsoft Entra ID also known as Azure Active Directory (Azure AD) is a comprehensive identity and access management solution that gives you a robust set of capabilities to manage users and groups. Many organizations use Azure AD to manage their users and groups, and it is also a popular choice for single sign-on (SSO) integration. Auzre AD supports both OpenID Connect (OIDC) and Security Assertion Markup Language (SAML) protocols for SSO integration. In this tutorial, we will show you how to integrate your Logto application with Azure SAML SSO first.
Before we start, make sure you have an active Azure account. If you don't have one, you can sign up for a free Azure account here.
A Logto cloud account. If you don't have one, you are very welcome to sign up for a Logto account. Logto is free for personal use. All the features are available for dev tenants, including the SSO feature.
A well integrated Logto application is also needed. If you don't have one, please follow the integration guide to create a Logto application.
Go to the Azure portal and sign in as an administrator.
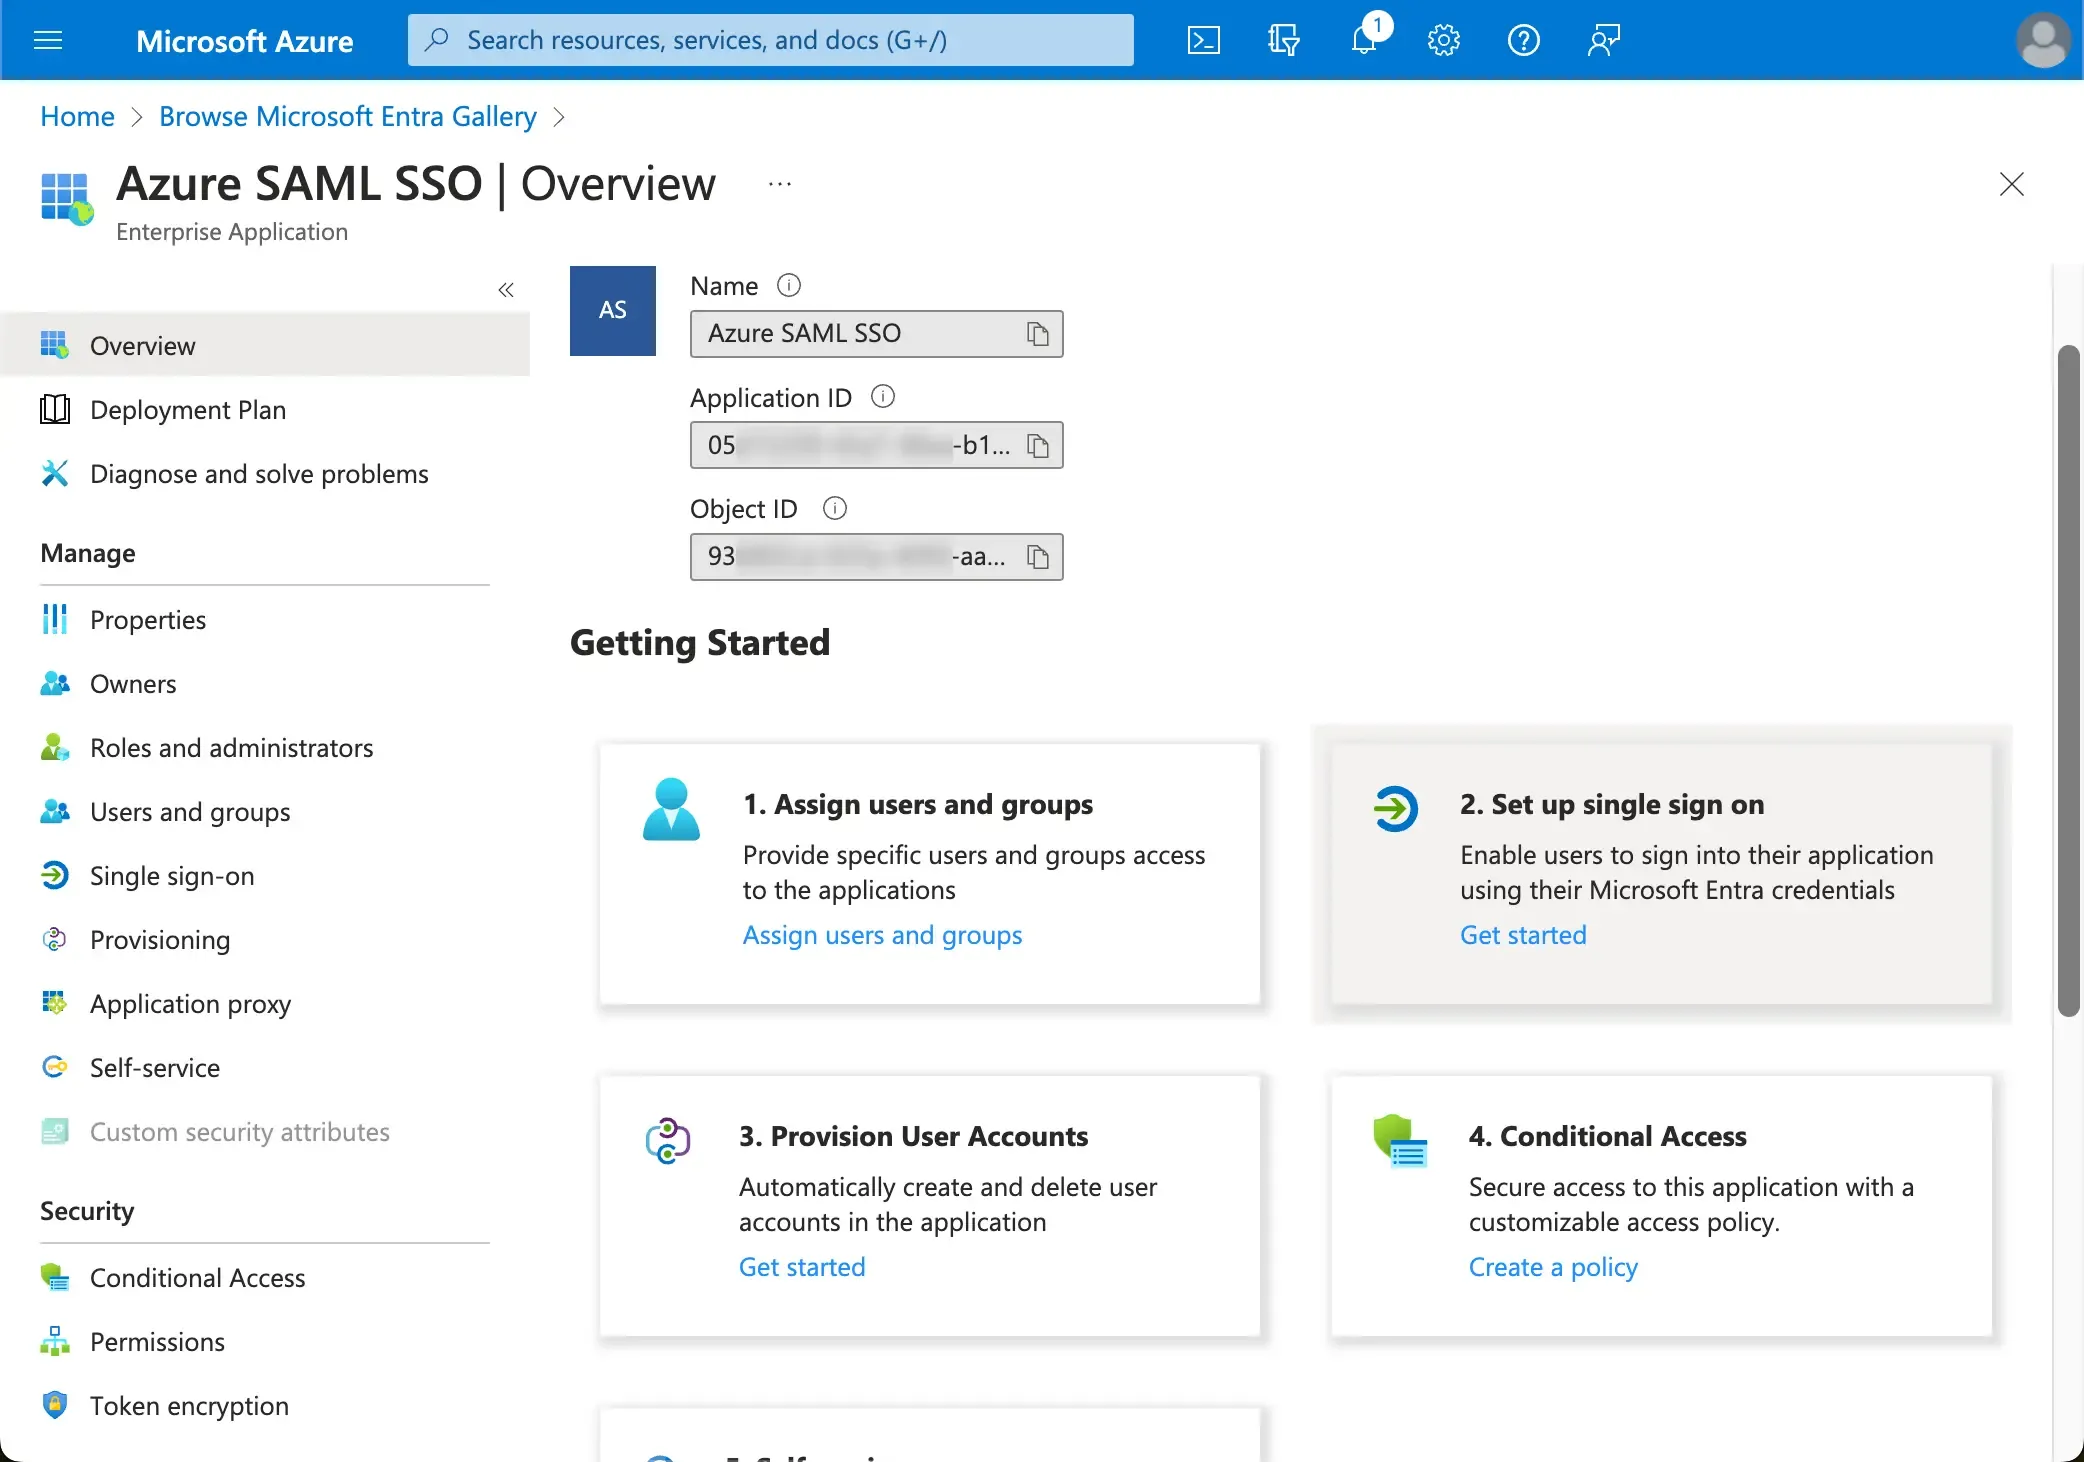
Select Microsoft Entra ID service.
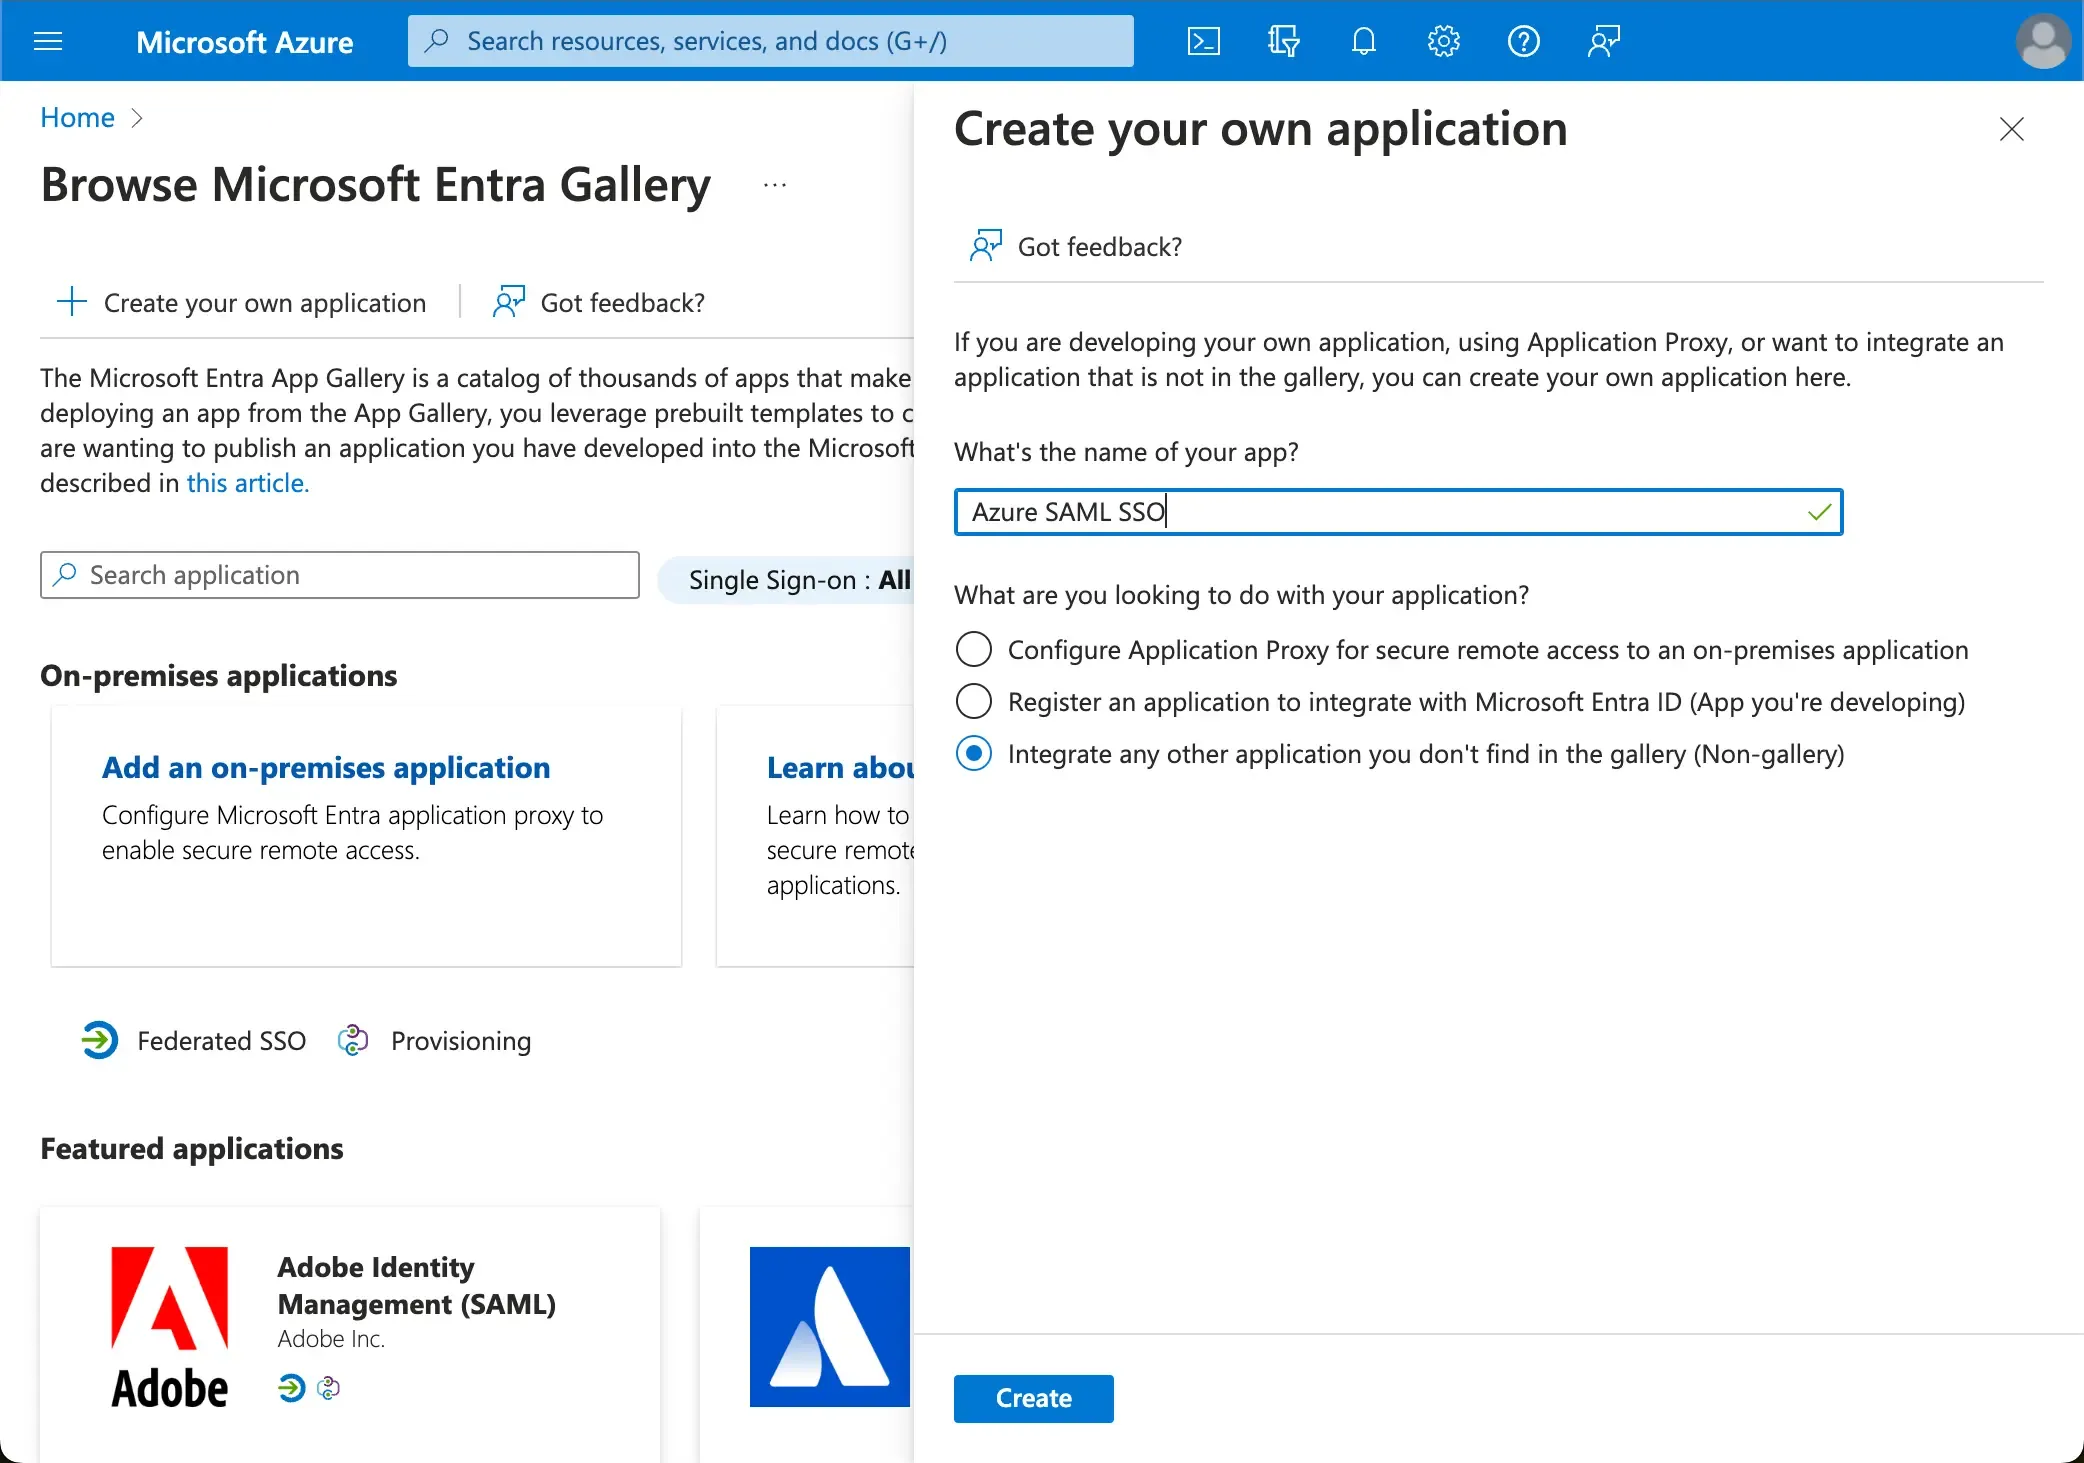
Navigate to the Enterprise applications using the side menu. Click New application, and select Create your own application on the top menu.
Enter the application name and select Integrate any other application you don't find in the gallery (Non-gallery).
Once the application is created, select Setup single sign-on > SAML to configure the SAML SSO settings.
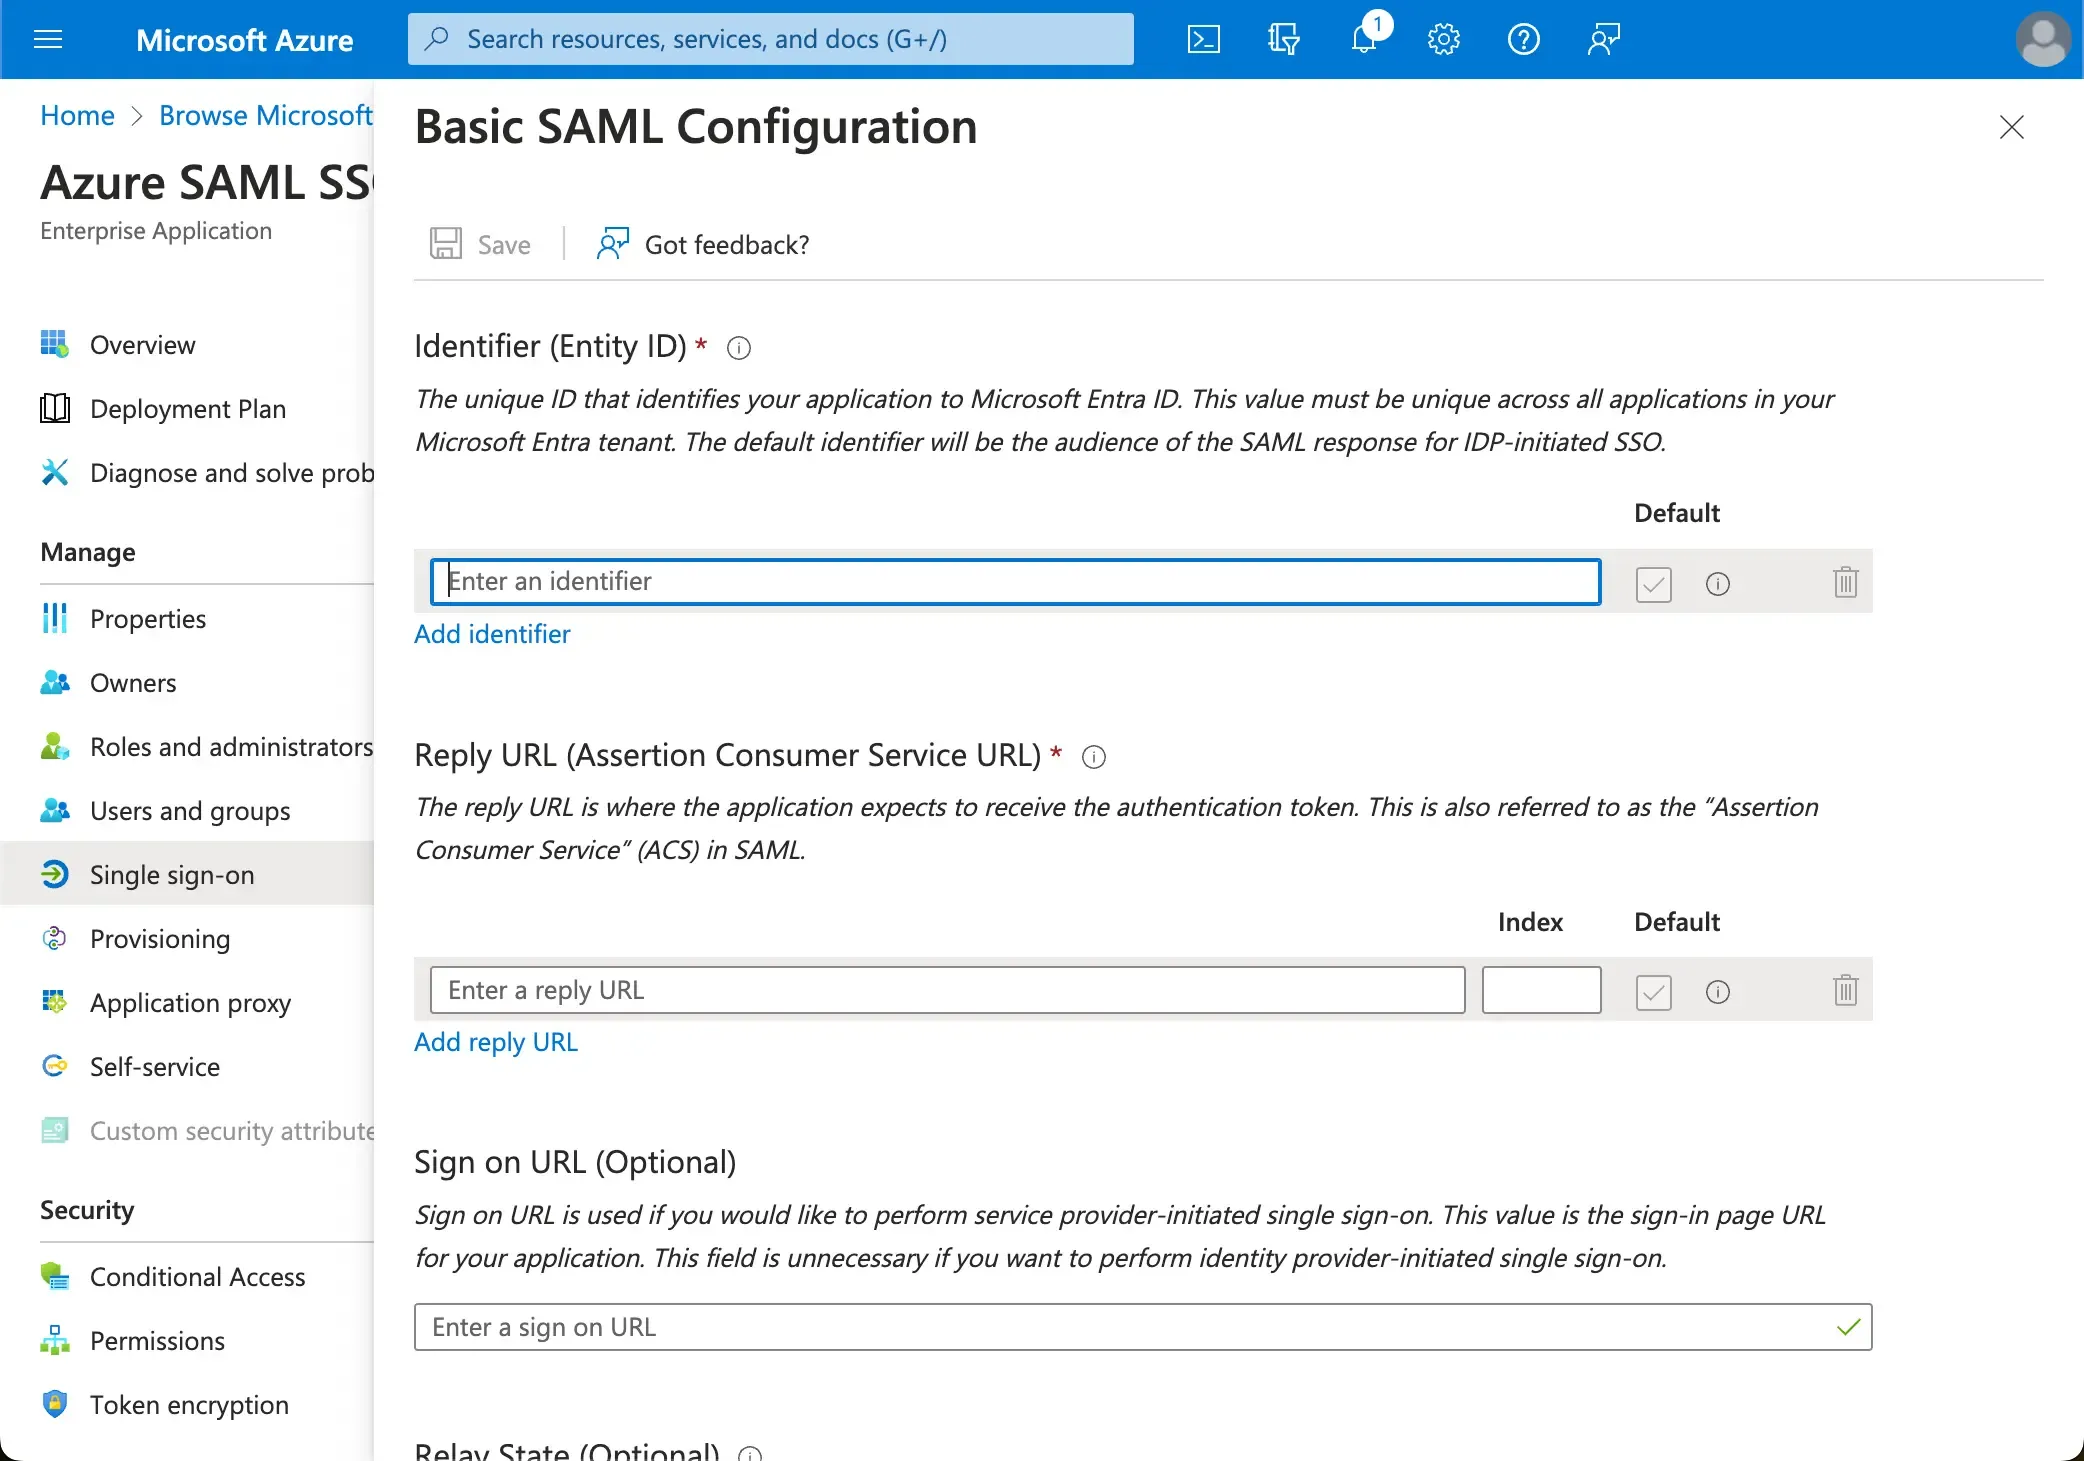
Open the first Basic SAML Configuration section and copy paste the following information from Logto.
Audience URI(SP Entity ID): It represents as a globally unique identifier for your Logto service, functioning as the EntityId for SP during authentication requests to the IdP. This identifier is pivotal for the secure exchange of SAML assertions and other authentication-related data between the IdP and Logto.
ACS URL: The Assertion Consumer Service (ACS) URL is the location where the SAML assertion is sent with a POST request. This URL is used by the IdP to send the SAML assertion to Logto. It acts as a callback URL where Logto expects to receive and consume the SAML response containing the user's identity information.
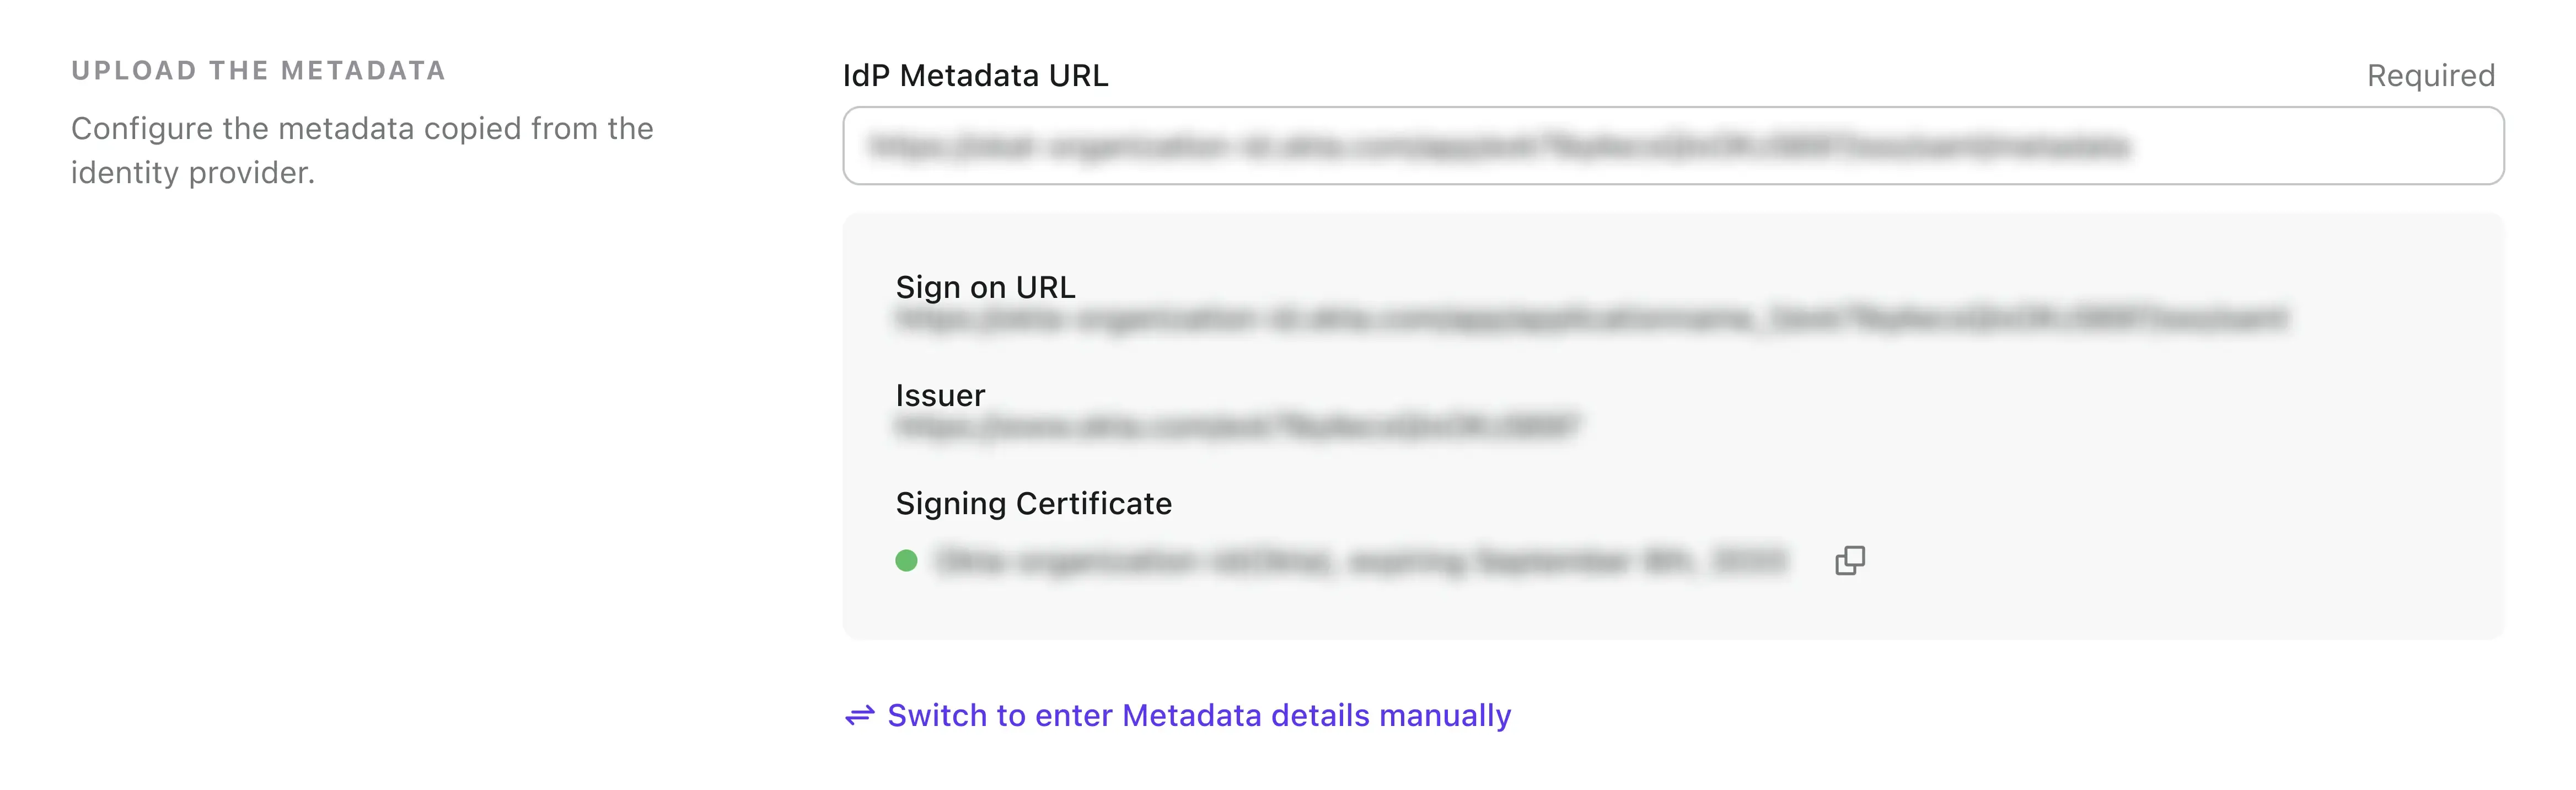
Once the SAML SSO application is created in Azure, you will provide the SAML IdP metadata configuration to Logto. The metadata configuration contains the SAML IdP's public certificate and the SAML SSO endpoint.
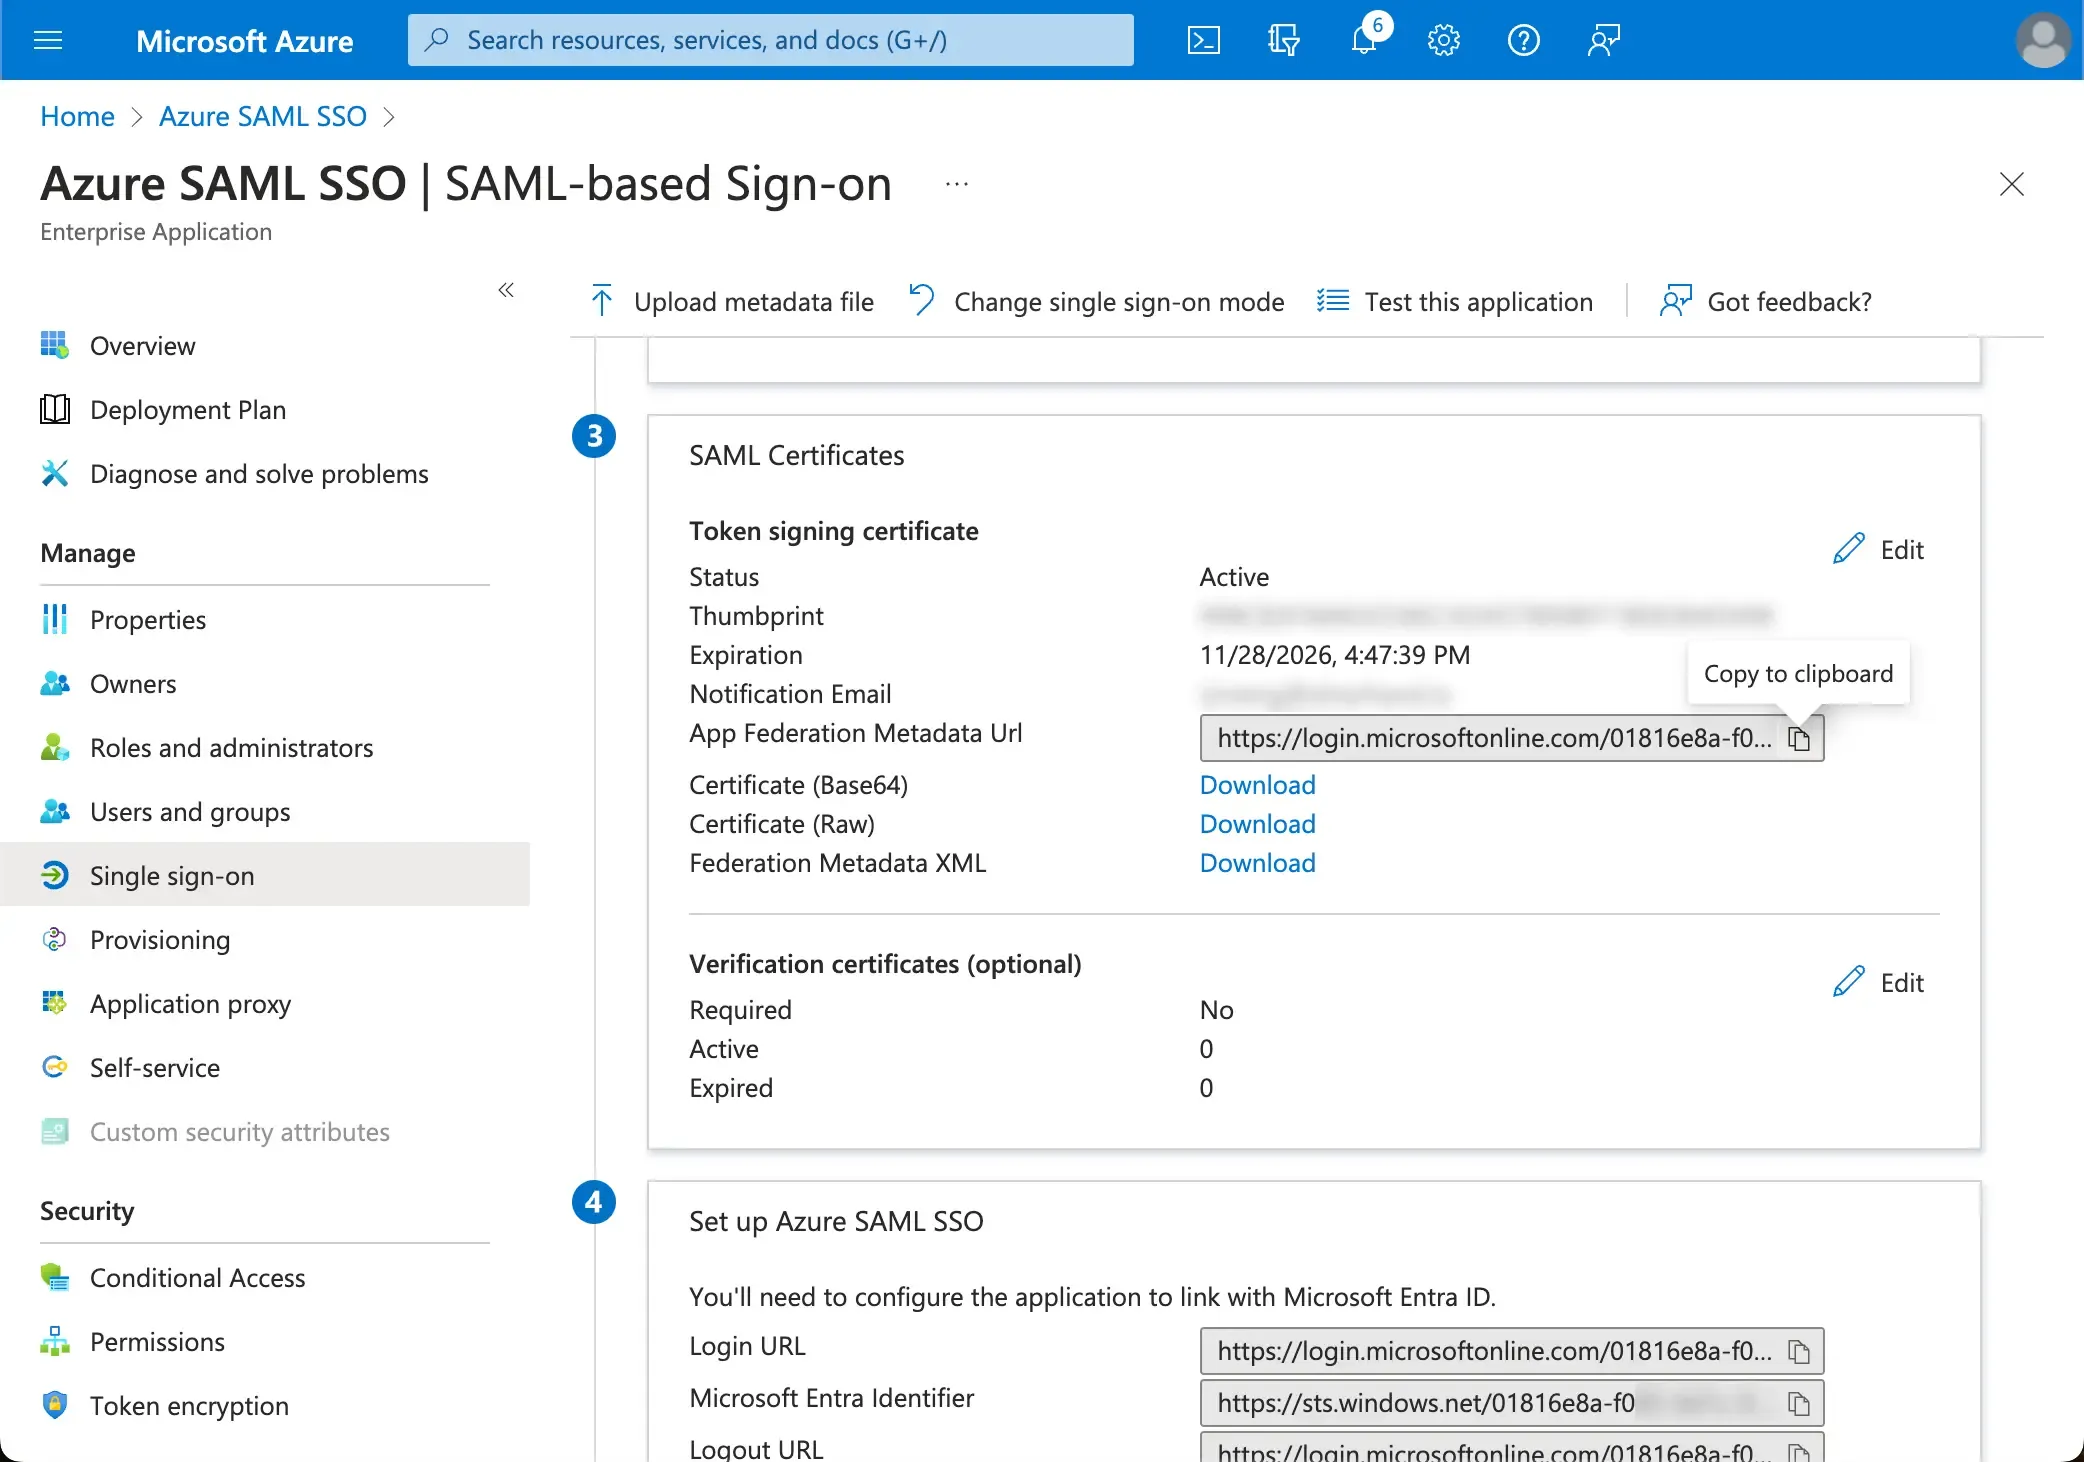
Logto provides three different ways to configure the SAML metadata. The easiest way is through the metadata URL. You can find the metadata URL in the Azure portal.
Copy the App Federation Metadata Url from your Azure AD SSO application's SAML Certificates section and paste it into the Metadata URL field in Logto.
Click on the save button and Logto will fetch the metadata from the URL and configure the SAML SSO integration automatically.
Logto provides a flexible way to map the user attributes returned from IdP to the user attributes in Logto.The following user attributes from IdP will be synced to Logto by default:
id: The unique identifier of the user. Logto will read the nameID claim from the SAML response as the user SSO identity id.
email: The email address of the user. Logto will read the email claim from the SAML response as the user primary email by default.
name: The name of the user.
You may manage the user attributes mapping logic either on the Azure AD side or Logto side.
Map the AzureAD user attributes to Logto user attributes at Logto side.
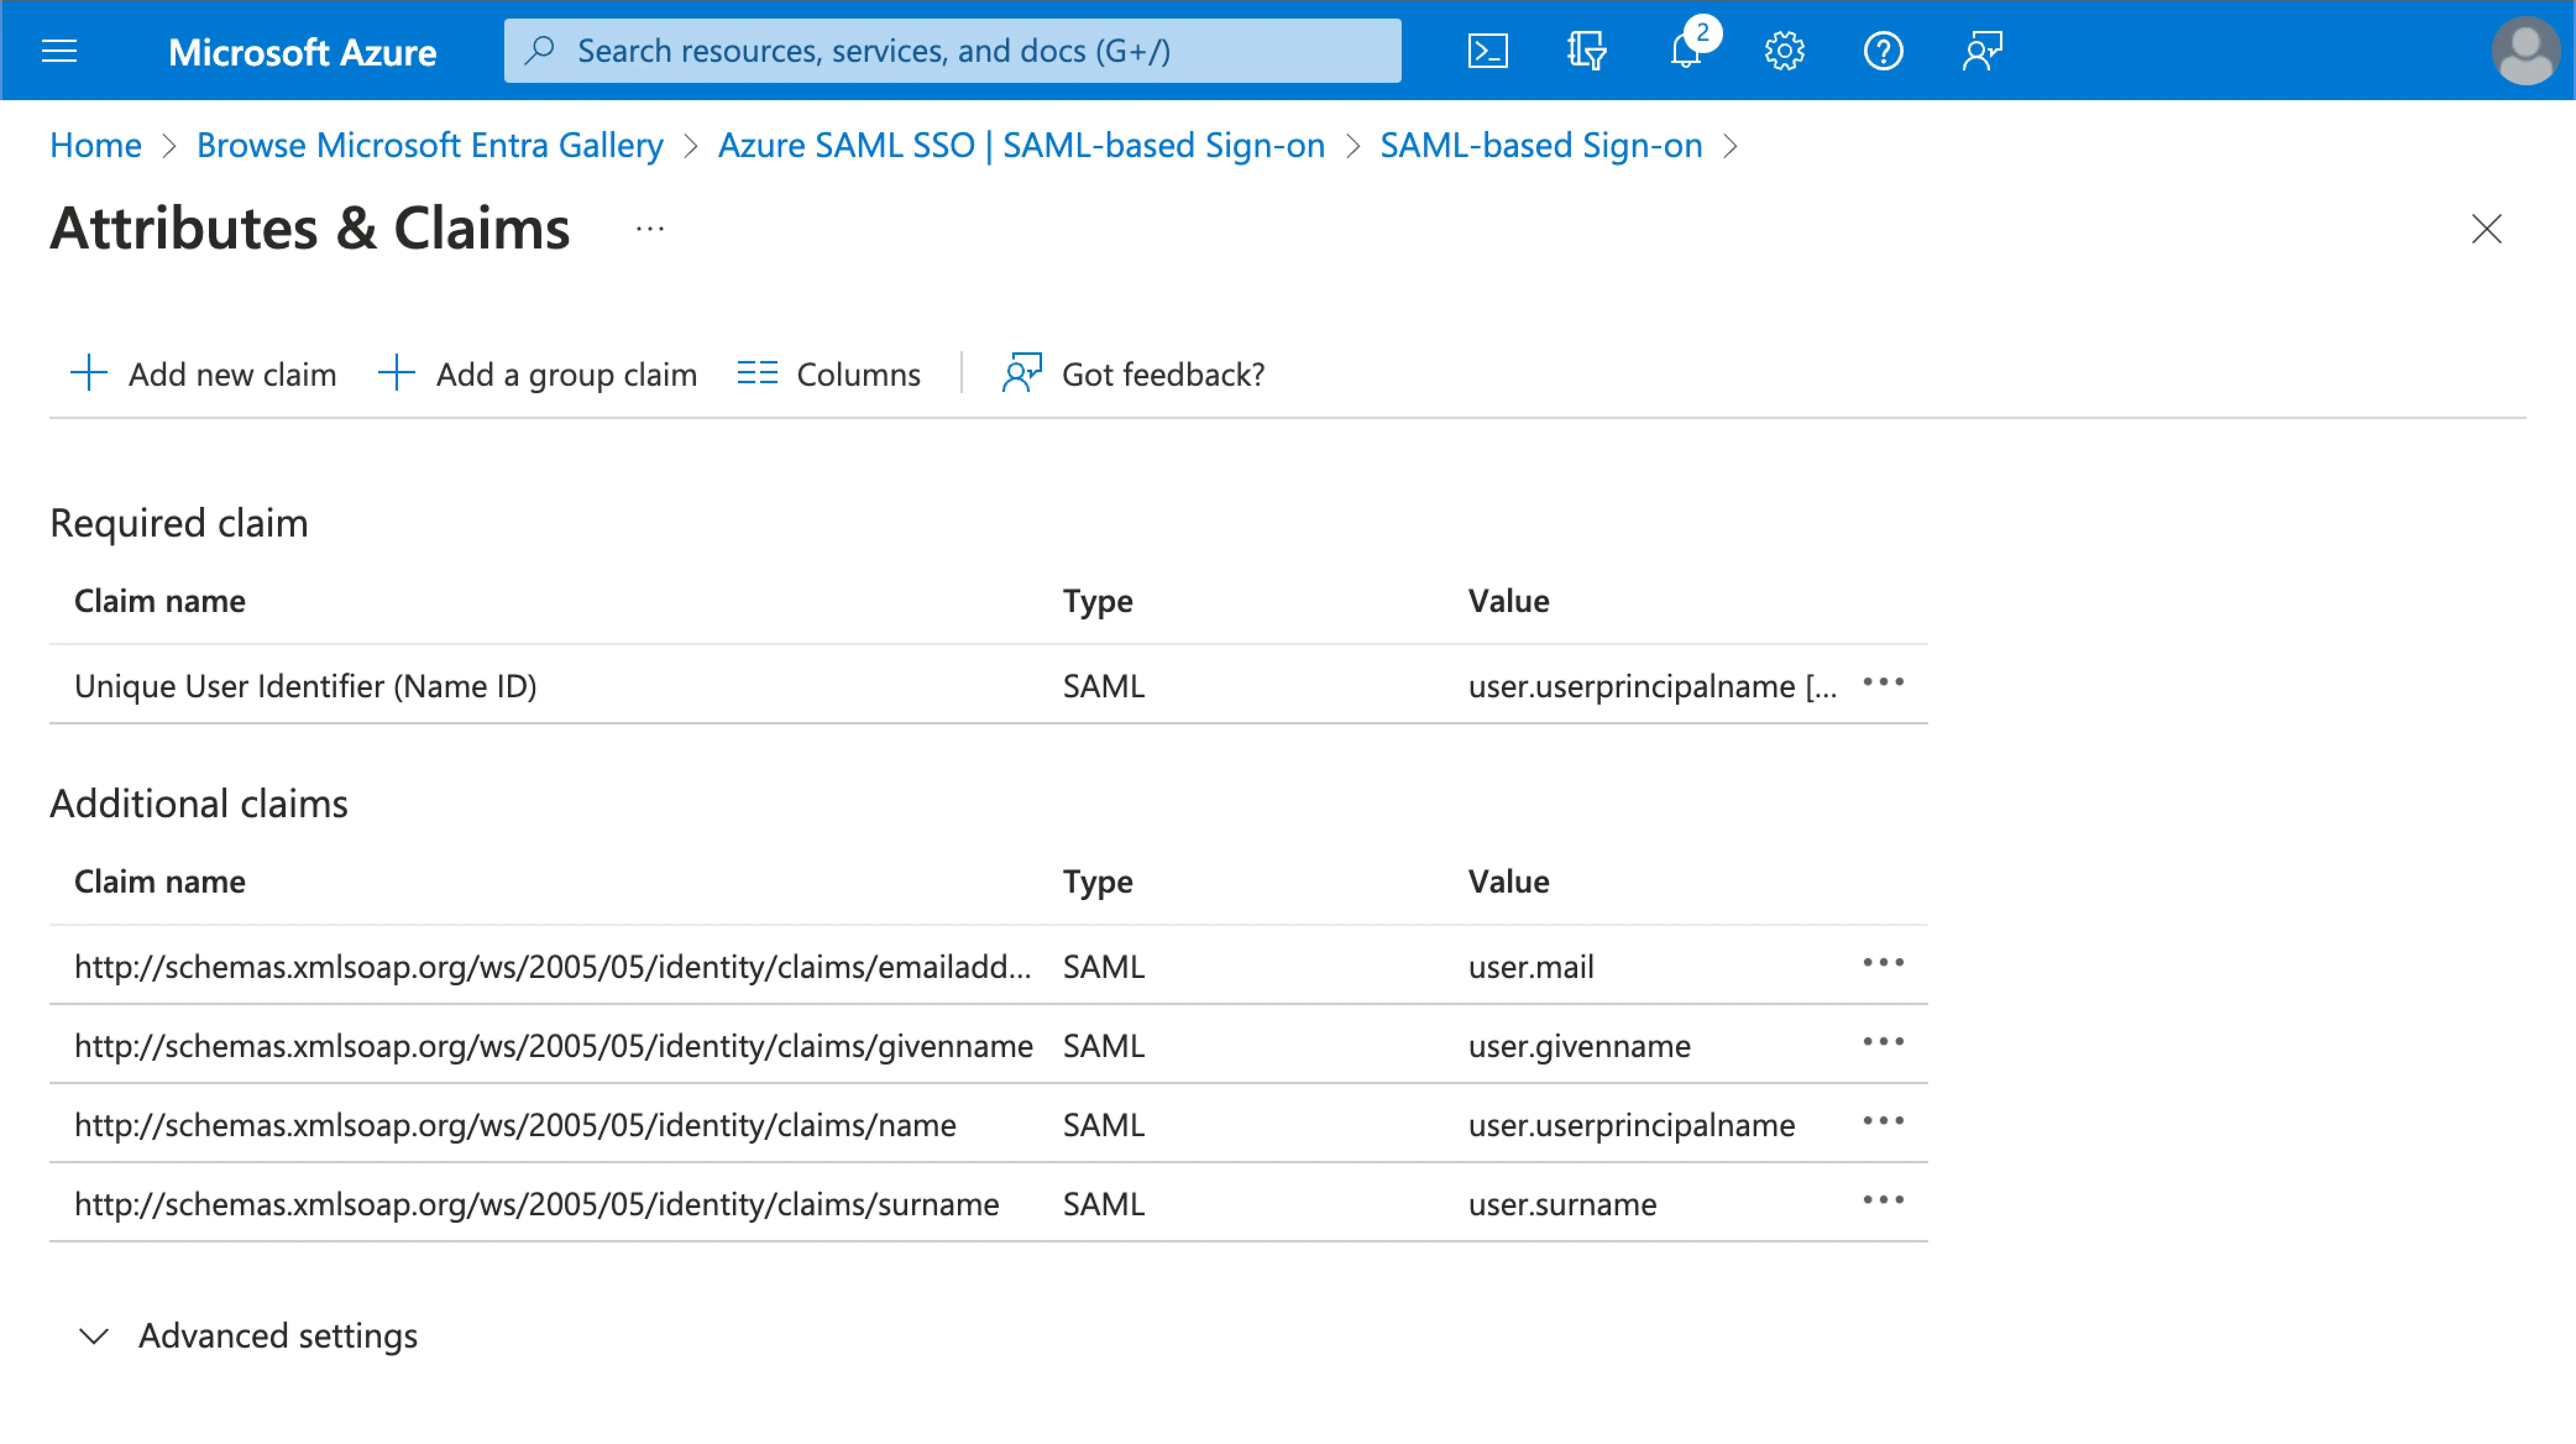
Visit the Attributes & Claims section of your Azure AD SSO application.
Copy the following attribute names (with namespace prefix) and paste them into the corresponding fields in Logto.
http://schemas.xmlsoap.org/ws/2005/05/identity/claims/name (Recommendation: update this attribute value map to user.displayname for better user experience)
Map the AzureAD user attributes to Logto user attributes at AzureAD side.
Visit the Attributes & Claims section of your Azure AD SSO application.
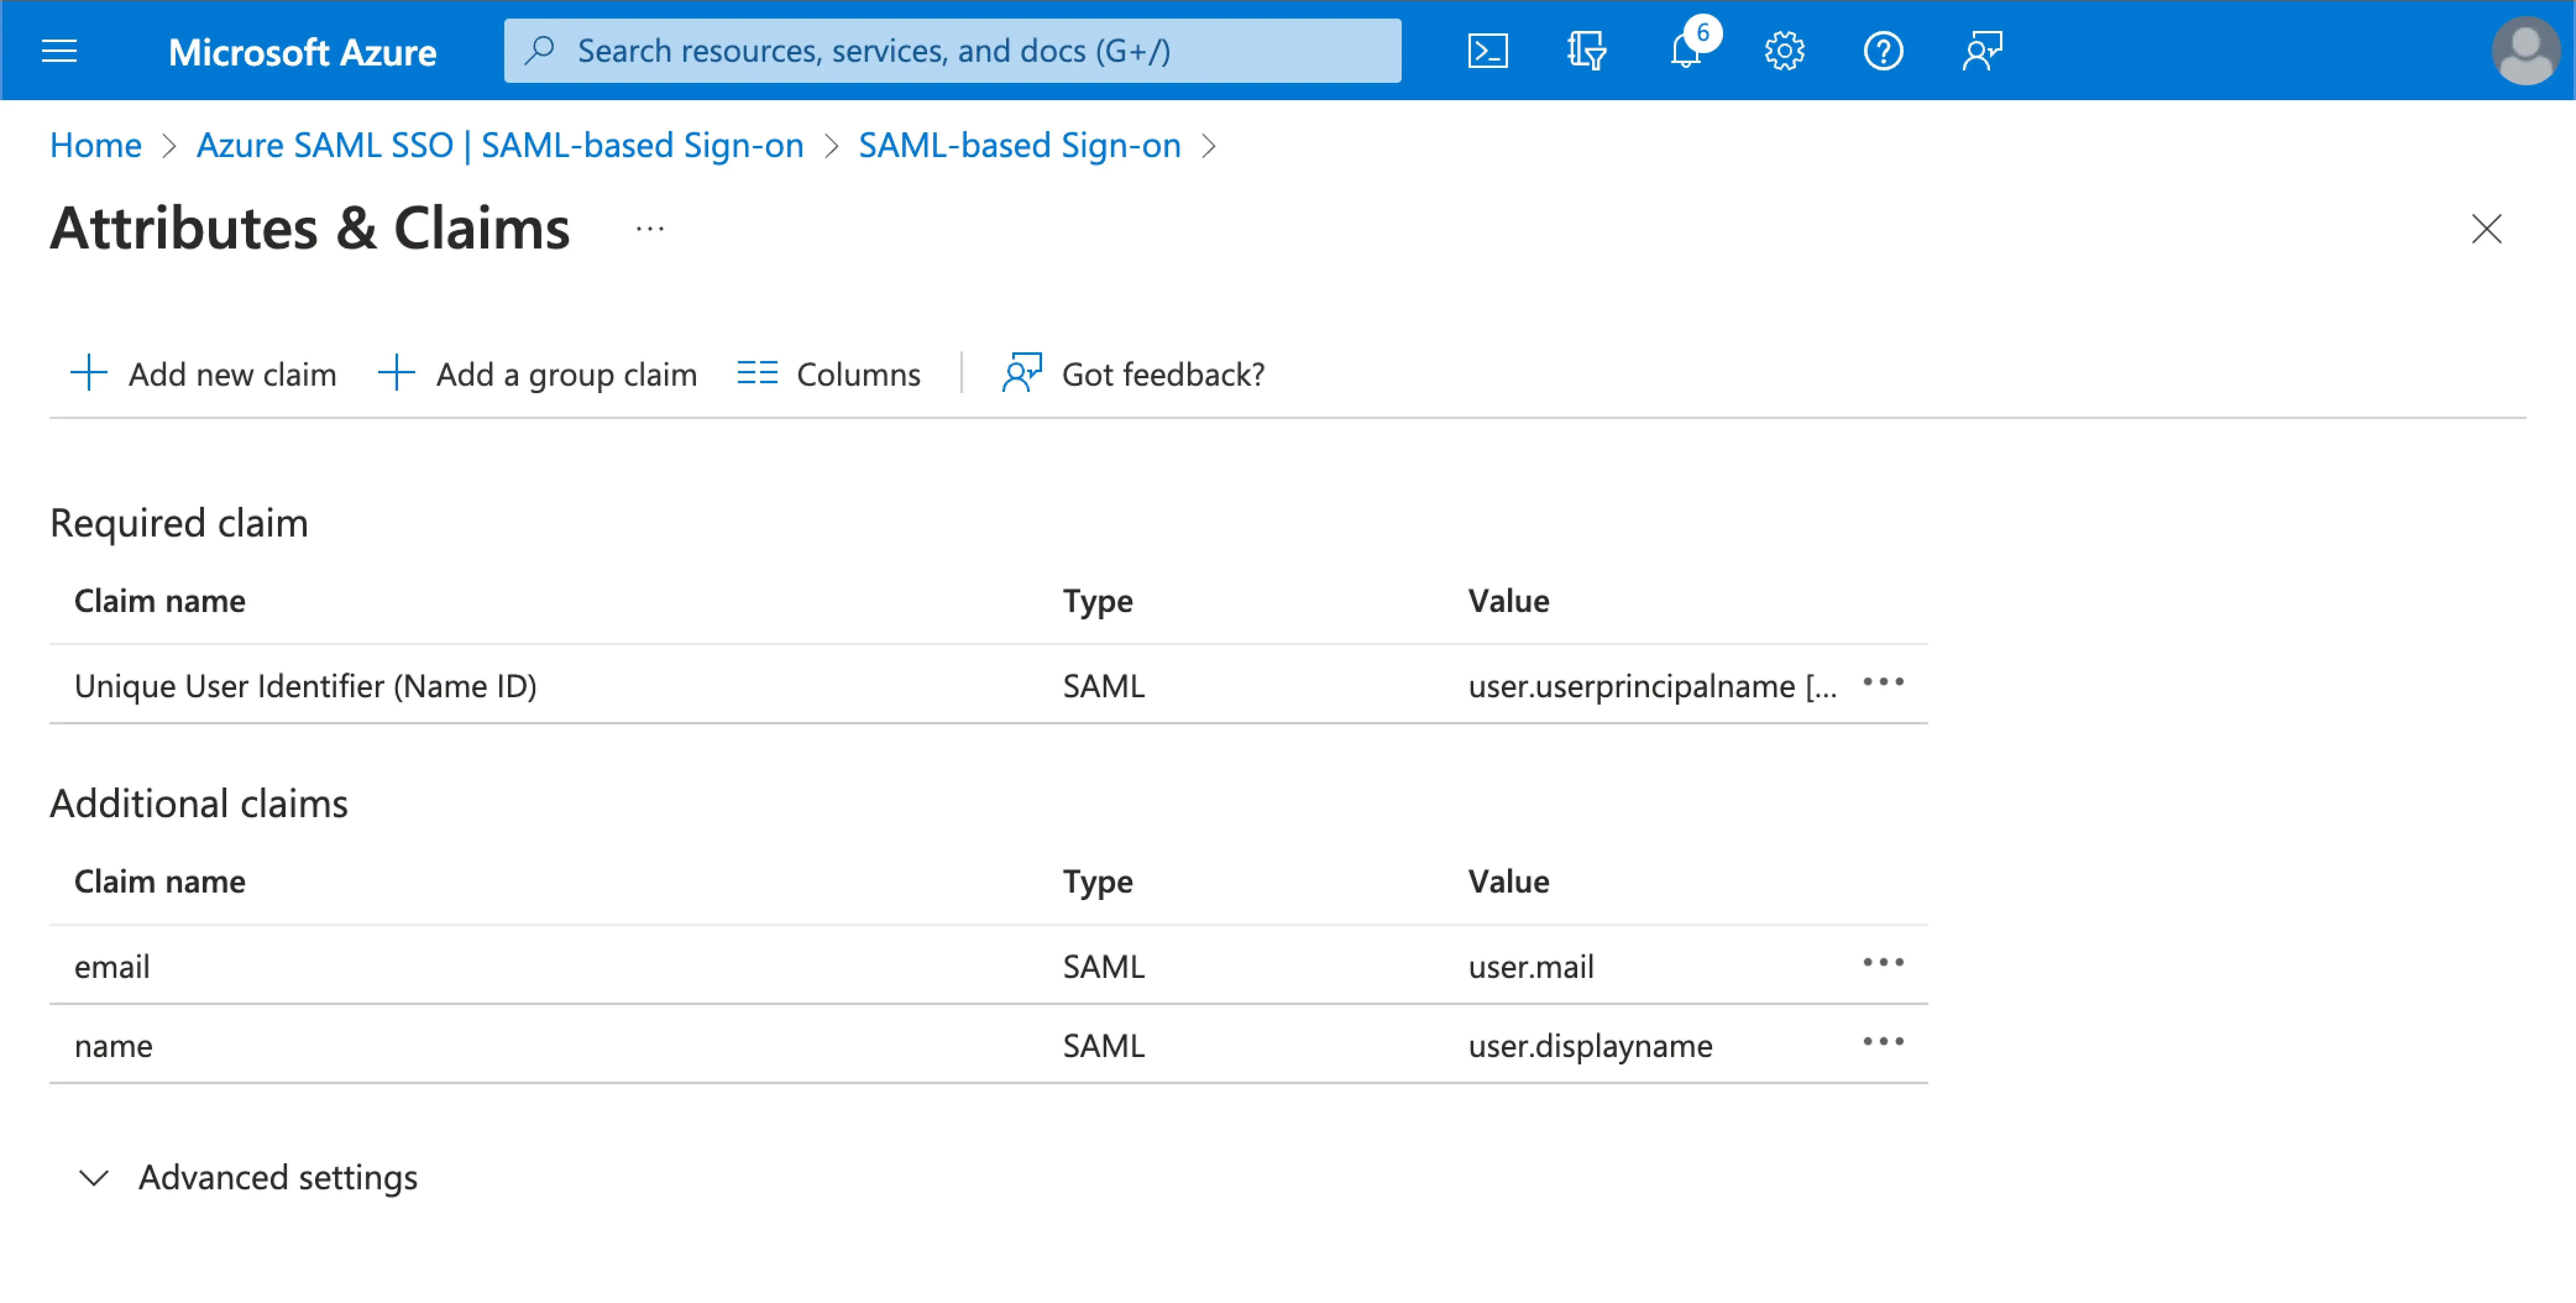
Click on Edit, and update the Additional claims fields based on the Logto user attributes settings:
update the claim name value based on the Logto user attributes settings.
remove the namespace prefix.
click Save to continue.
Should end up with the following settings:
You may also specify additional user attributes on the Azure AD side. Logto will keep a record of the original user attributes returned from IdP under the user's sso_identity field.
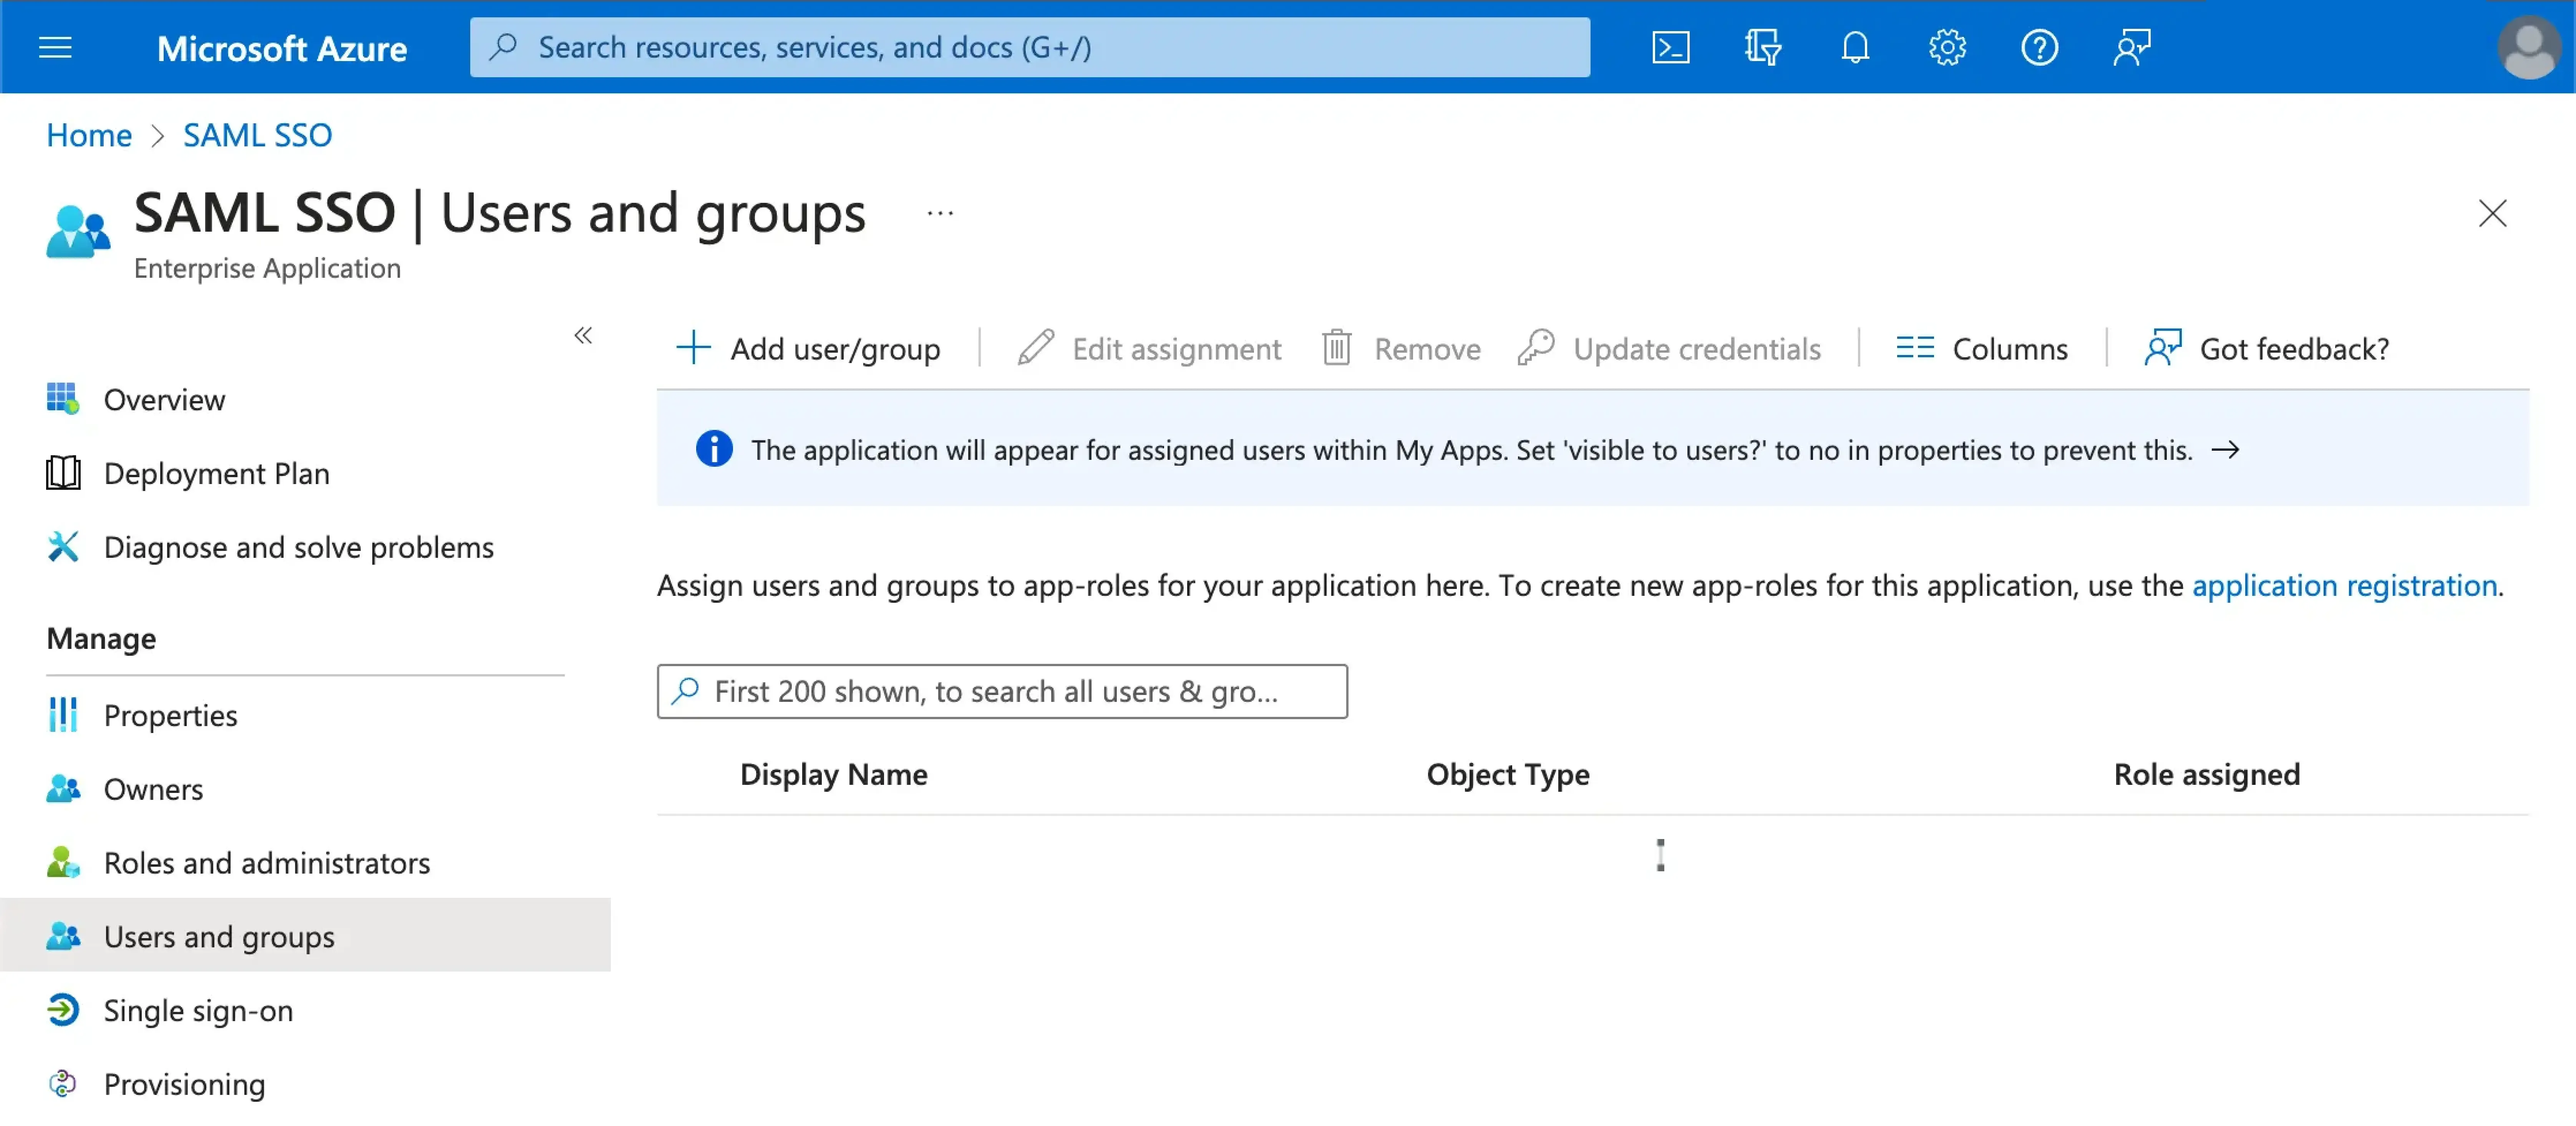
You will need to assign users to the Azure SAML SSO application to enable the SSO experience for them.
Visit the Users and groups section of your Azure AD SSO application. Click on Add user/group to assign users to the Azure AD SSO application. Only users assigned to your Azure AD SSO application will be able to authenticate through the Azure AD SSO connector.
Set email domain and enabled the Azure SAML SSO connector in Logto#
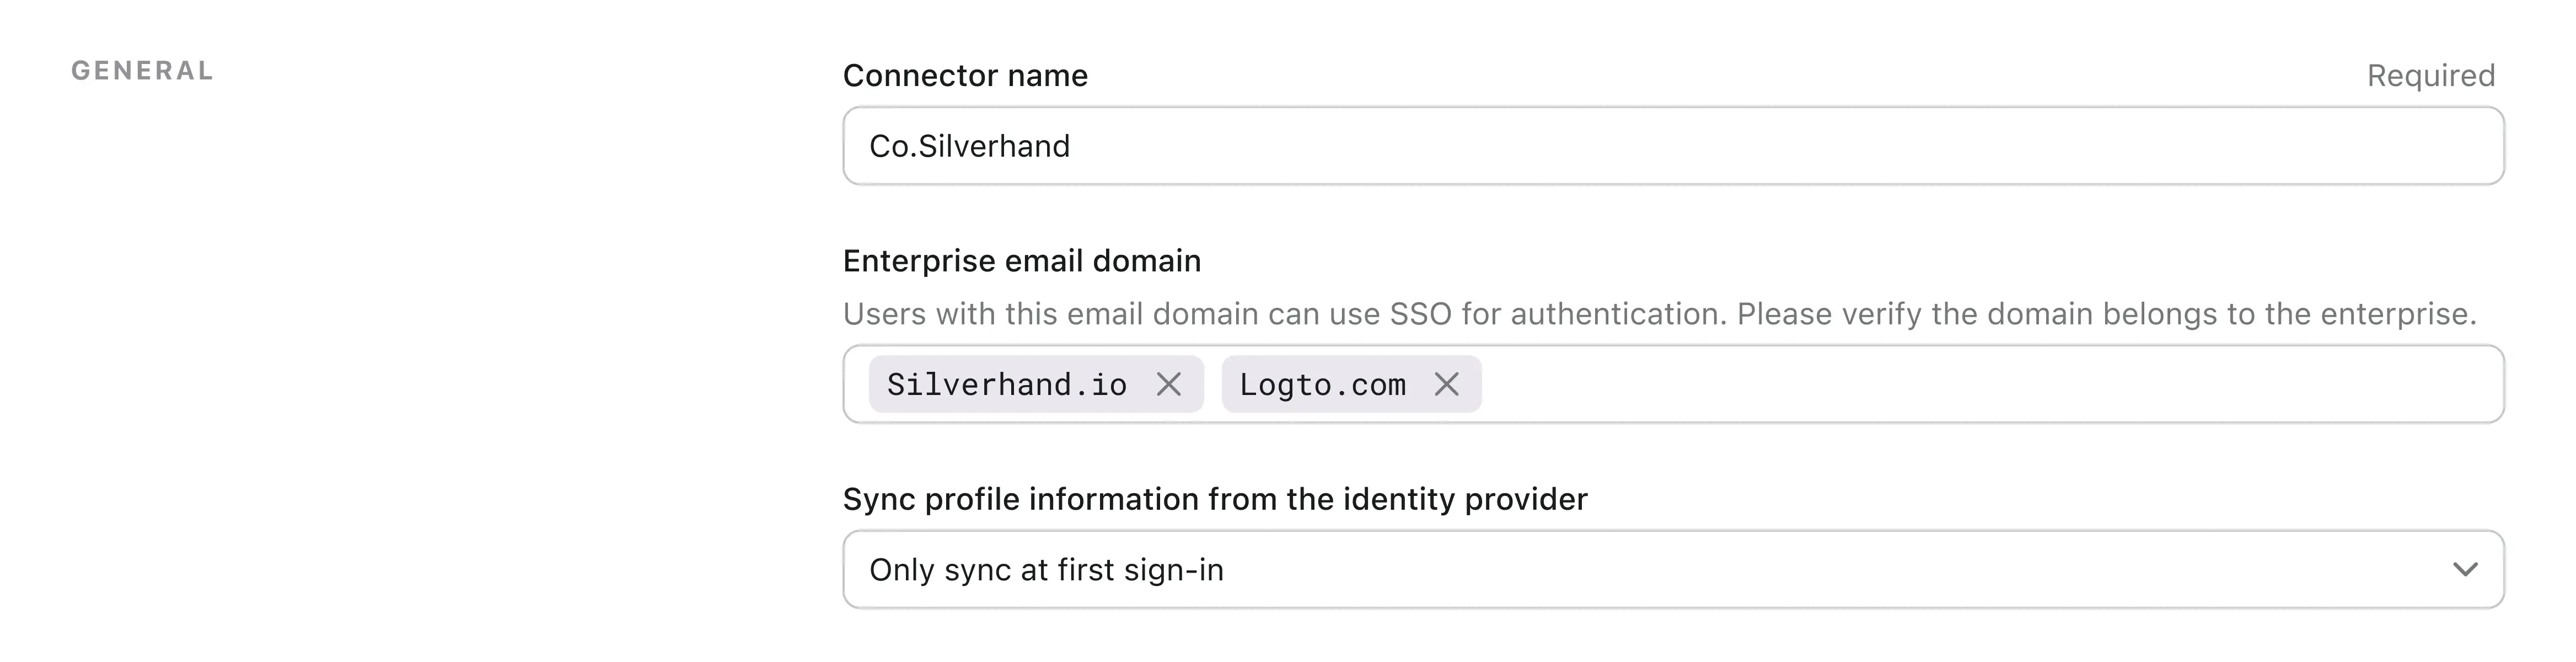
Provide the email domains of your organization at the Logto's SAML SSO connector experience tab. This will enable the SSO connector as an authentication method for those users.
Users with email addresses in the specified domains will be exclusively limited to use SAML SSO connector as their only authentication method.
Enable the Azure SAML SSO connector in Logto's sign-in experience#
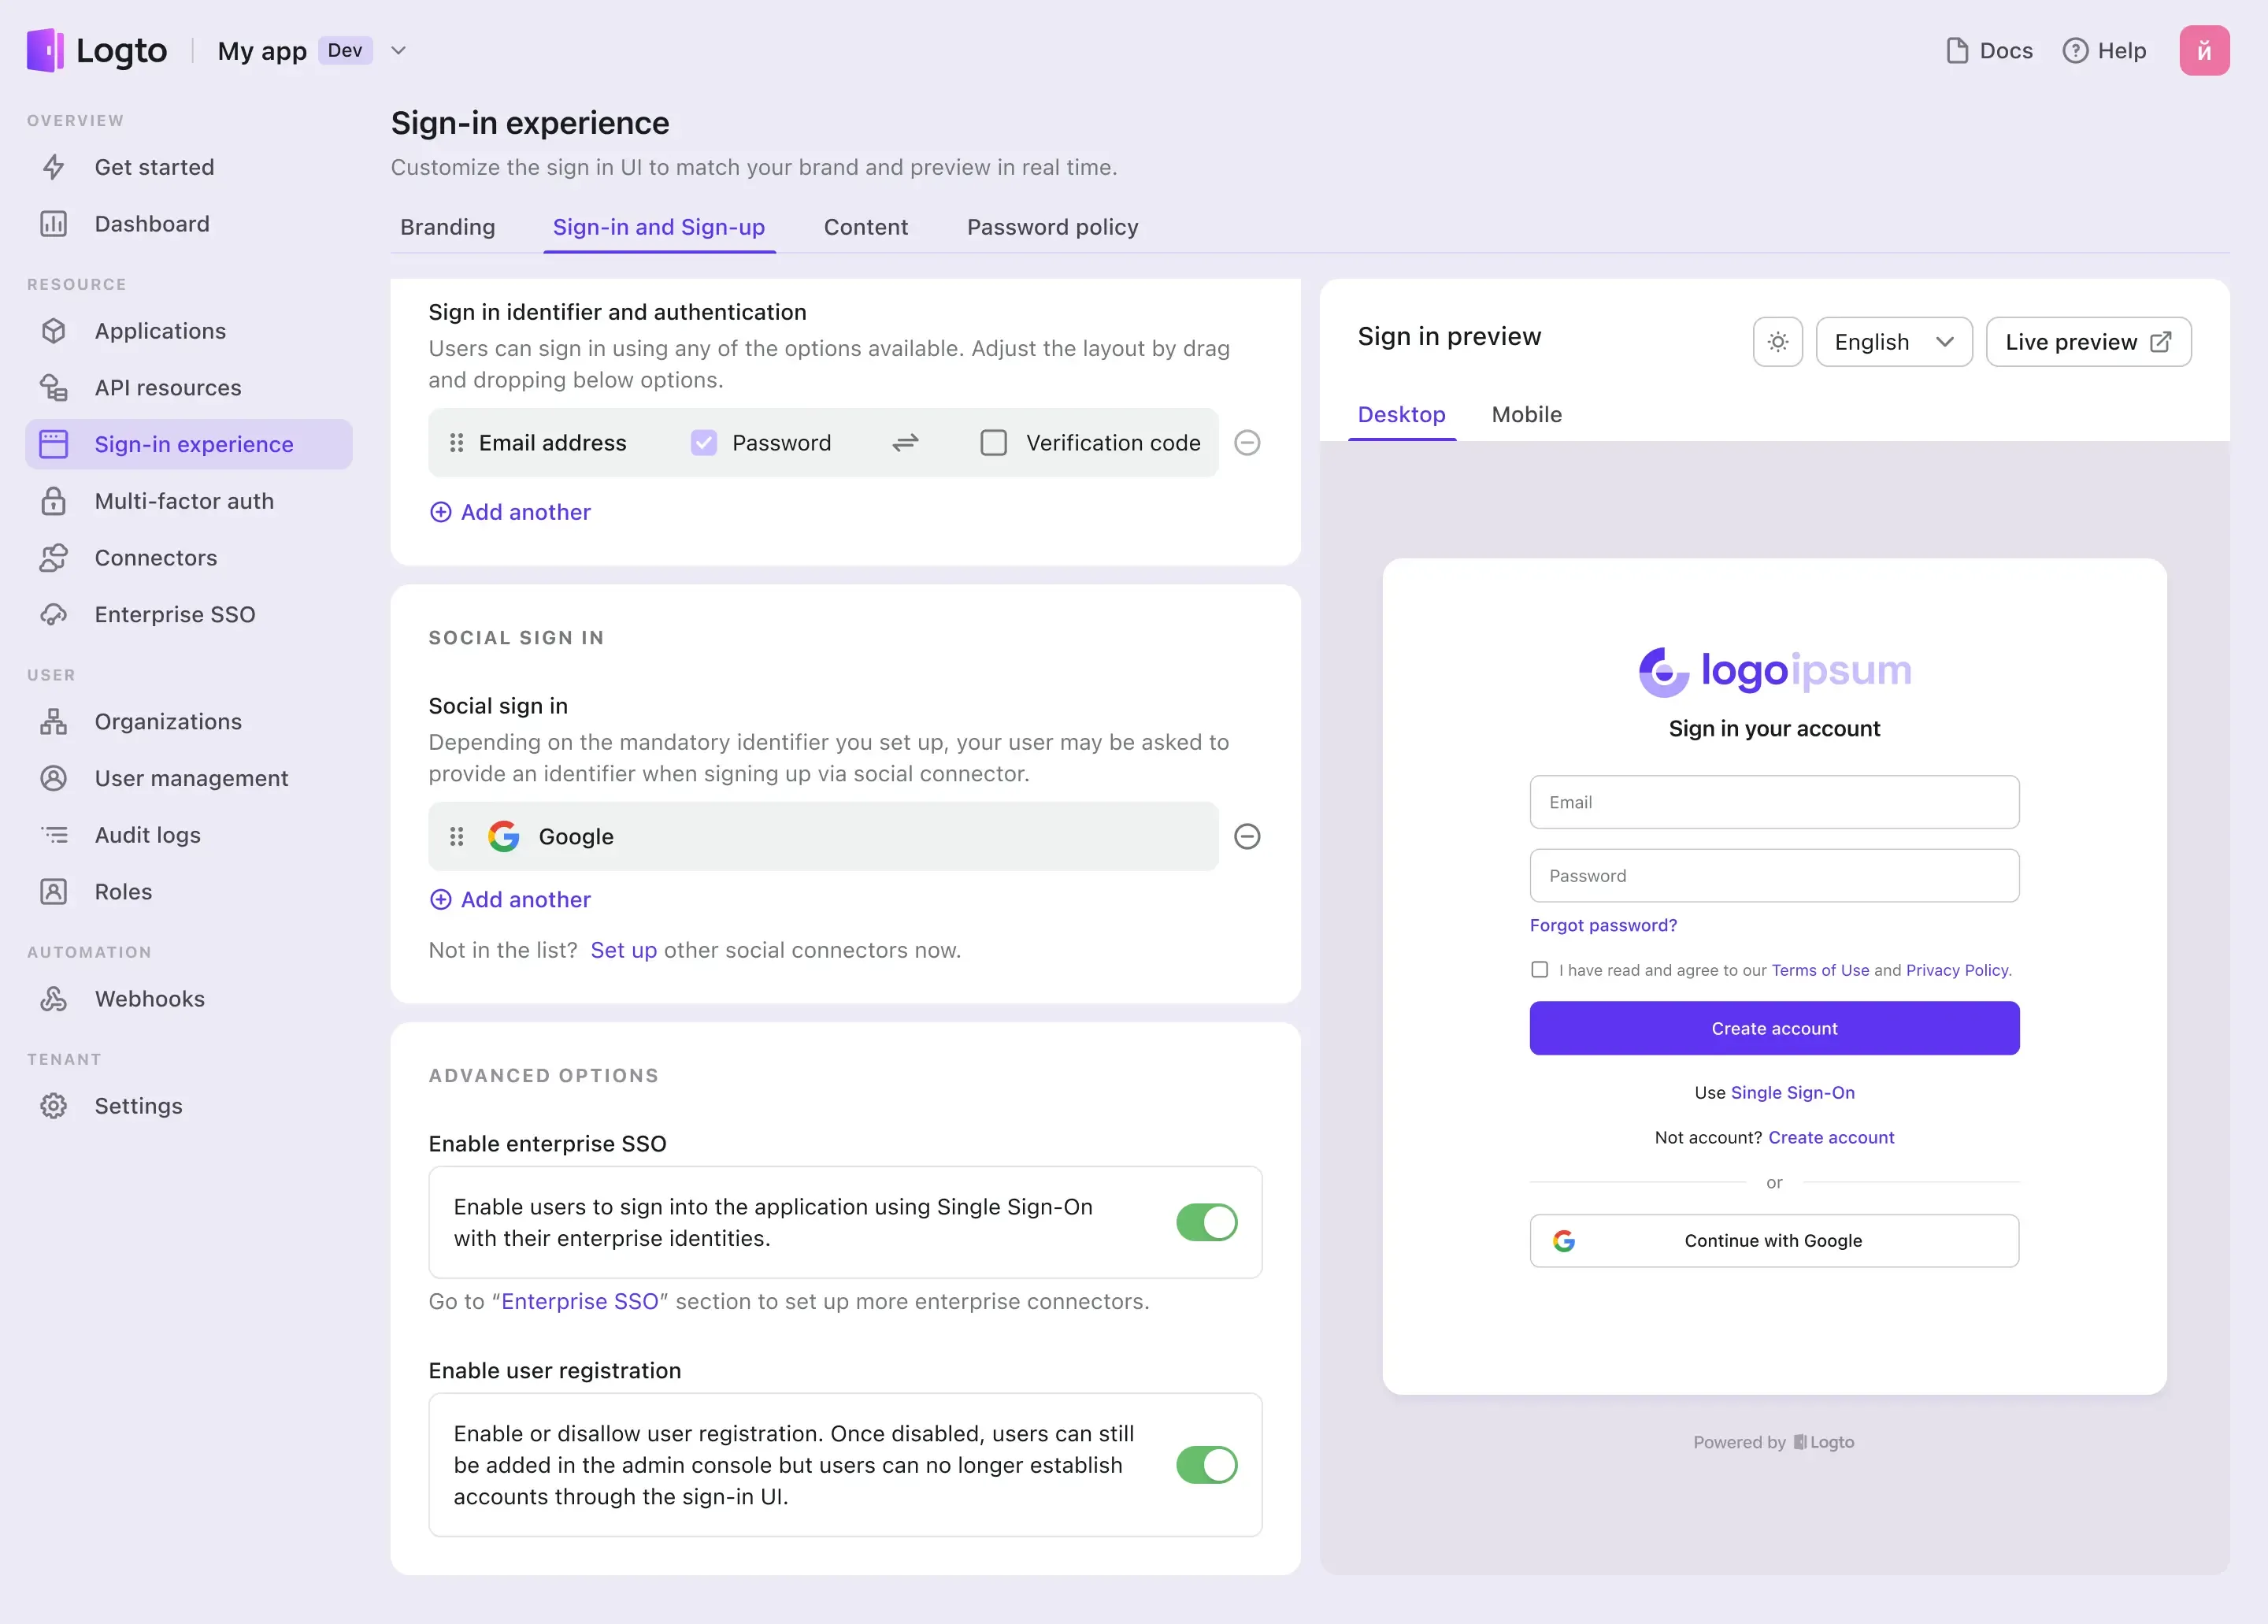
Go the Sign-in Experience tab and enable the enterprise SSO.
Now, you may test the SSO integration by using the live preview button at the top right corner of the Sign-in Experience preview section.