Build CapacitorJS authentication with Logto
In this tutorial, we will demonstrate how to build the authentication flow with Logto in Capacitor. This will enable you to create cross-platform sign-in and sign-up flows with ease.
Introduction
- Logto is a modern Auth0 alternative for building customer identity infrastructure with minimal effort It supports various sign-in methods, including username, email, phone number, and popular social sign-ins like Google and GitHub.
- Capacitor is an open-source native runtime for building Web Native apps.
In this tutorial, we will demonstrate how to build the authentication flow with Logto in Capacitor. This will enable you to create cross-platform sign-in and sign-up flows with ease.
Prerequisites
Before you begin, ensure you have the following:
- A Logto account. If you don't have one, you can sign up for free.
- A Capacitor project. You can follow the official guide to create one.
Create a Logto application
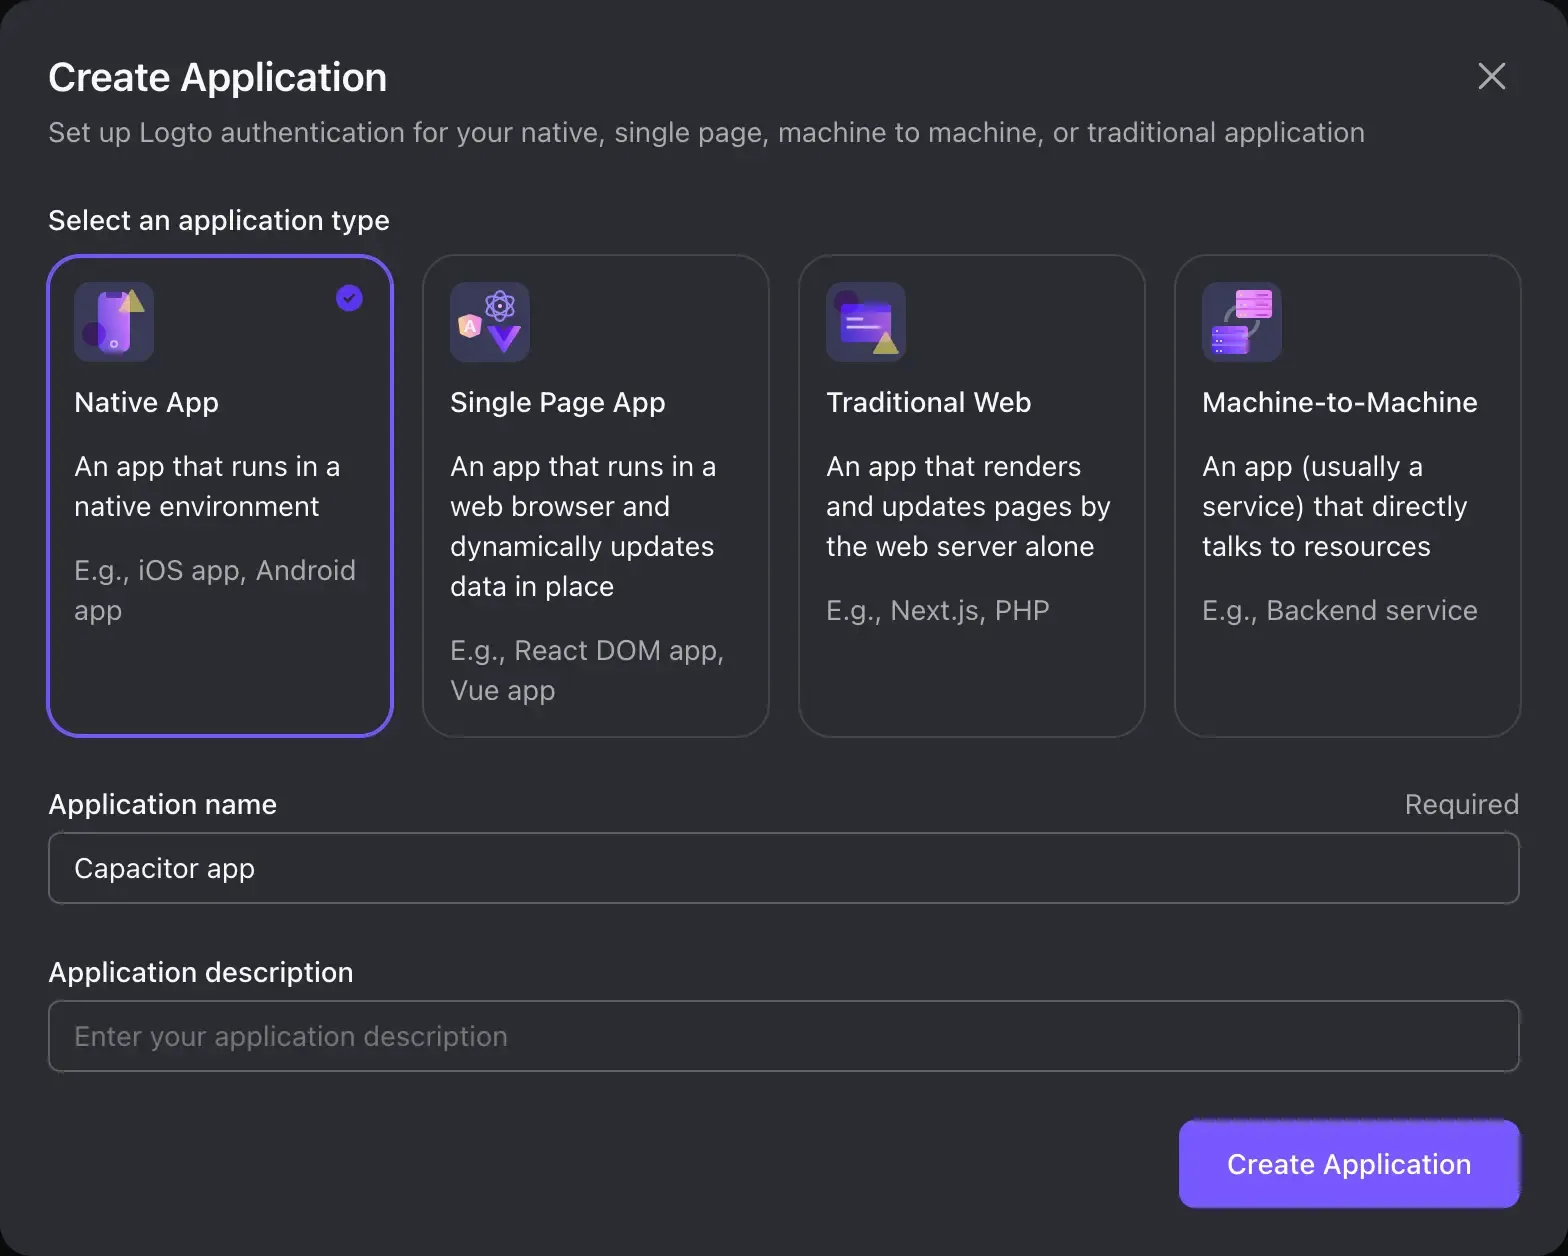
To get started, create a Logto application with the "Native" type. Logto applications serve as client applications in the OAuth 2.0 and OpenID Connect (OIDC) flows. Follow these steps to create a Logto application:
- Sign in to the Logto Cloud Console.
- In the left navigation bar, click on Applications.
- Click on Create application.
- Select Native as the application type and enter the application name.
- Click on Create.
After creating the Logto application, configure the redirect URI. The redirect URI is used to redirect the user back to your application after the authentication flow.
Ensure that the URI redirects to the Capacitor app, for example, com.example.app://callback. The value may vary depending on your Capacitor app configuration. For more details, see Capacitor Deep Links.
Remember to click on Save Changes after updating the redirect URI.
If you are unsure about the redirect URI, you can leave it empty for now and update it later.
Set up Capacitor
Assuming you already have a Capacitor project, this tutorial is framework-agnostic, so you can use any UI framework you prefer and update the code accordingly.
Install dependencies
Init Logto client
- The
endpointis the Logto API endpoint. You can find it in the built-in guide or the Domains section in the tenant settings. - The
appIdis the Logto application ID. You can find it on the application details page.
Implement the sign-in button
Add the following code to the onClick handler of the sign-in button:
Replace com.example.app://callback with the redirect URI you configured in the Logto application.
Checkpoint: Trigger the authentication flow
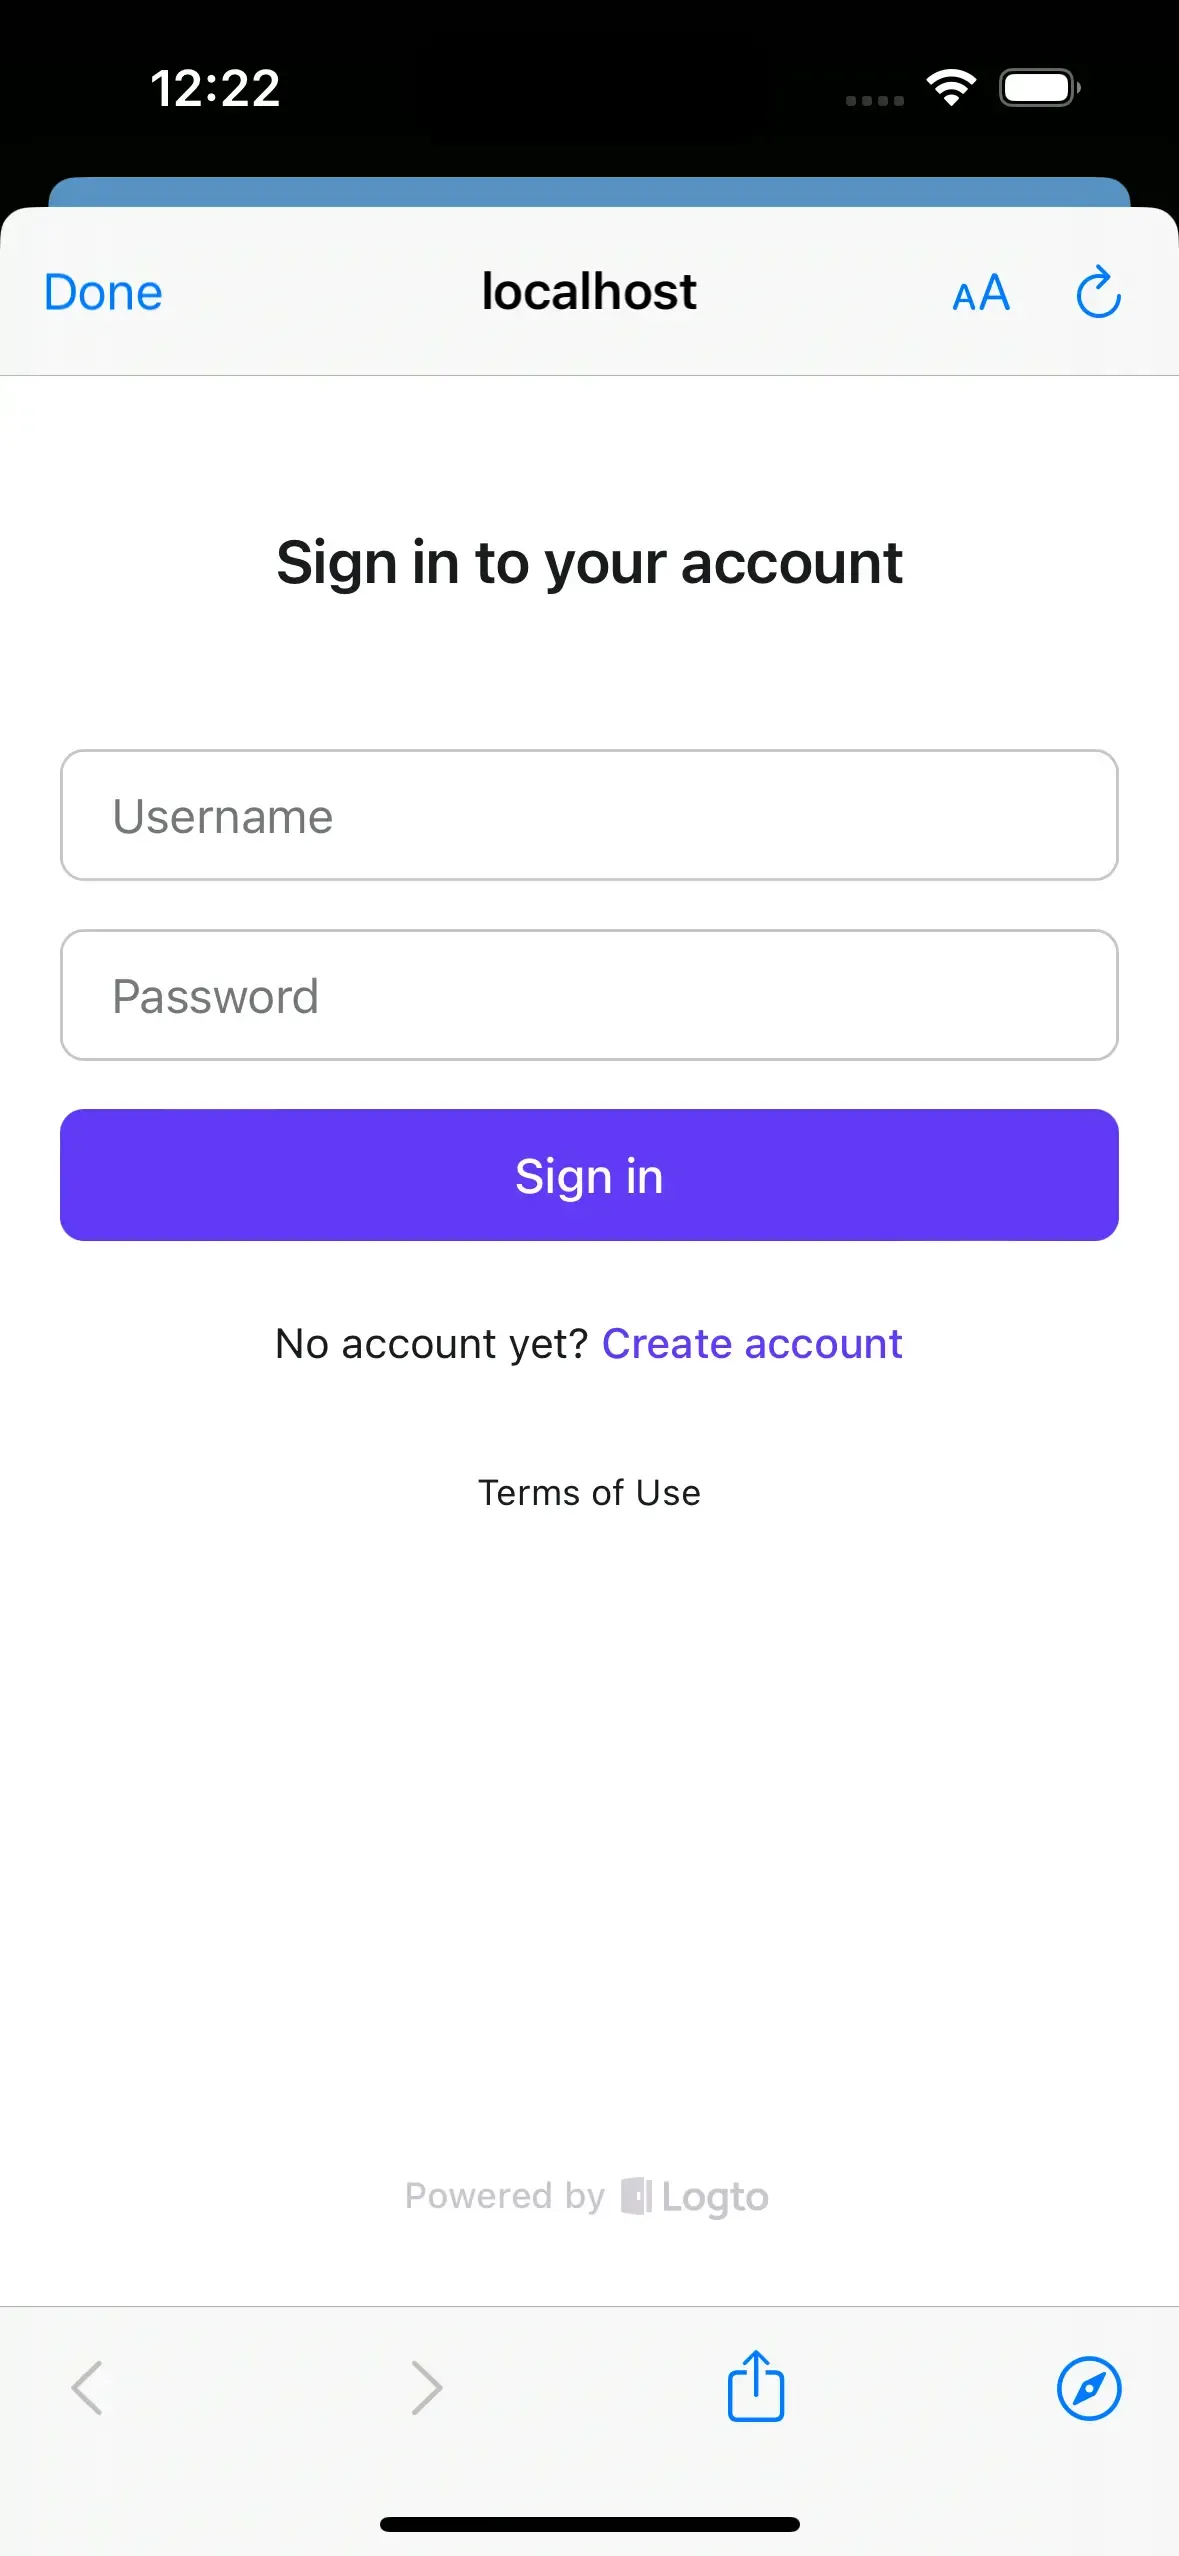
Run the Capacitor app and click the sign-in button. A browser window will open, redirecting to the Logto sign-in page.
Sign-out
Since Capacitor leverages the Safari View Controller on iOS and Chrome Custom Tabs on Android, the authentication state can be persisted for a while. However, sometimes the user may want to sign out of the application immediately. In this case, we can use the signOut method to sign out the user:
The signOut method has an optional parameter for the post sign-out redirect URI. If it's not provided, the user will be redirected to the Logto sign-out page:
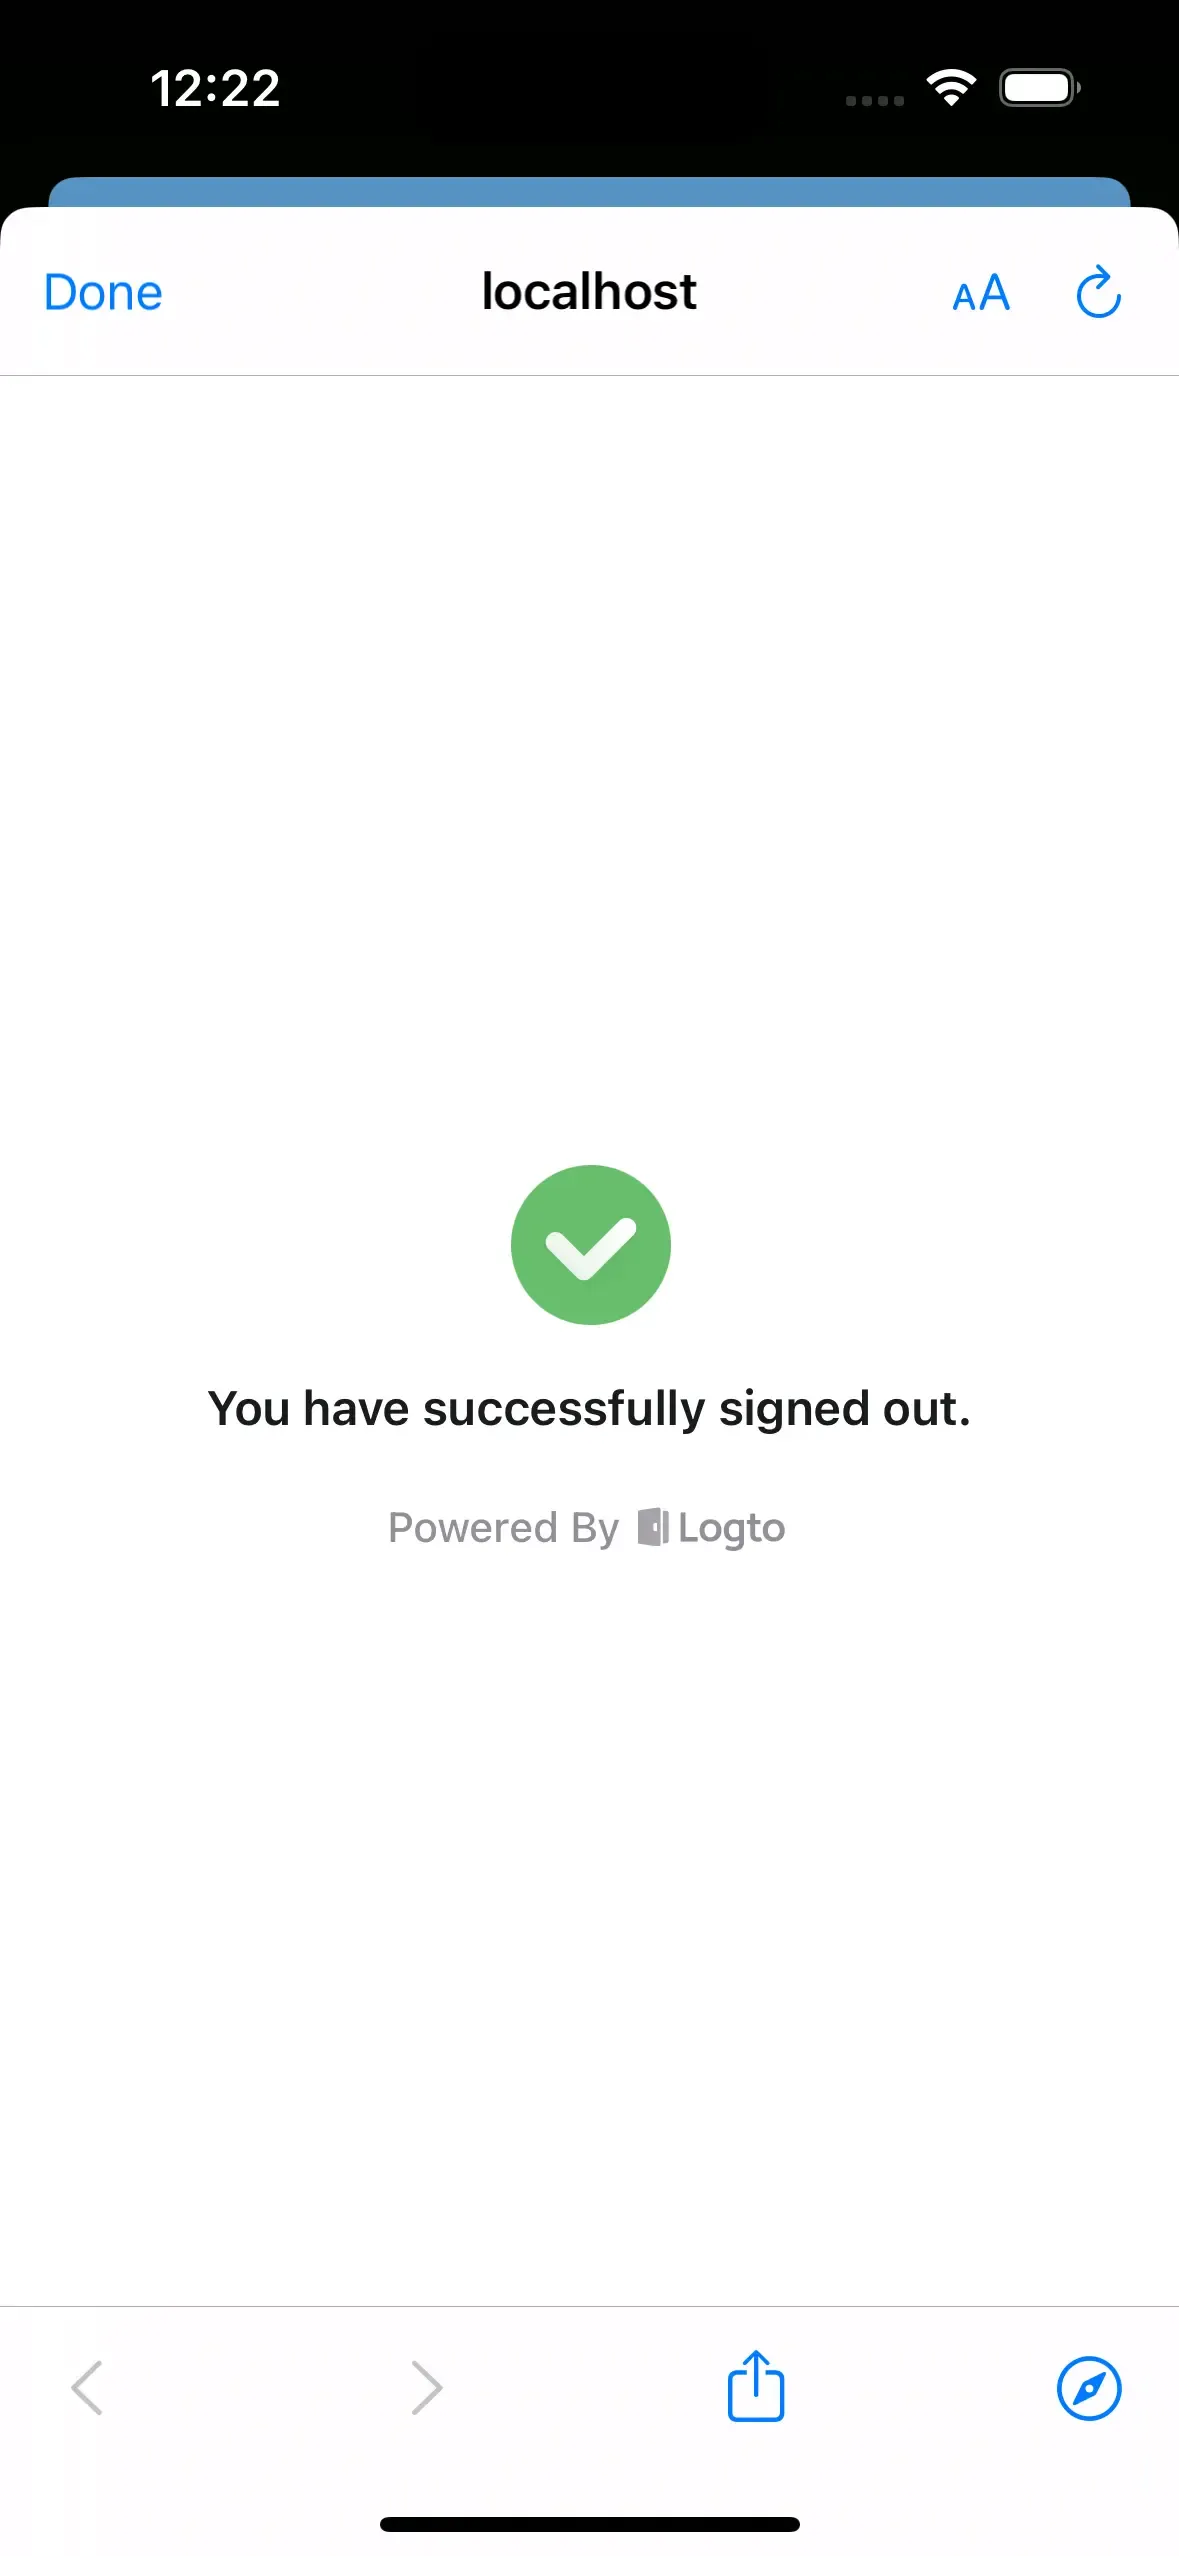
The user needs to click "Done" to close the web view and return to the Capacitor app. If you want to automatically redirect the user back to the Capacitor app, you can provide the post sign-out redirect URI:
Ensure that the post sign-out redirect URI redirects to the Capacitor app, and remember to add the post sign-out redirect URI to the Logto Console:

Checkpoint: Complete the authentication flow
Run the Capacitor app again and click the sign-in button. If everything goes well, when the authentication flow is completed, the Capacitor app will receive the sign-in result and print the user claims in the console.
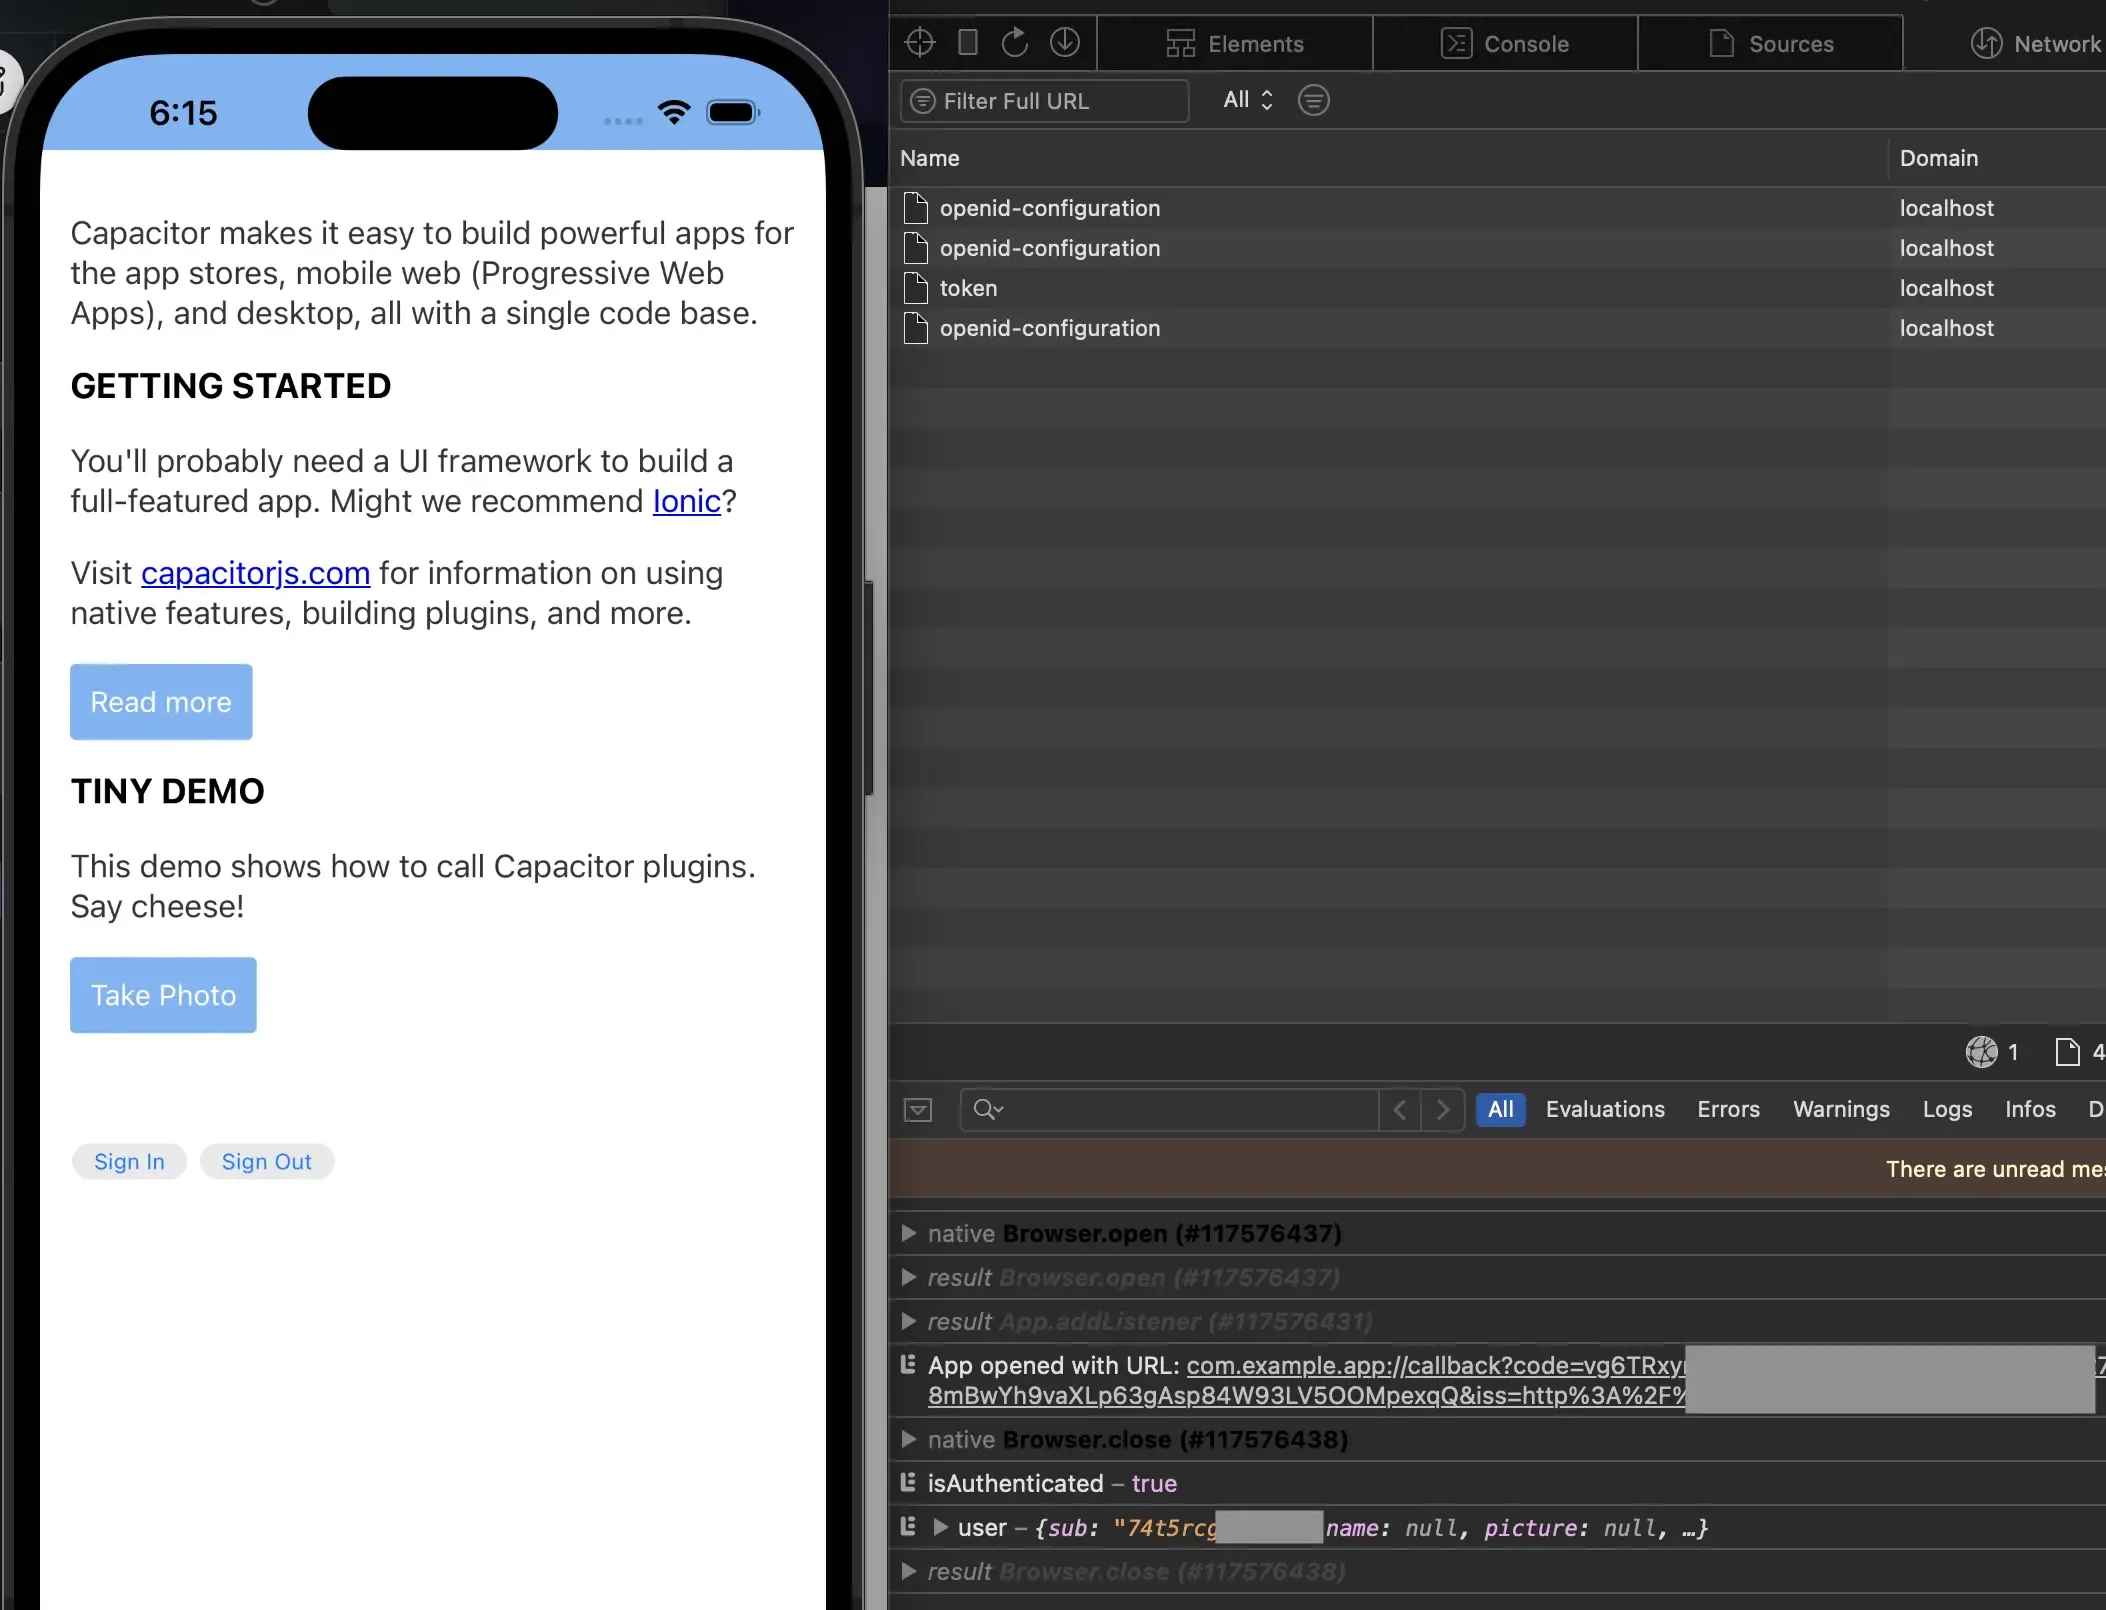
Then click the sign-out button, and the Capacitor app will be redirected to the Logto sign-out page. It will automatically redirect back to the Capacitor app if the post sign-out redirect URI is configured.
Now you can configure the authentication flow in the Logto Cloud Console without writing complex code. The configuration will apply to all the client applications, ensuring a consistent user experience.
If you encounter any issues during the integration, please don't hesitate to contact us via email at [email protected] or join our Discord server!

