By default, Logto Console uses a text input for static file URLs, such as avatars. To enable a more intuitive file upload experience with drag and drop functionality, you must configure a storage provider.
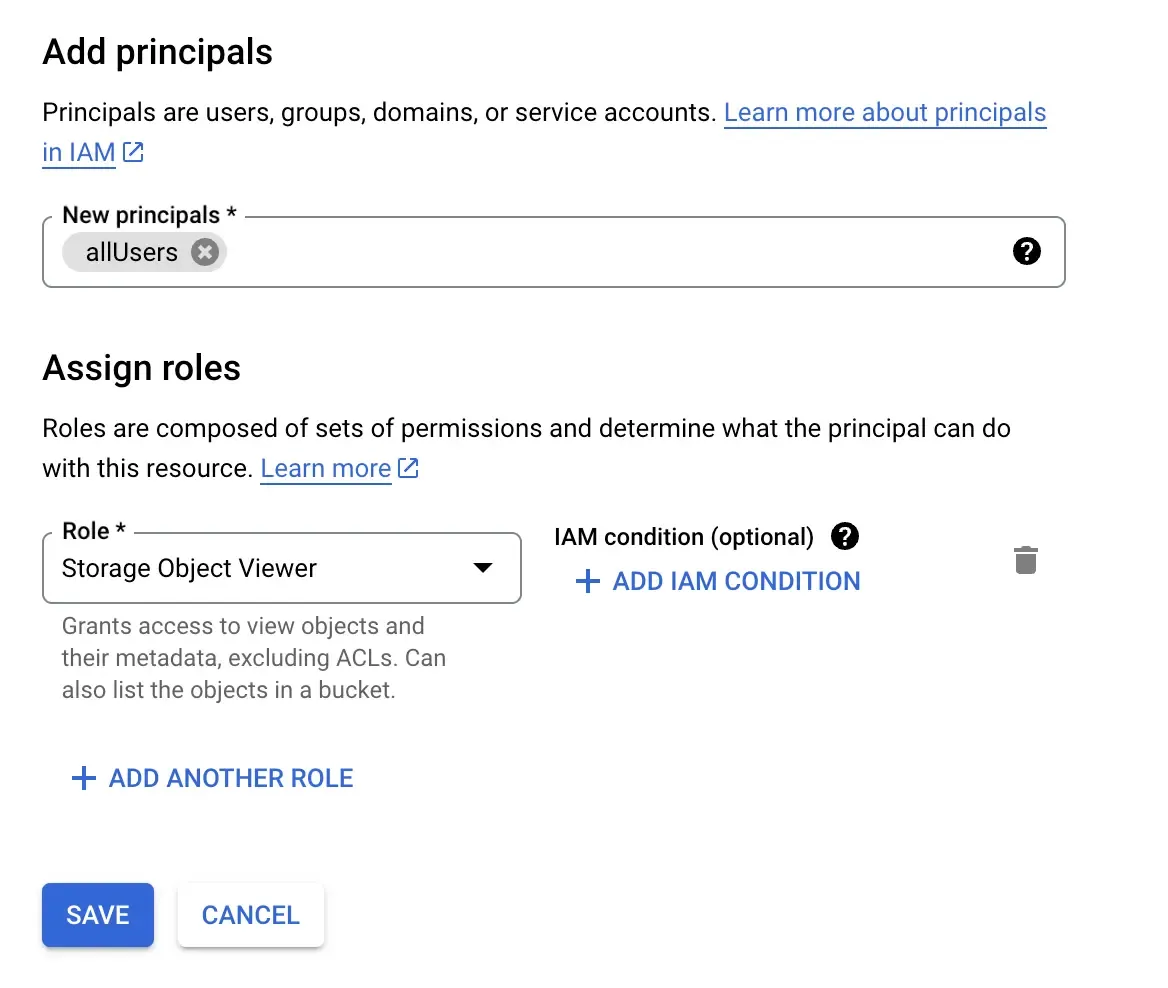
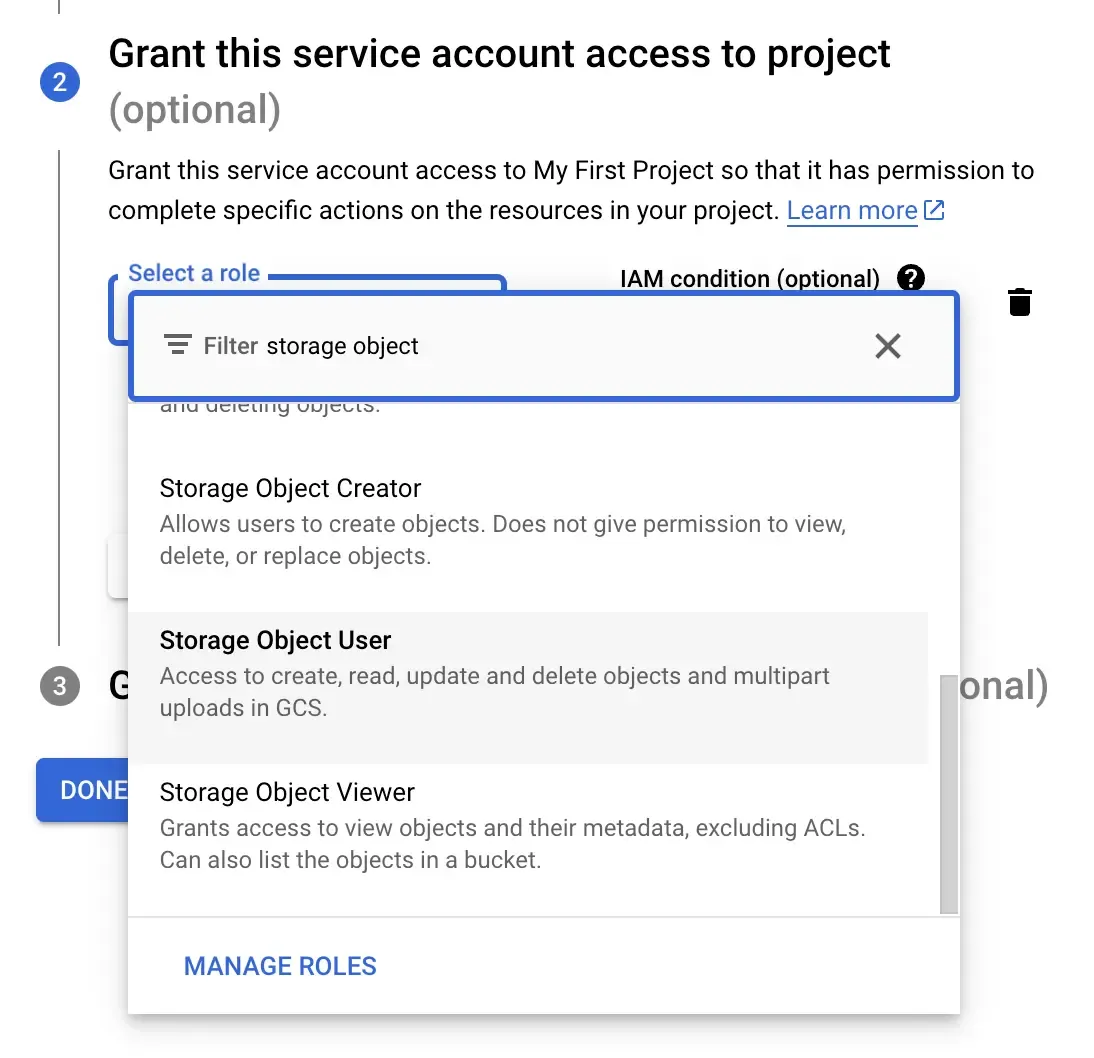
This article provides a step-by-step guide on setting up Google Cloud Storage as your storage provider.
If you're running Logto in a Docker container, you'll need to mount the file to the container. Assuming you're using Docker Compose, add this to your configuration:
Remember to replace /path/to with the actual path.
We'll use Logto's CLI to update the provider configurations. The CLI is usually available in the root folder of the Logto instance. To learn more, check this link: https://docs.logto.io/docs/references/using-cli/
Now that everything is set up, remember to restart Logto and give it a try. You can go to the "Sign-in experience" section and attempt to upload a logo.
If you find these steps complicated, consider using the cloud version of Logto. We take care of everything for you!