Implement ChatGPT plugins user authorization with Logto
In this article, we will demonstrate how to use OAuth `scope` for authorization in ChatGPT plugins.

Founder

Introduction
- Logto is an effortless identity solution with all the features you need. It supports various sign-in methods, including username, email, phone number, and popular social sign-ins like Google and GitHub.
- ChatGPT plugins are tools designed specifically for language models, and help ChatGPT access up-to-date information, run computations, or use third-party services.
This technical blog post focuses on demonstrating how to use OAuth scope for authorization in ChatGPT plugins. It assumes that you have completed the user authentication part using Logto. If you haven't done so, please refer to the article on Implementing ChatGPT plugins user authentication with Logto.
Prerequisites
To get started, make sure you have the following:
- A running Logto instance or access to a Logto Cloud account.
- A ChatGPT account with developer access for plugins. While ChatGPT plugins are available to all Plus members, you'll still need to join the waitlist to get developer access.
- Set up user authentication for ChatGPT plugins with Logto. This means your service should be able to retrieve the user's
access_tokenandrefresh_tokengranted by Logto from ChatGPT plugins.
Resource Indicators
In the ChatGPT plugins configuration, you'll find a scope parameter that needs to be filled. This parameter represents OAuth Scopes to request for your plugin. The scope parameter is a string that contains a list of space-separated OAuth scopes. For example, if your plugin requires the read and write scopes, set the scope parameter to read write.
Scopes work well when you have a single service, but managing scopes for multiple API services can be challenging. To address this, OAuth introduces Resource Indicators to solve the problem. A Resource Indicator should be a URI that identifies the resource to which the client is requesting access (e.g., https://api.example.com/).
If an OAuth authorization request sent by ChatGPT plugins does not include a Resource Indicator (which is the case), Logto treats the scope parameter as the preserved scopes for OpenID Connect. In this scenario, Logto issues Opaque Access Tokens, which are much shorter than JSON Web Tokens (JWT). To retrieve the user's information, you will need to query the /userinfo endpoint.
While this is sufficient for authentication, it is not enough for authorization, and ChatGPT plugins do not support Resource Indicators. However, there is a way forward.
Authorization with Logto
Logto offers the NIST Role-based Access Control (RBAC) model, which leverages Resource Indicators. To learn more about RBAC in Logto, refer to the documentation.
Create an API Resource and a permission
Open Logto Console by accessing https://cloud.logto.io/ if you are using Logto Cloud, or the endpoint you have set up for self-hosting.
Navigate to the "API Resources" tab and click on "Create API Resource".
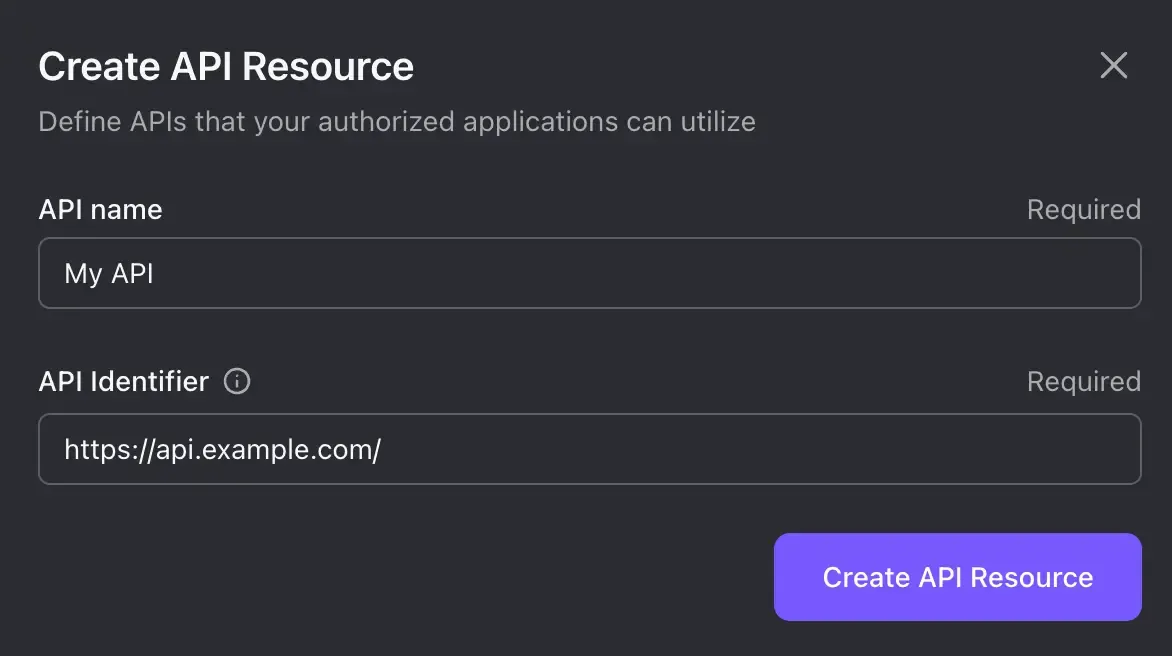
In the modal that appears, enter your API Resource's name and identifier, such as "My API" and https://api.example.com/. Then click on "Create API Resource".
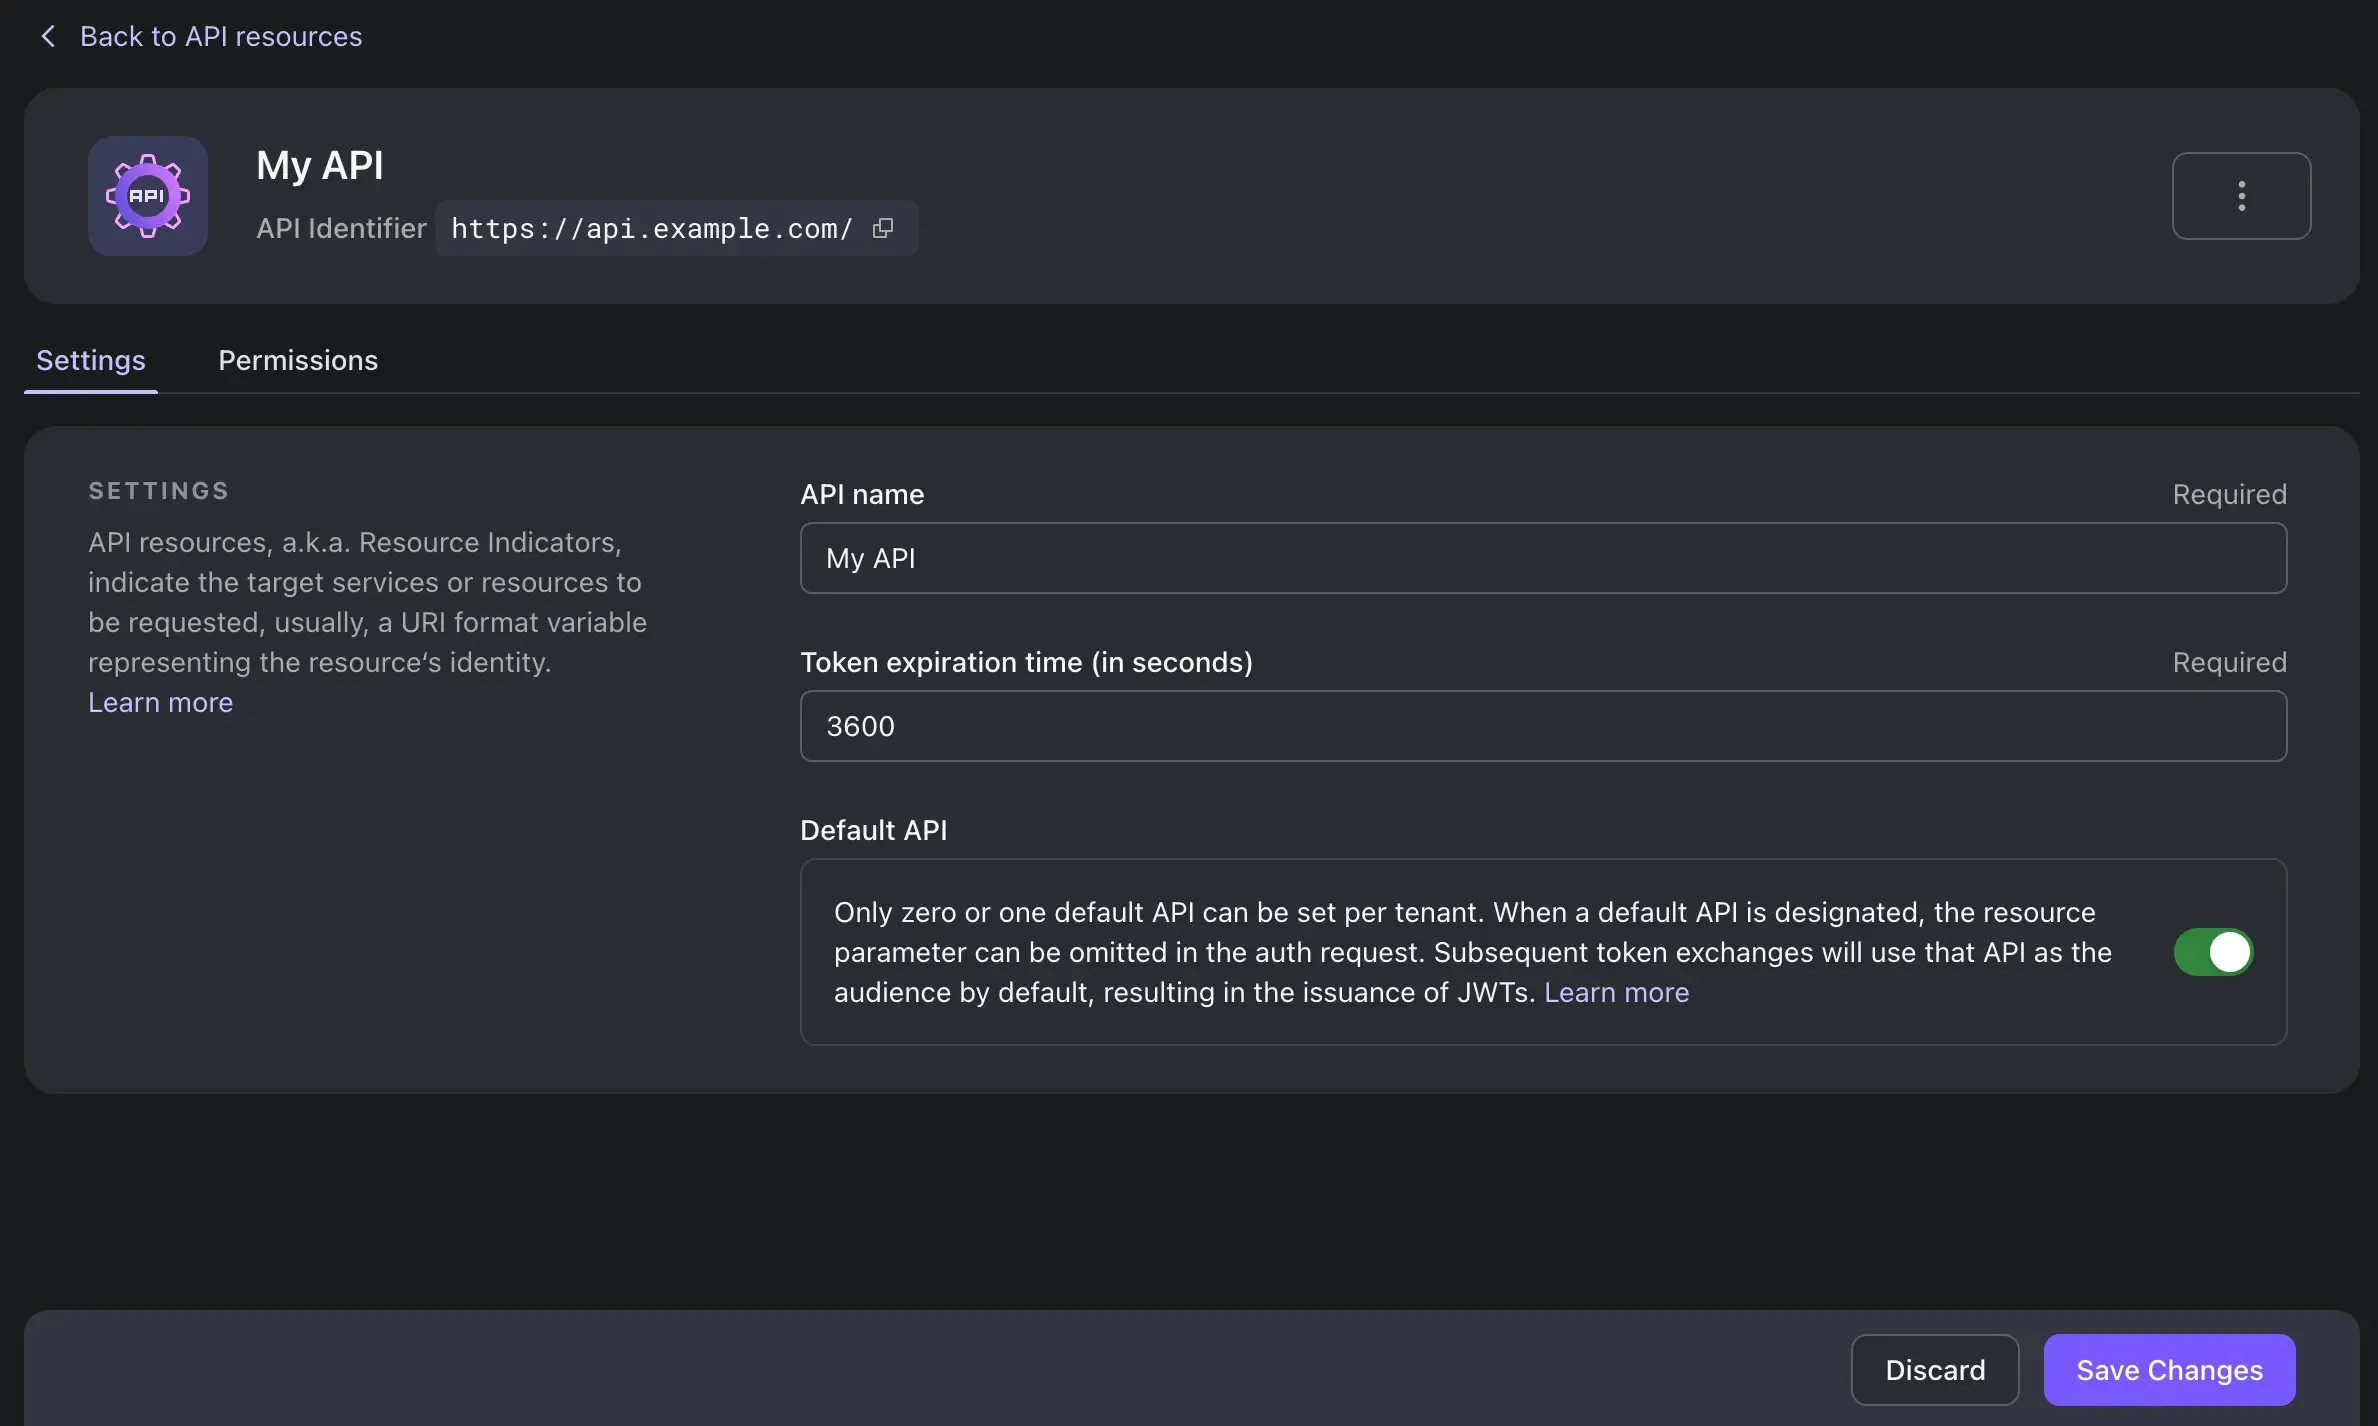
On the details page, toggle on the "Default API" option, and click on "Save" on the bottom bar. This makes the API Resource the default one for all OAuth authorization requests that do not contain a Resource Indicator.
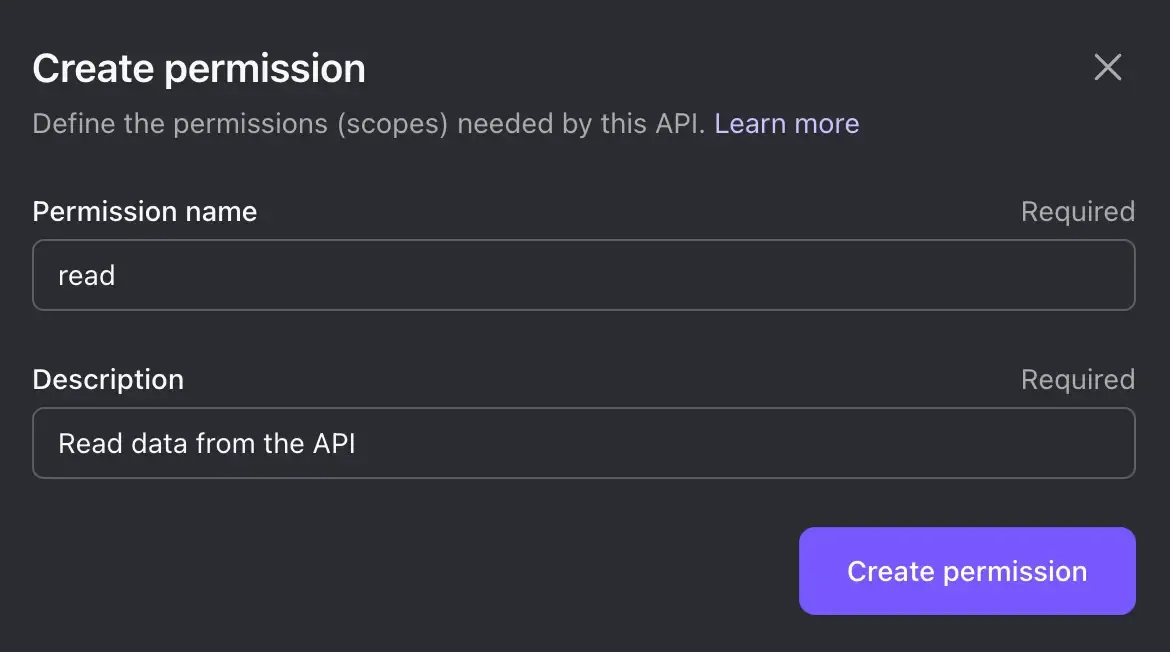
Click on the "Permissions" tab and select "Create Permission". In Logto, permissions are equivalent to OAuth scopes.

Provide a name and description for your permission, for example, "read" and "Read data from the API". Then click on "Create Permission".
Create a role and assign the permission
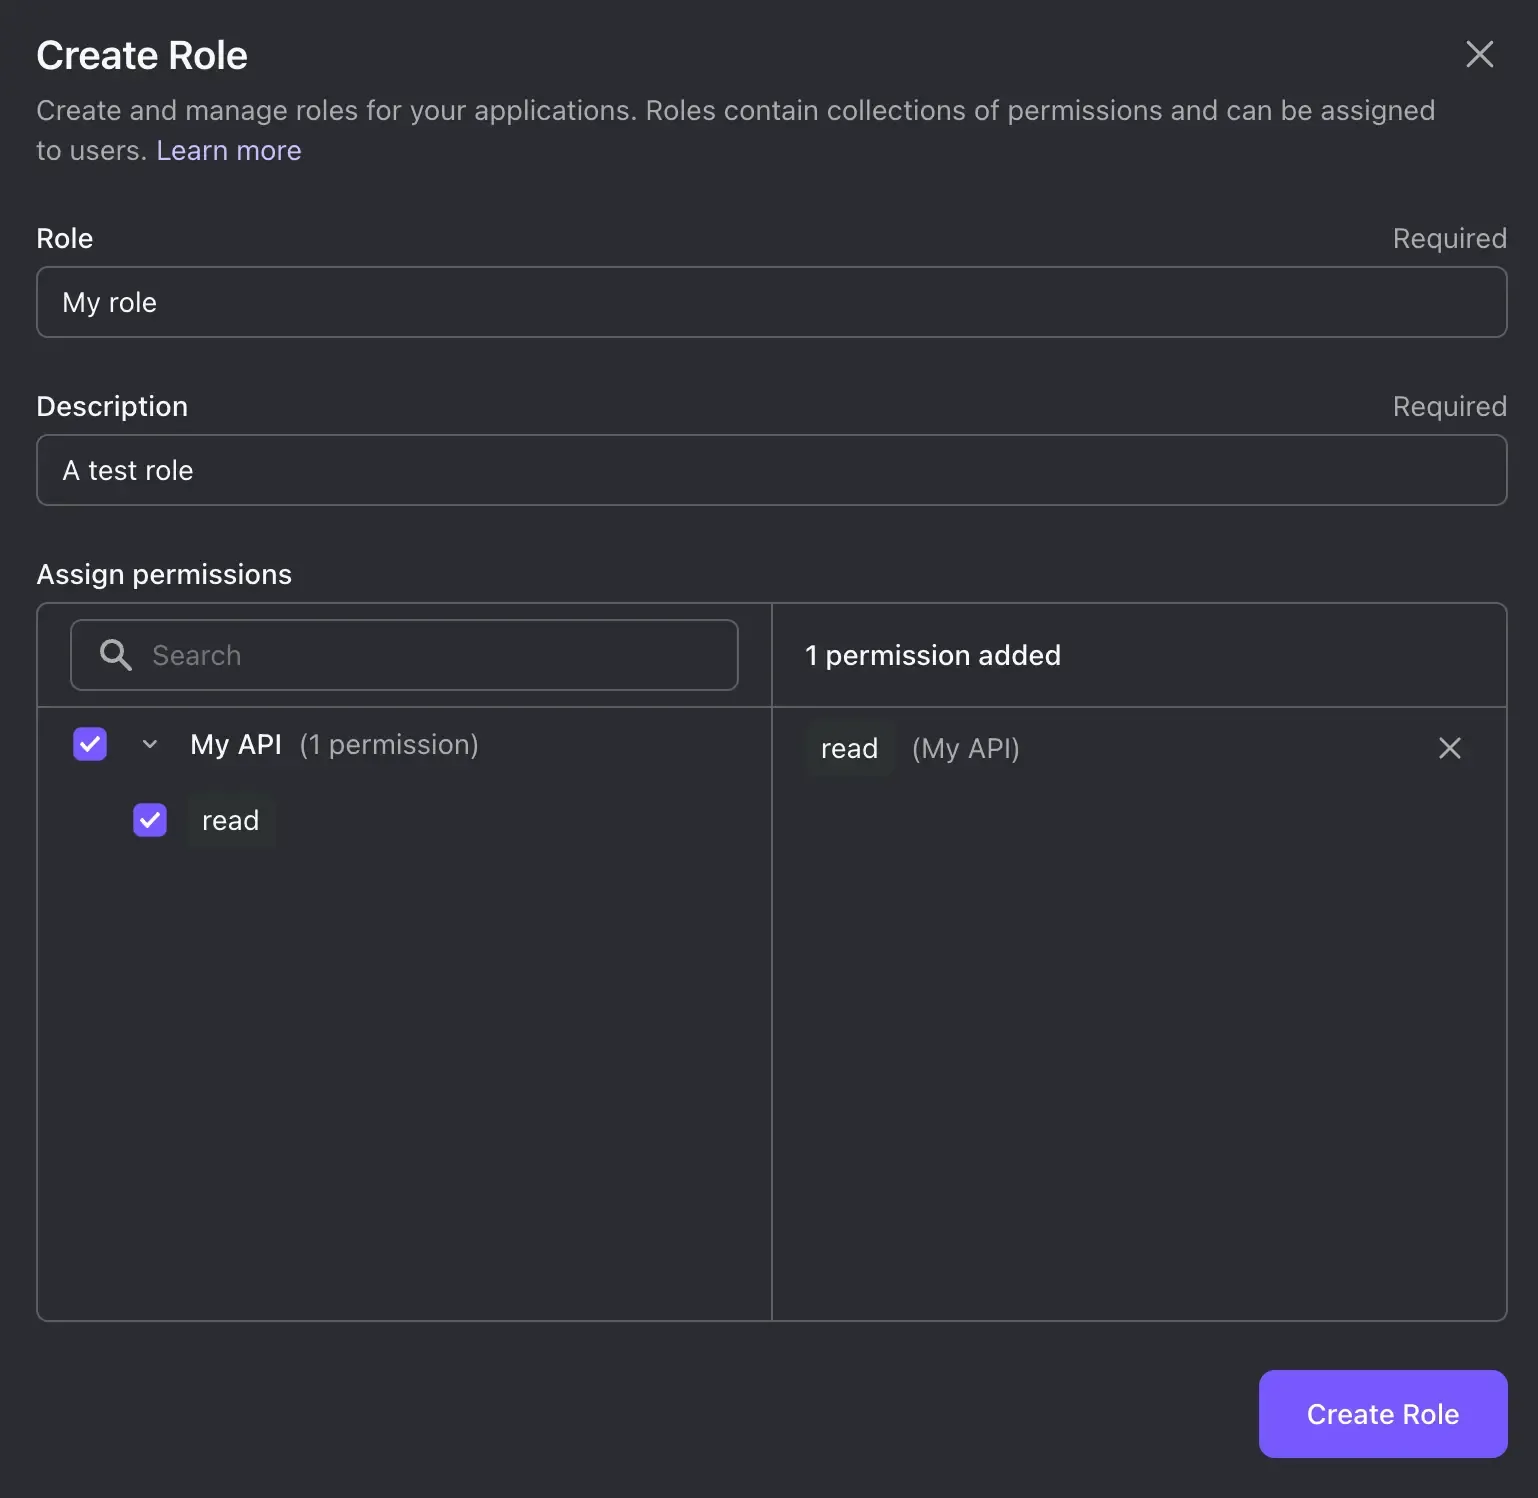
Navigate to the "Roles" tab and click on "Create Role". In the modal that appears, enter the name and description for your role, such as "My role" and "A test role". Under the "Assign permissions" section, select the permission you created in the previous step. Then click on "Create Role".
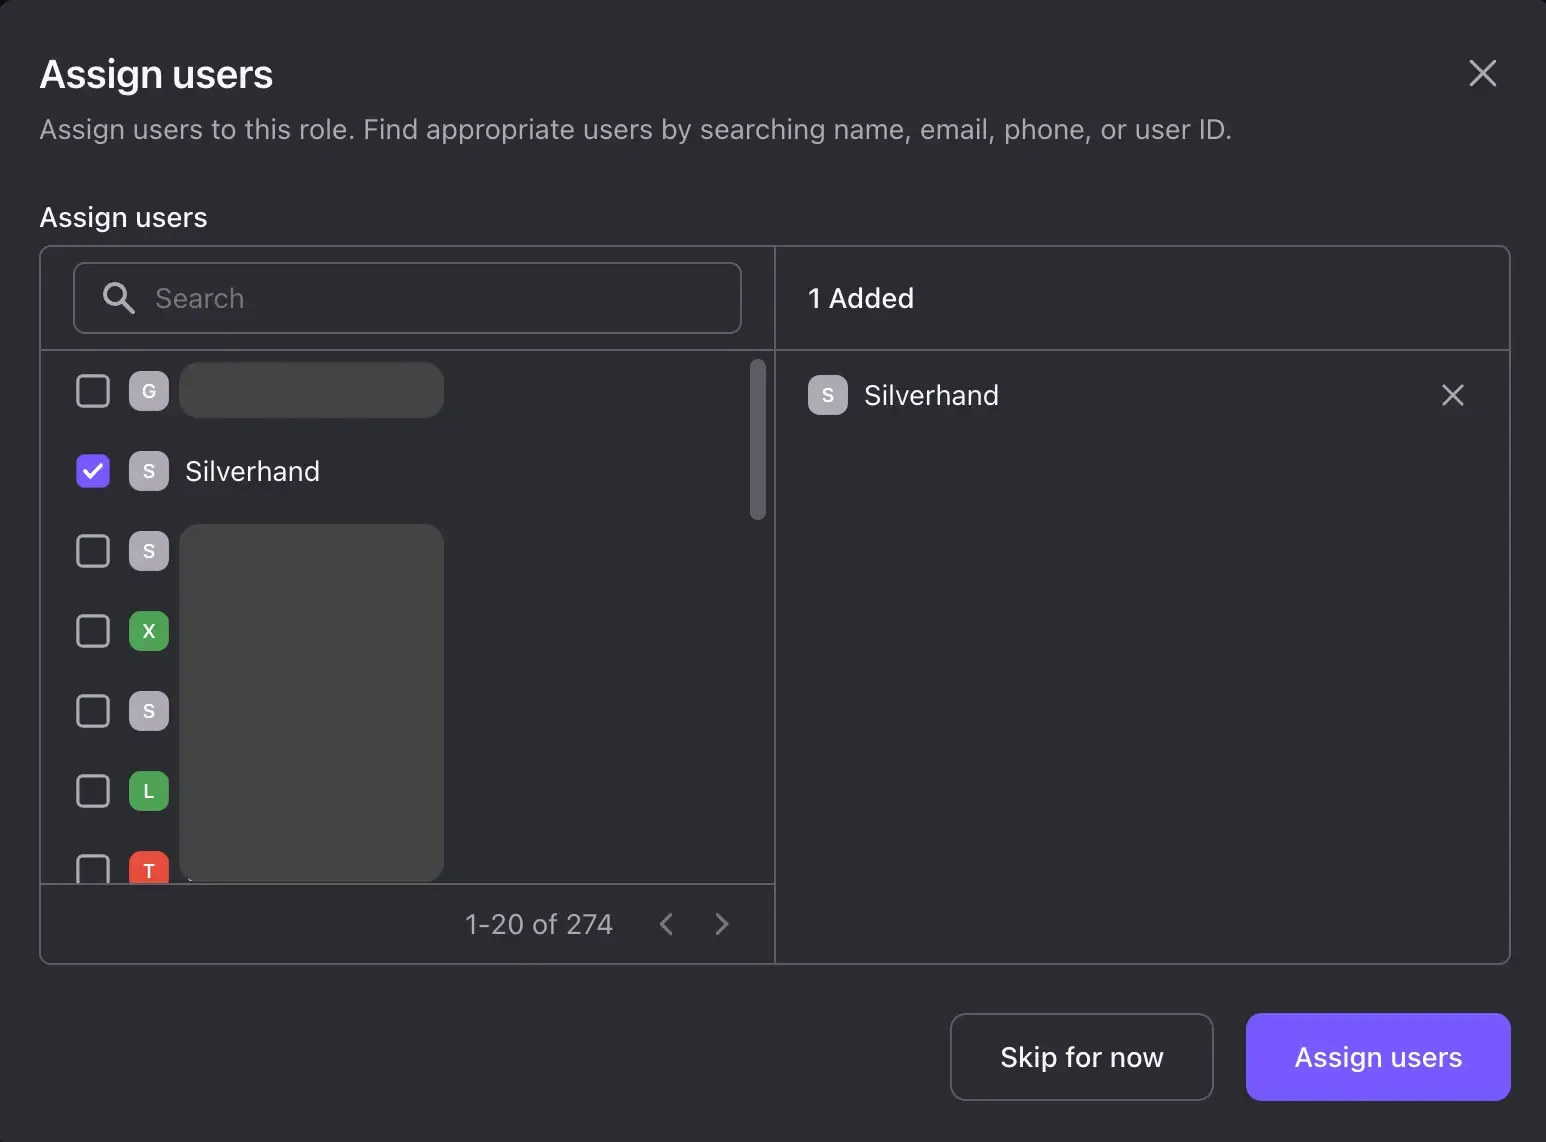
Once created, a modal titled "Assign users" will appear. Select the user to whom you want to assign the role. Then click on "Assign Users".
Update ChatGPT plugins OAuth configuration
In your ChatGPT plugin OAuth configuration, update the "scope" parameter to read.
Test in ChatGPT plugins
You can now test the authorization in ChatGPT plugins. Sign in with the user assigned the role. When your ChatGPT plugin sends requests to your API service, the Authorization header will contain a Bearer Access Token in JSON Web Token (JWT) format. This token includes:
- The
sub(subject) claim, which represents user ID in Logto. - The
aud(audience) claim, which represents the Resource Indicator (https://api.example.com/). - The
scopeclaim, which should beread.
If the user has not been assigned the permission (scope) or the scope in your ChatGPT plugins configuration is not included in the API Resource, it will be ignored. To verify this, try changing the scope to read write, sign in with the same user, and observe that the Access Token still contains only the read scope.
Conclusion
This concludes our guide on implementing ChatGPT plugins user authorization with Logto. If you encounter any issues during the integration, please feel free to contact us via email at [email protected] or join our Discord server!