Implement ChatGPT plugins user authentication with Logto
In this article, we will demonstrate how to use Logto as an OAuth identity provider for ChatGPT plugins.

Founder

Introduction
- Logto is an effortless identity solution with all the features you need. It supports various sign-in methods, including username, email, phone number, and popular social sign-ins like Google and GitHub.
- ChatGPT plugins are tools designed specifically for language models, and help ChatGPT access up-to-date information, run computations, or use third-party services.
In this article, we will demonstrate how to use Logto as an OAuth identity provider for ChatGPT plugins. If you're curious about the importance of authentication for your plugins, check out this post: Authentication: The differentiator for ChatGPT plugins.
For user authorization, you can refer to the ChatGPT plugins user authorization with Logto tutorial.
We want to give a big shoutout to our community member, @kAd, for their invaluable help in validating this integration. We are extremely grateful for their efforts, as this tutorial wouldn't have been possible without their assistance. @Tc001 also provided meaningful input during the process.
Prerequisites
To get started, make sure you have the following:
- A running Logto instance or access to a Logto Cloud account.
- A ChatGPT account with developer access for plugins. While ChatGPT plugins are available to all Plus members, you'll still need to join the waitlist to get developer access.
Configure Logto
If you are self-hosting Logto, refer to the Logto "Get started" documentation to set up your Logto instance.
Open Logto Console by entering the URL https://cloud.logto.io/ if you are using Logto Cloud, or the endpoint you have set up for self-hosting.
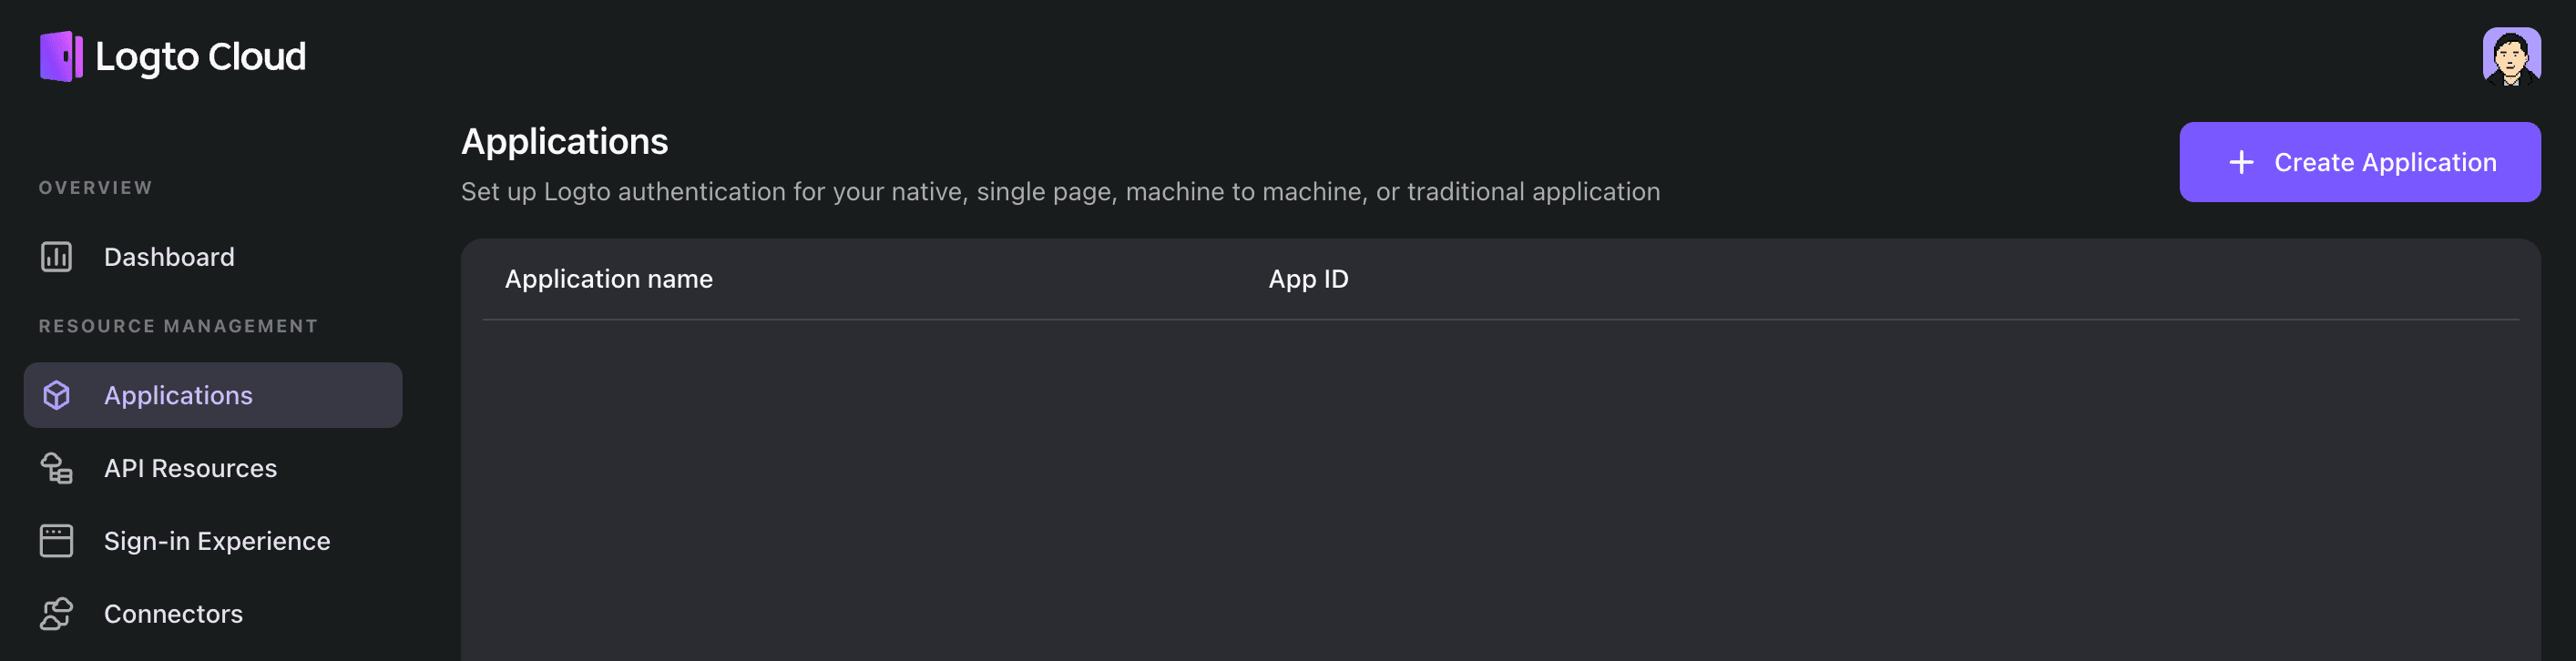
Next, navigate to the "Applications" tab and click on "Create application".
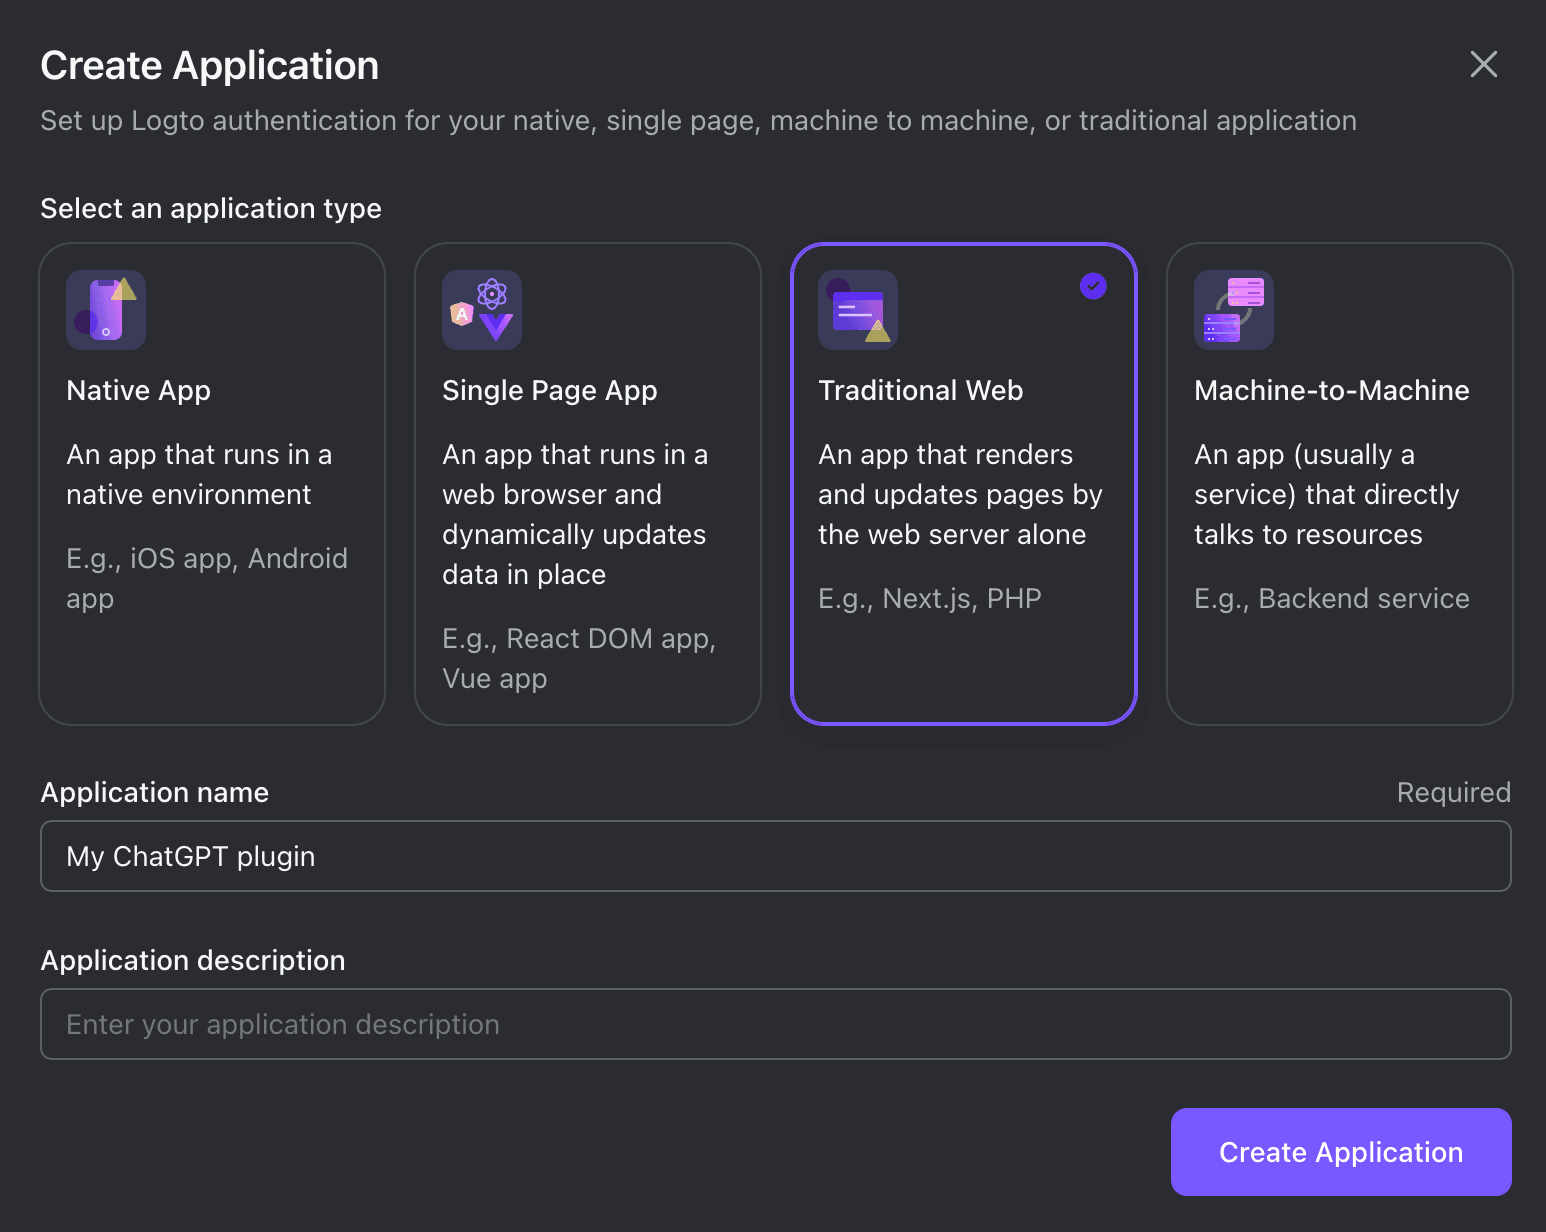
In the modal that appears, choose "Traditional Web" and provide an application name, such as "My ChatGPT plugin." Click on "Create application.”
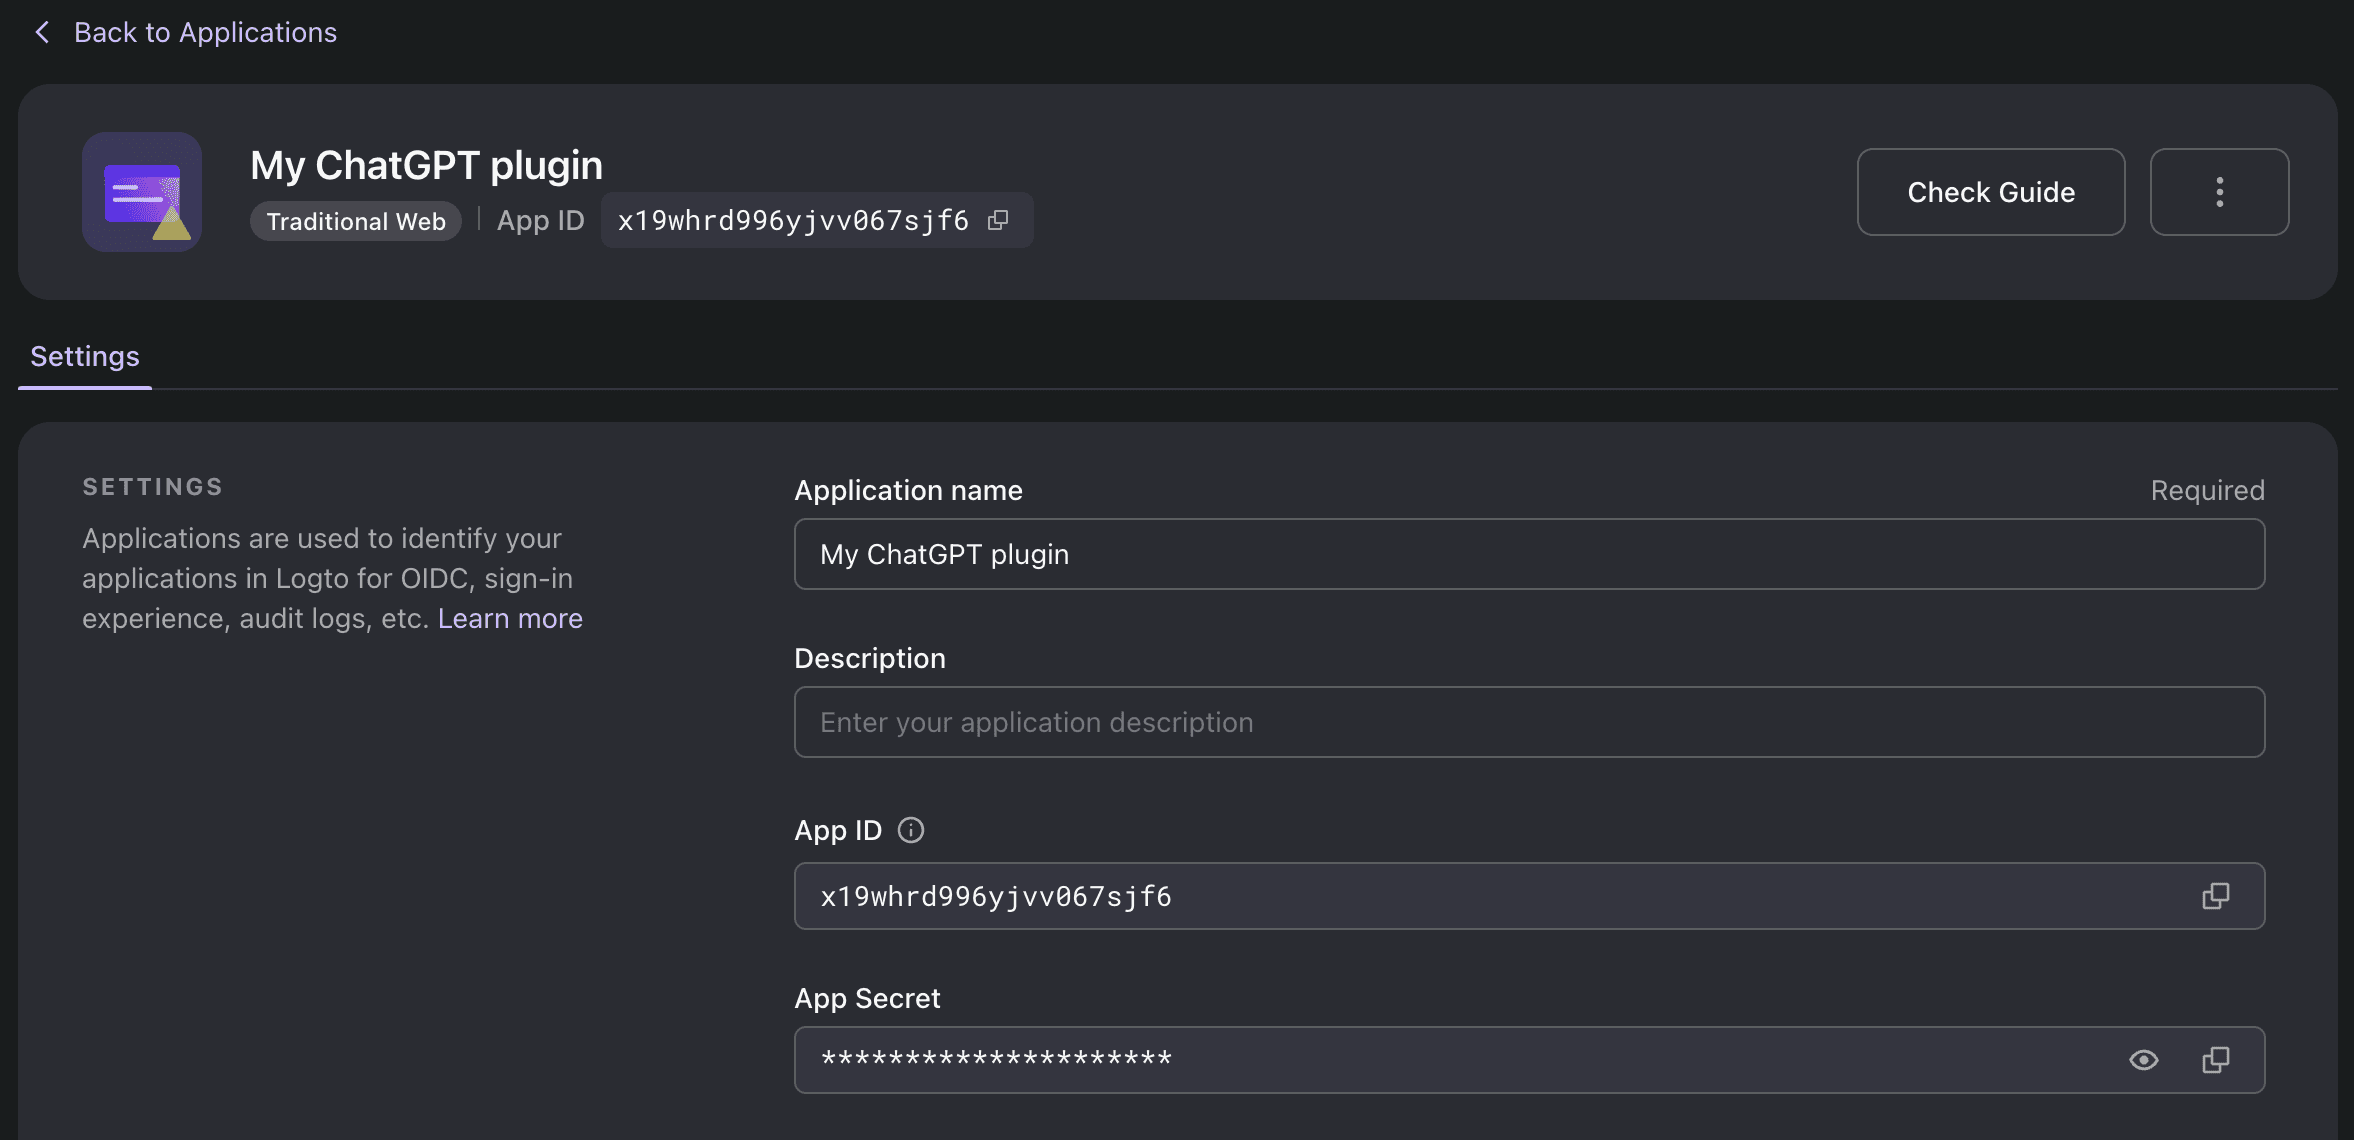
You will be directed to a tutorial page in Logto. Click on "Skip" at the top-right corner to proceed to the Application details page.
In the "Redirect URIs" section, enter the following value:
For example, if your plugin ID is foo123, the value should be:

Scroll down to the "Advanced settings" section and enable "Always issue Refresh Token" (this helps ChatGPT maintain the authentication state).

Click on the "Save Changes" button at the bottom. Keep this page open as it will be useful for configuring plugin later.

Configure ChatGPT plugin
Follow the steps outlined in the ChatGPT Plugins documentation until you reach the authentication configuration step. Since ChatGPT plugin supports OAuth authentication providers, you can easily find most of the required configuration values on the Logto application details page.
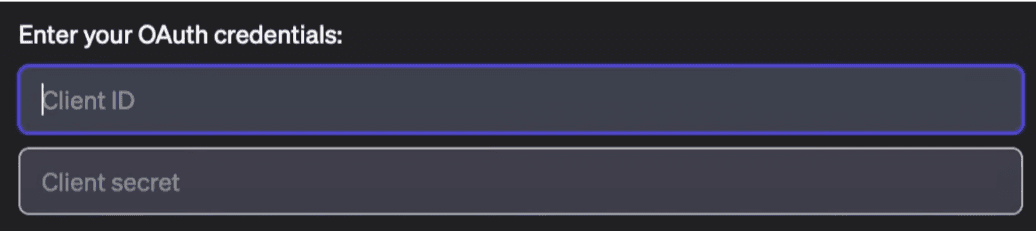
When setting up your plugin with ChatGPT, you will need to provide your OAuth Client ID and Client Secret. These correspond to the “App ID” and “App Secret” on the Logto page.
For the auth section in the ai-plugin.json, use the following template:
Remember to replace the client_url and authorization_url values with the respective values from Logto. You can find and copy them from the "Advanced settings" section on the Logto application details page.

The
profilescope is a placeholder the ensure thescopeparameter is not empty, since ChatGPT will add the parameter to the auth request even if it's not specified in theai-plugin.jsonfile which may cause unexpected behavior.
Checkpoint: Test Logto and ChatGPT plugin integration
The ChatGPT UI will automatically prompt you to install the plugin. Once successful, you will see a dialog with a button that says "Log in with [your plugin name]."

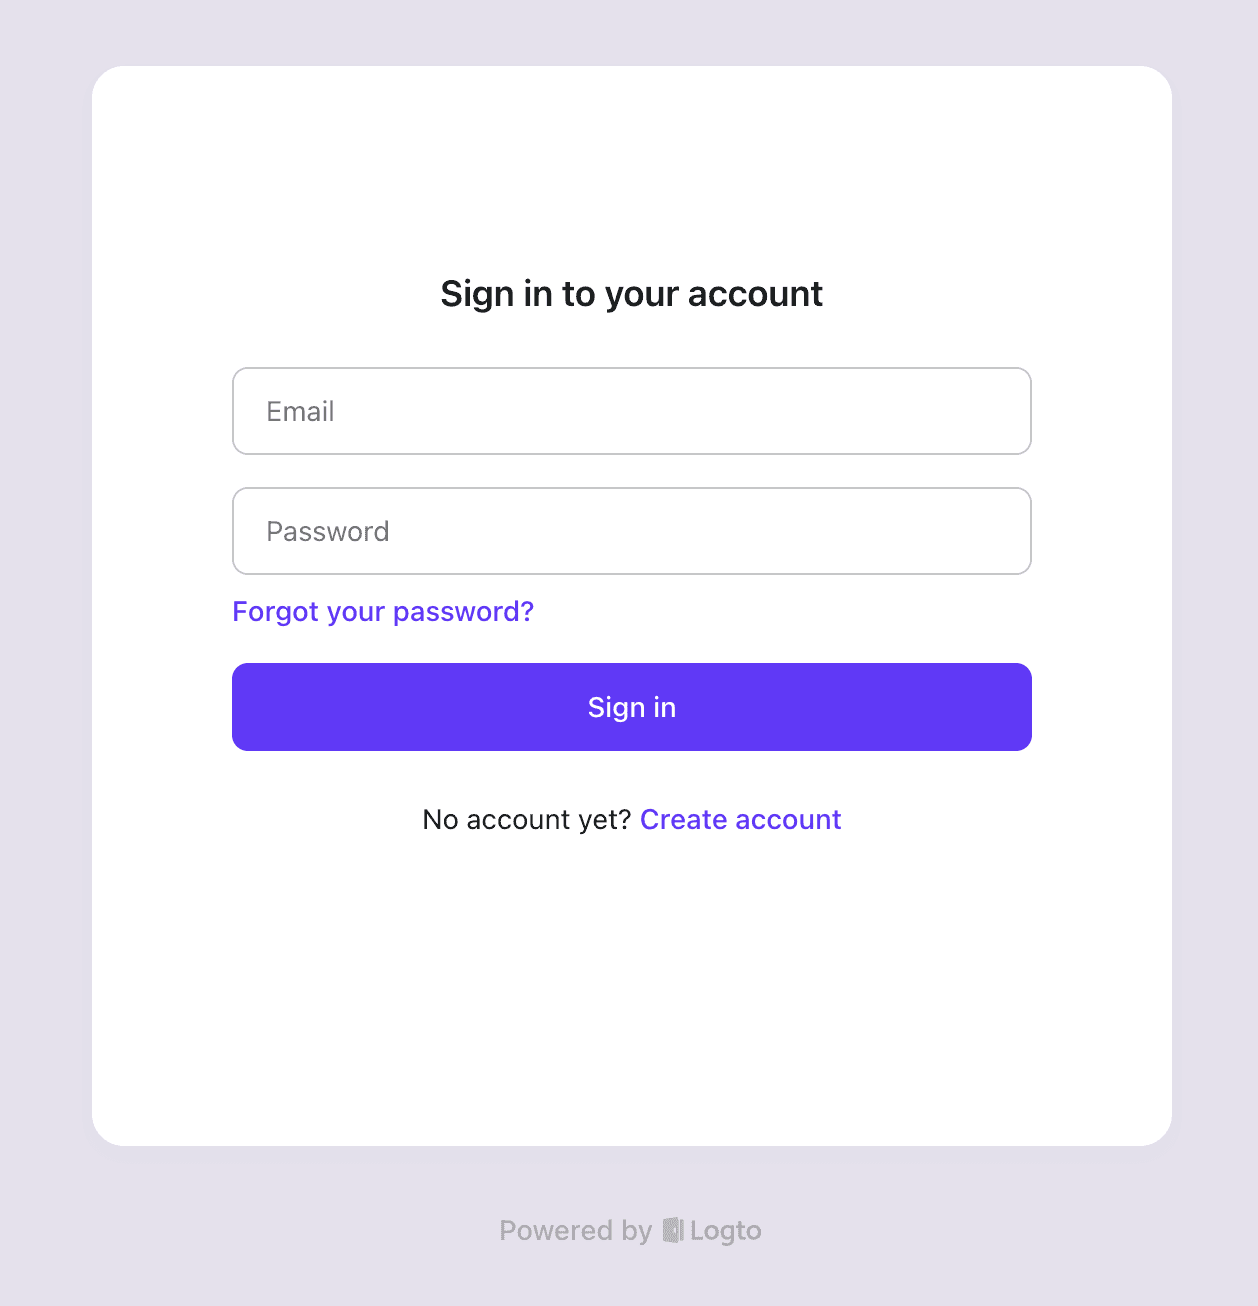
Click on the button, and you will be directed to the Logto sign-in experience.
If everything is configured correctly, once you complete the sign-in or registration process in Logto, you will be redirected back to ChatGPT. From now on, every request sent by ChatGPT to your plugin server will carry the Authorization header, allowing you to decode and verify the token in your API.
And that wraps up our guide on implementing ChatGPT plugins user authentication with Logto. If you encounter any issues during the integration, please don't hesitate to contact us via email at [email protected] or join our Discord server!