Webflow is a SaaS platform for website building and hosting, offering an online visual editor that simplifies the process of designing, building, and launching websites with minimal code.
This article will guide you through integrating Logto with your Webflow projects, enabling user authentication seamlessly.
Navigate to the Logto Console, create an application using the “Vanilla JS” template or “Create without framework,” and select “Single page application” as the app type.
In this step, we'll add global-level custom code to your site. Since Webflow is a static website, we'll utilize the @logto/browser (Vanilla JS) SDK for user authentication. Since NPM cannot be used, we'll import our SDK via a CDN service like jsdelivr.com.
On the Webflow dashboard, hover on your newly created site, and click the “Gear” icon on the top right corner.
In the settings page that opens, find “Custom code” in the left navigation menu, and paste the following JavaScript code into the “Head code” section. You can find your app ID and endpoint URL in Logto application details.
Go to Logto Console, in application settings, find the “Redirect URIs” field, and input https://your-awesome-site.webflow.io/callback, then click “Save changes”.
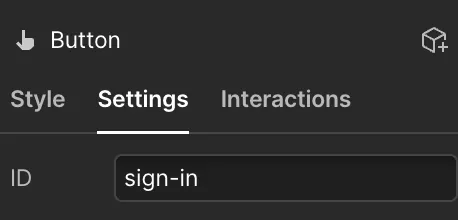
Return to the Webflow designer and add a “Sign in” button on the home page. For the simplicity of this tutorial, we’ll also assign an ID “sign-in” to the button for later reference using getElementById().
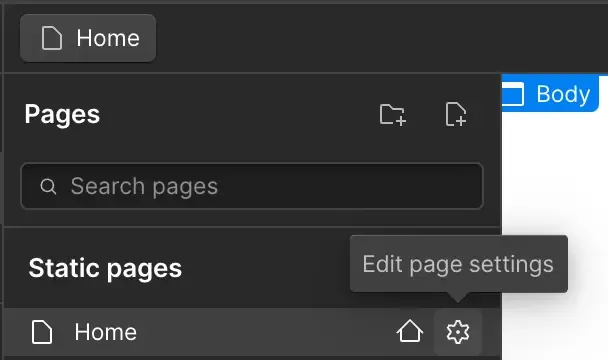
Now let’s add some page-level custom code to the home page. Click the gear icon on the page menu, and find the custom code section on the bottom. Paste the code below in order to bind the click handler for the sign-in button.
Create a new “Callback” page in Webflow, and simply put some static text “Redirecting…” on it. We’ll handle the sign-in callback logic on this page with the following custom code.
Now, you can test the sign-in flow by deploying your Webflow site. After deployment, the “Sign in” button should appear on your home page. Click it to navigate to the sign-in page hosted by Logto. After signing-in, you will be redirected first to the “Callback” page, where you can see the “Redirecting…” text, and then back to your home page.
In Logto Console, locate “Post logout redirect URIs” in the application settings, and input your Webflow site URL https://your-awesome-site.webflow.io.
Return to the Webflow designer, and add a “Sign out” button on your home page. Similarly, assign an ID “sign-out” to the button, and add the following code to the page-level “Custom code”.
In Logto SDK, generally we can use logtoClient.isAuthenticated() method to check the authentication status, if the user is signed in, the value will be true; otherwise, it will be false.
In your Webflow site, you can also use it to programmatically show and hide the sign-in and sign-out buttons. Apply the following custom code to adjust button CSS accordingly.
Add a flex container with ID “container” on the home page, and insert a “Heading 1” element within the container with ID “username”.
Automatically fetch userinfo after successfully signing in, replace the username in “Heading 1” element, and display the container. We can do this with the following custom code.
This tutorial has walked you through integrating Webflow with Logto. By using the @logto/browser SDK, you can easily integrate user authentication into any of your Webflow sites with just a few steps.
Please refer to the full Webflow integration guide on our documentation site for further details, such as fetching JWT access token and handling RBAC (Role-based access control), etc.