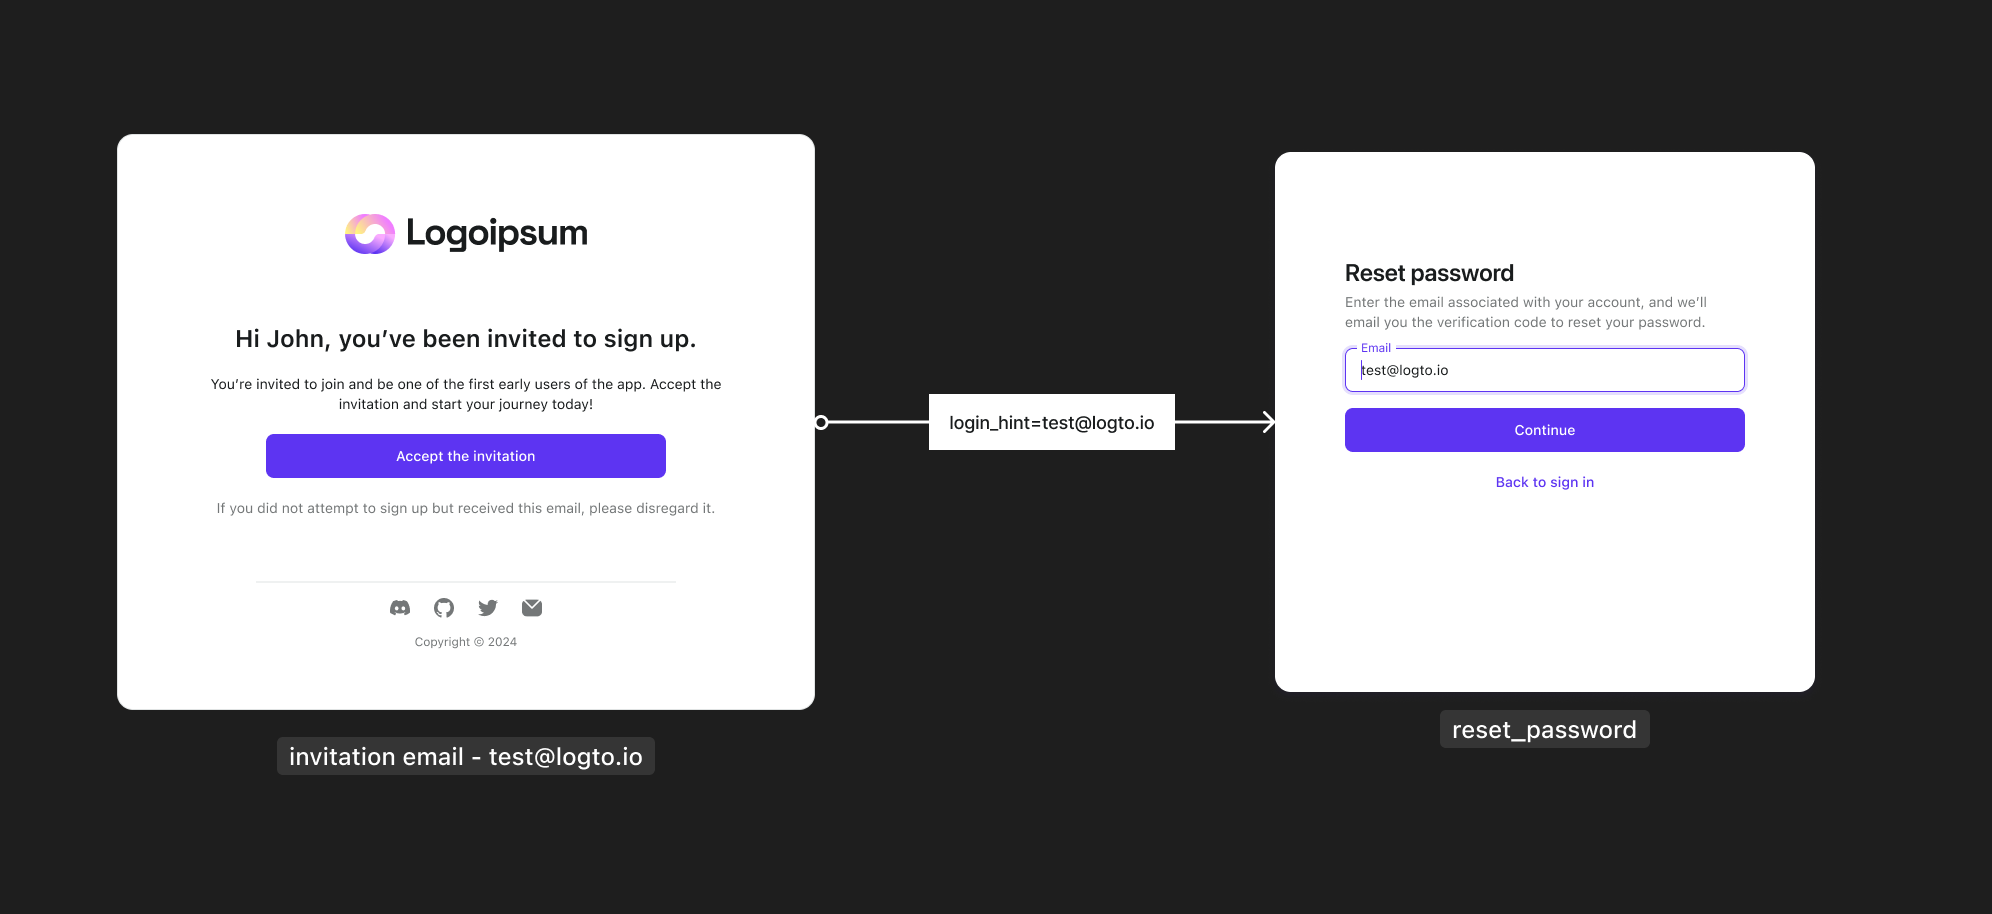
Invitation-only sign-up is a common use case. It enhances exclusivity and security while potentially boosting engagement and retention for early-stage products.
GuamianProduct & Design
Stop wasting weeks on user auth
Launch secure apps faster with Logto. Integrate user auth in minutes, and focus on your core product.
Invitation-only sign-up is a common use case. It enhances exclusivity and security while potentially boosting engagement and retention for early-stage products.
In this blog, we’ll explain what invitation-only sign-up is, the requirements for setting it up, and how to flexibly use Logto to achieve your goal.
Use User.Created event and your own email server to automatically trigger the invitation email
Reset password flow
Allow users to set up their own password
Login hint
Directly navigate to the “Forgot Password” page without requiring users to trigger the flow manually.
Turn off sign-up in the Sign-in experience settings#
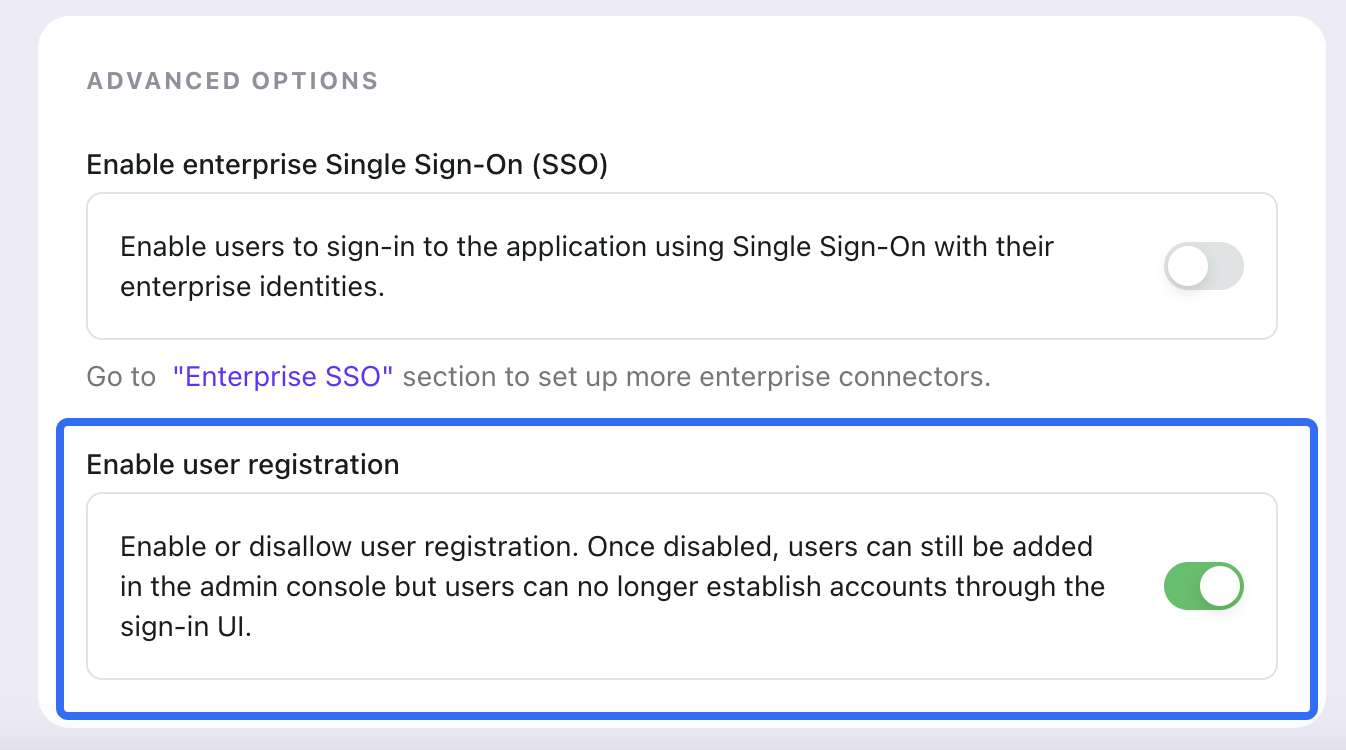
Since users can’t sign up themselves and can only register, go to the Sign-in Experience settings, click on the Sign-In & Sign-Up tab, and find the Advanced Options section. The default setting is on. Turn it off so users will only see the sign-in page.
Admins can create user accounts using email and generate temporary passwords#
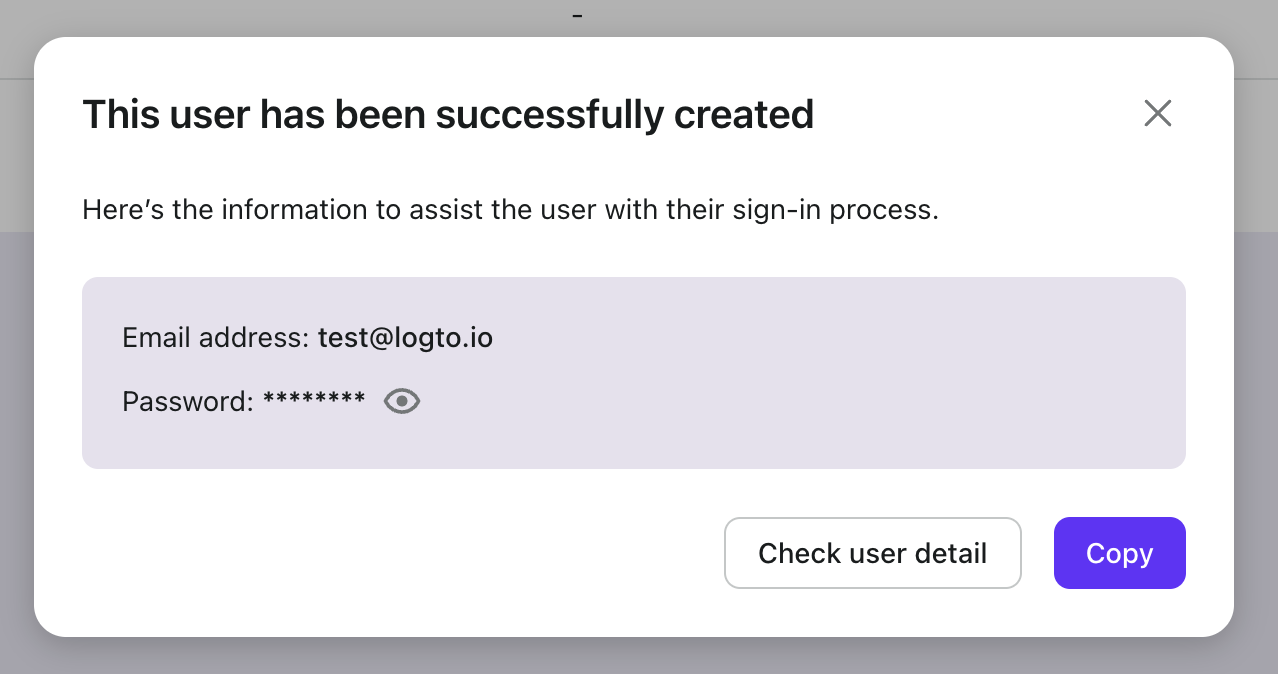
You have a list of user emails and want to invite them to sign up. While Logto doesn’t offer a built-in invitation feature, you can create user accounts manually through the console or use the Management API to handle bulk account creation.
If you have only a few pre-listed users, you can create their accounts directly in the admin console. Users can then sign in with their email and use the “Forgot Your Password” option to set their own password.
Use webhook to automatically send the welcome invitation email#
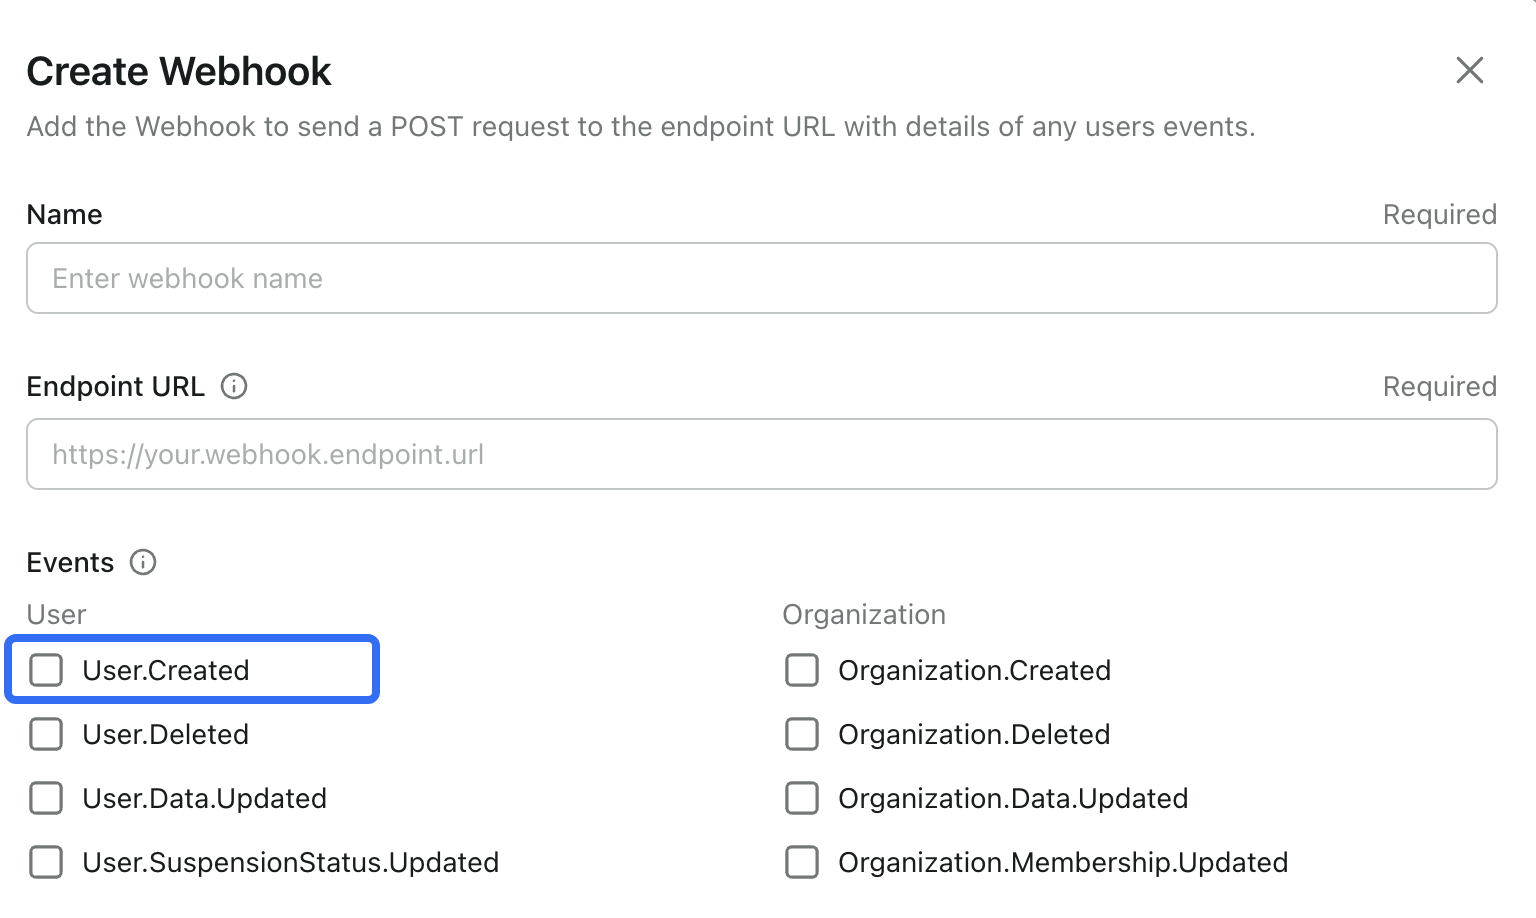
You can send welcome emails by calling your mail server API from your own server. Since it doesn’t require a verification code, you should be able to fetch all the necessary information (such as the user’s name) and customize the email content accordingly. Along with the webhook your email service will be triggered through a webhook upon User.Created event to make this process more automatic.
Use the Login Hint feature to automatically trigger the password reset flow, prompting users to change their password and sign in#
The login_hintparameter, defined in the standard OpenID Connect specification, is used to pre-populate the sign-in form with the user's identifier (such as an email or username). With Logto, it can be combined with other sign-in screen parameters to enhance the user experience.
For example, pre-filling the email address field with the user's email in the sign-in form:
This guide provides high-level guidance and highlights key Logto features to implement an invitation-only sign-up flow. It cleverly combines multiple features to create a seamless, end-to-end experience.