Streamline OAuth and OIDC Authentication with Logto
Our community has expressed interest in using Logto as an Identity Provider for certain products, such as Outline or ChatGPT plugins. In theory, Logto can serve as an OAuth or OIDC (OpenID Connect) provider as long as the product you want to integrate supports either of these protocols.

Founder

Logto is an easy-to-use identity solution that offers all the necessary features. It supports various sign-in methods like usernames, emails, phone numbers, and popular social sign-ins such as Google and GitHub. Whether you're an individual or a business of any size, Logto provides the perfect Customer Identity and Access Management (CIAM) solution tailored to your project's specific needs.
Introduction
Our community has expressed interest in using Logto as an Identity Provider for certain products, such as Outline or ChatGPT plugins. In theory, Logto can serve as an OAuth 2.0 (OAuth) or OpenID Connect (OIDC) provider as long as the product you want to integrate supports either of these protocols.
In this article, we offer a general tutorial for OAuth or OIDC integrations using Logto as an Identity Provider. Additionally, we provide dedicated tutorials for specific integrations, including:
Although certain details may differ across products, the fundamental configuration remains generic. If you have any questions or need further assistance, we encourage you to join our Discord server for further discussion.
Let's get started!
Prerequisites
Before we begin, make sure you have the following:
- A running Logto instance or access to a Logto Cloud account.
- A product that supports a third-party OAuth or OIDC identity provider (referred to as "the product").
Configure Logto
If you are self-hosting Logto, refer to the Logto "Get started" documentation to set up your Logto instance.
Open Logto Console by accessing the URL https://cloud.logto.io/ if you are using Logto Cloud, or use the endpoint you have set up for self-hosting.
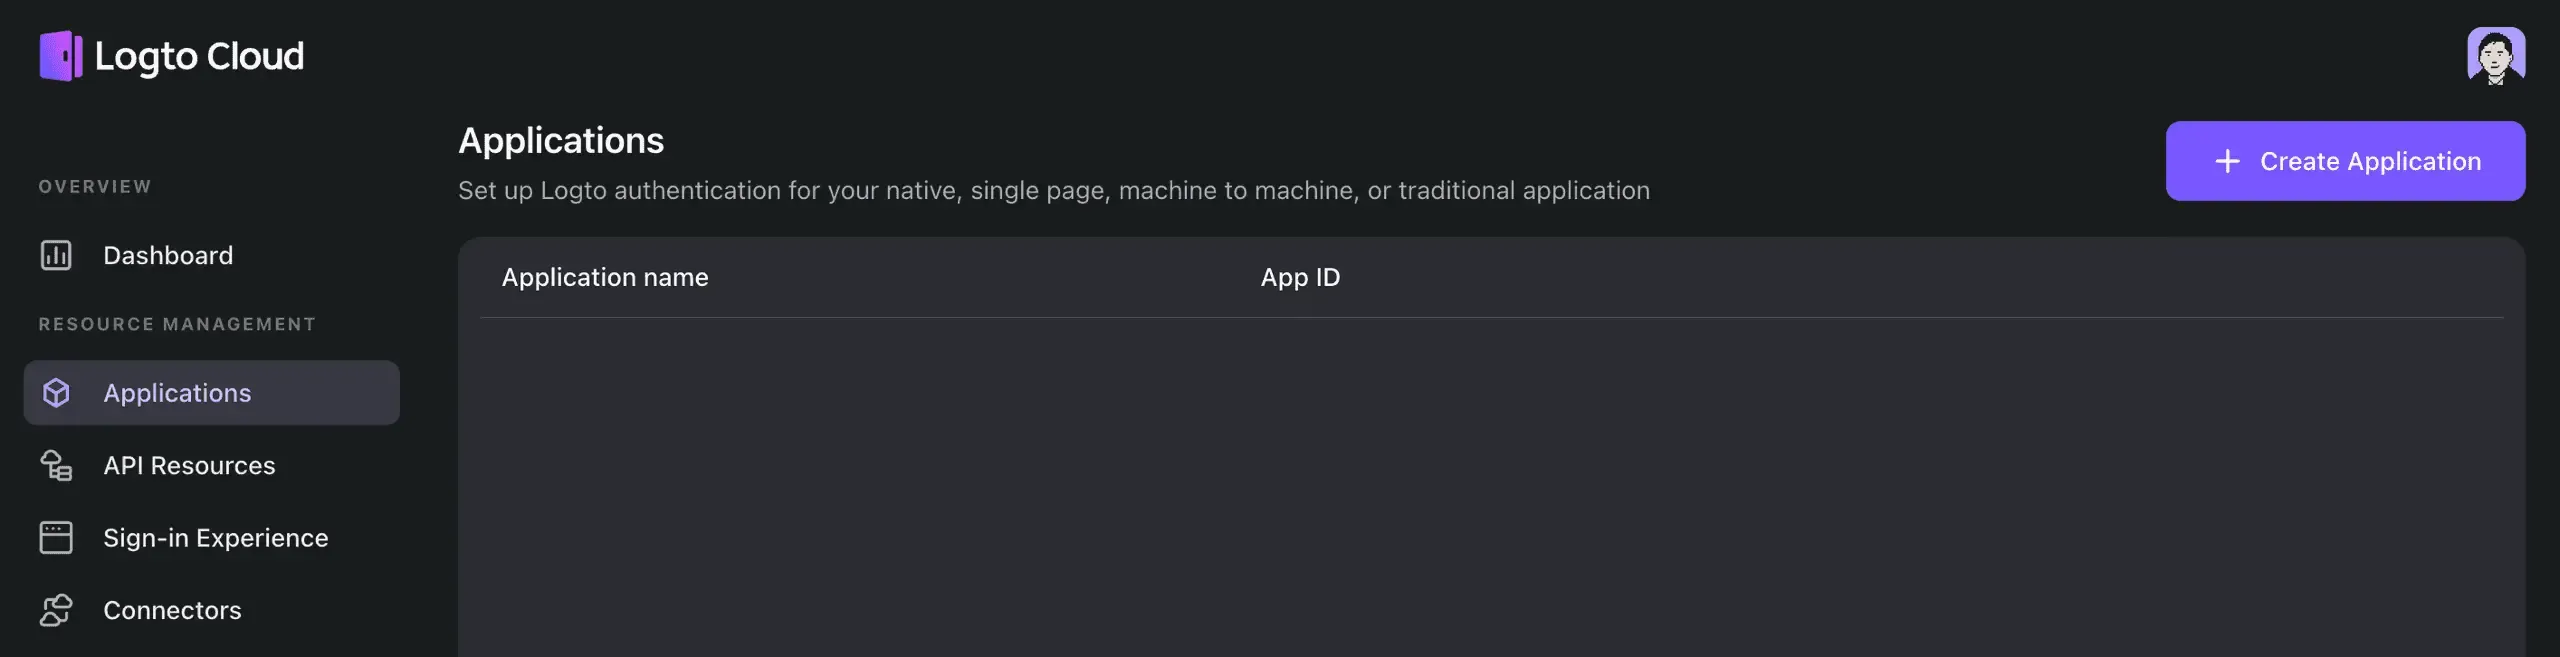
Create application
Go to the "Applications" tab and click on "Create application".
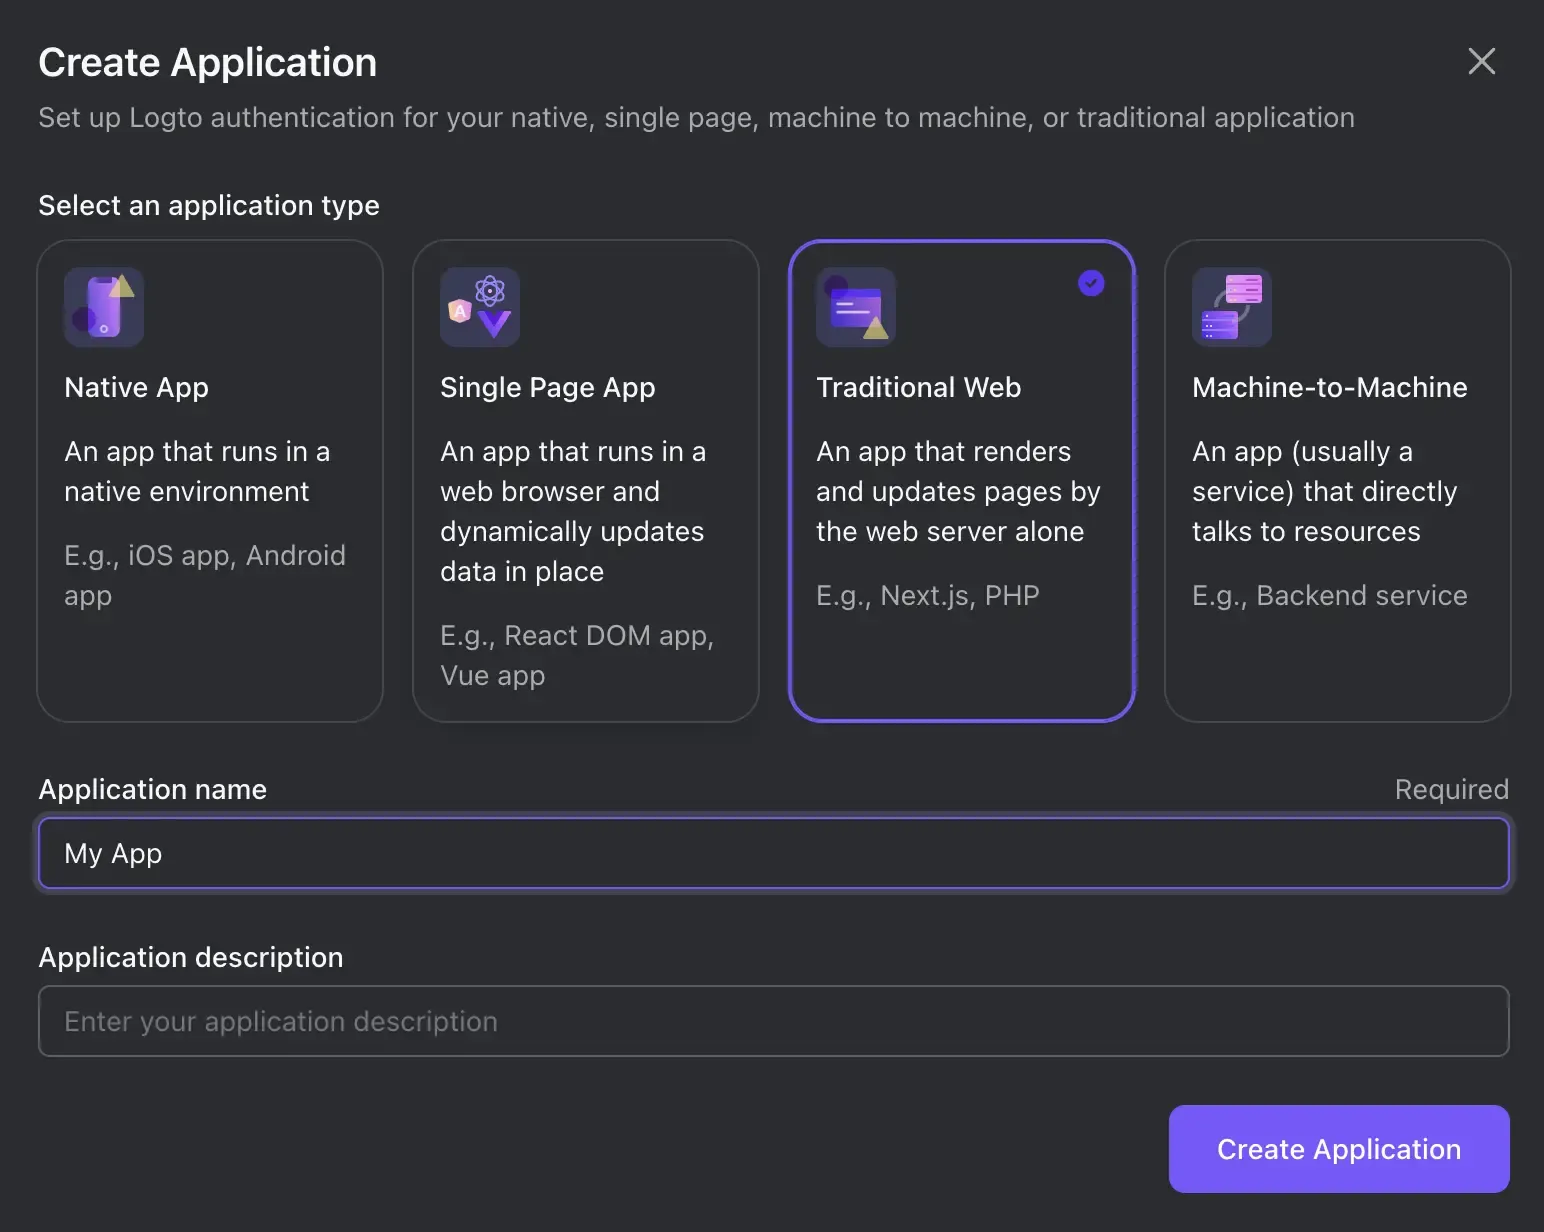
In the modal that appears, choose "Traditional Web" and provide an application name, such as "My App". Click on "Create application".
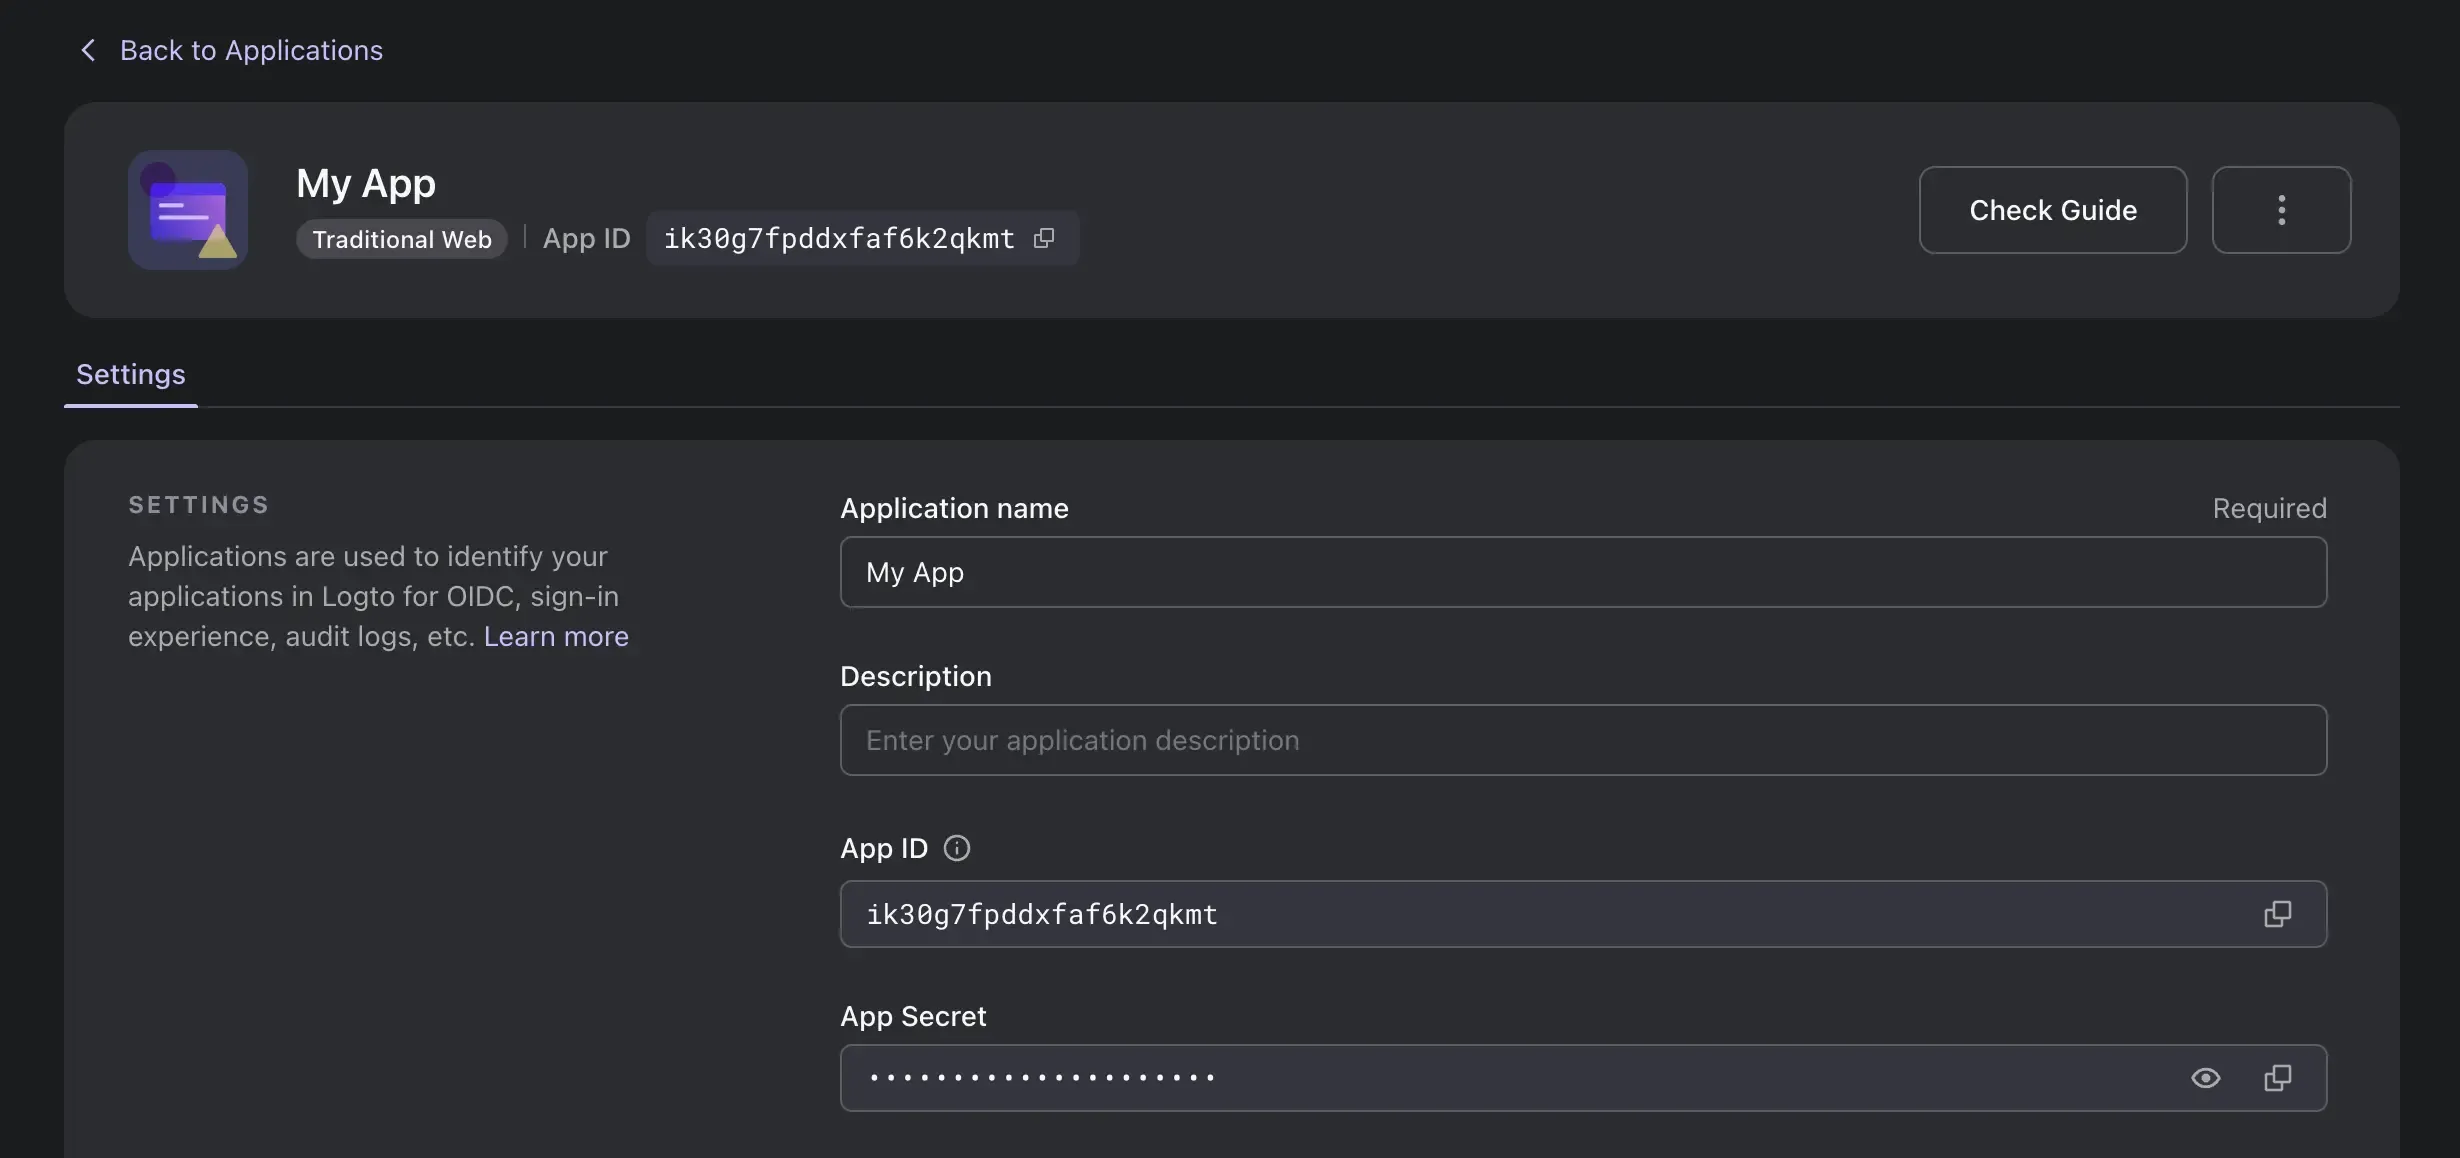
You will be directed to a tutorial page in Logto. Click on "Skip" at the top-right corner to proceed to the Application details page.
Configure Redirect URI
In the "Redirect URIs" section, enter the value provided in the product documentation. Usually, it is dynamic based on your ID or endpoint configuration in the product. For example, in ChatGPT plugins, the Redirect URI is:
https://chat.openai.com/aip/[your-plugin-id]/oauth/callback
If your plugin ID is foo123, the value should be:
https://chat.openai.com/aip/foo123/oauth/callback

Alternatively, it may be referred to as "Redirect URL," "Callback URI," or "Callback URL.”
Optional: Make sure Logto issues Refresh Token
Some products may require a Refresh Token when sending token exchange requests to Logto. For OAuth, you only need to make sure the offline_access scope is included. According to the OIDC protocol, by default, the product must also add the prompt=consent search parameter in the initial authorization request for the Authorization Code flow; otherwise, no Refresh Token will be issued.
If the product uses OAuth or doesn't add the prompt=consent parameter or the offline_access scope but requires a Refresh Token (e.g., ChatGPT plugins), scroll down to the "Advanced settings" section and enable "Always issue Refresh Token."

That’s it!
Click on the "Save Changes" button at the bottom. Keep this page open as it will be useful for further configuration.

Configure the product
Follow the steps outlined in the product's documentation for OAuth or OIDC configuration.
Basic configuration
Most of the required configuration values can be found on the Logto application details page. Some names may have aliases, so refer to the table below for reference:
| Logto Name | Aliases | Usage |
|---|---|---|
| App ID | Application ID, Client ID | |
| App Secret | Application Secret, Client Secret | |
| Redirect URI | Redirect URL, Callback URI, Callback URL | Redirect after sign-in |
| Post Sign-out Redirect URIs | Post Sign-out Redirect URL, Post Logout (Redirect) URI, Post Logout (Redirect) URL | Redirect after sign-out |
| Authorization Endpoint | Authorization URI, Authorization URL, Auth Endpoint, Auth URL, Auth URI | Initial authentication |
| Token Endpoint | Token URL, Token URI | Request a token grant |
| Userinfo Endpoint | Userinfo URL, Userinfo URI, User Info Endpoint, User Info URL, User Info URI | Fetch current user information |
For modern products, a "discovery endpoint" may be sufficient. In such cases, replace auth with .well-known/openid-configuration in the Authorization Endpoint. For example, if the Authorization Endpoint is https://default.logto.app/oidc/auth, the discovery endpoint would be https://default.logto.app/oidc/.well-known/openid-configuration.
Optional: Scope configuration
If the product supports OIDC or requires an ID Token to be issued, add openid profile to the scope configuration. Refer to the claim-scope table below:
| Claim | Type | Required Scope |
|---|---|---|
| sub | string | openid |
| name | string | profile |
| username | string | profile |
| picture | string | profile |
| string | ||
| email_verified | boolean | |
| phone_number | string | phone |
| phone_number_verified | boolean | phone |
Checkpoint: Test Logto integration
Click on the sign-in button in the product, you will be directed to the Logto sign-in experience.
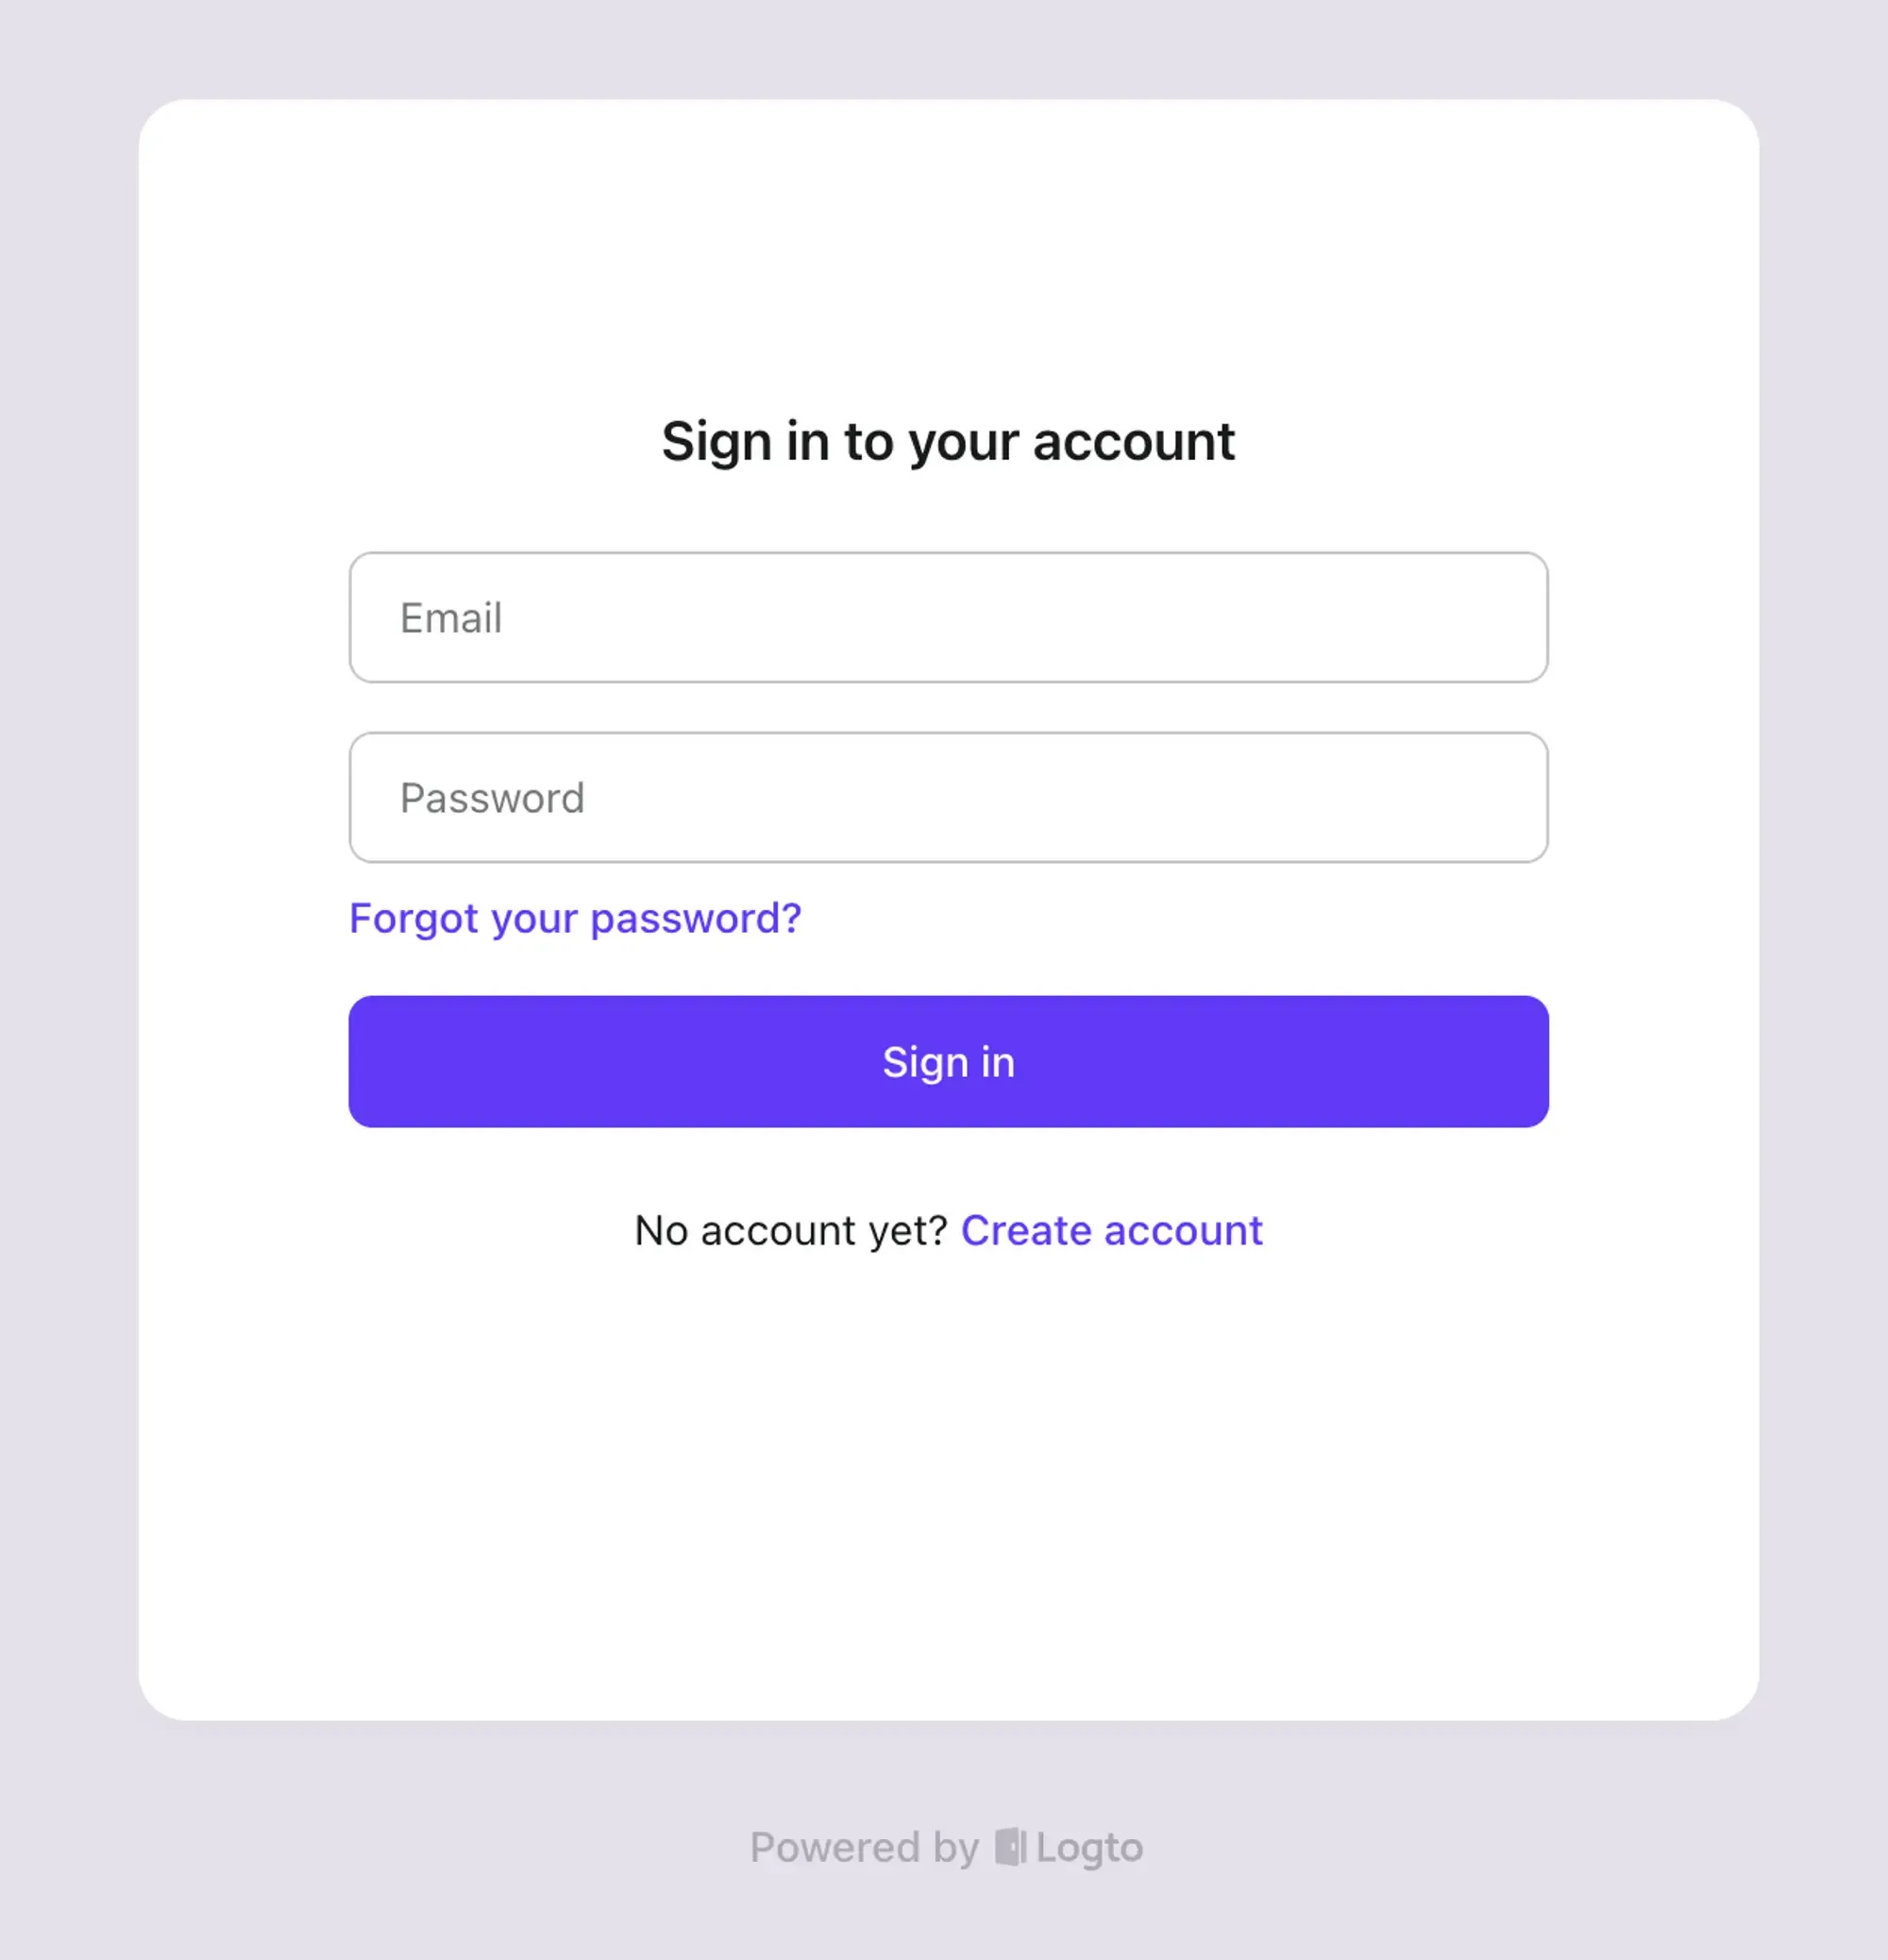
If everything is configured correctly, once you complete the sign-in or registration process in Logto, you will be redirected back to the product without any errors.
And that concludes our guide on streamlining OAuth and OIDC authentication with Logto. If you encounter any issues during the integration, please don't hesitate to contact us via email at [email protected] or join our Discord server!