Simplify Outline authentication with Logto
In this article, we will demonstrate how to use Logto as an OpenID Connect (OIDC) identity provider for Outline.
Introduction
- Logto is an effortless identity solution with all the features you need. It supports various sign-in methods, including username, email, phone number, and popular social sign-ins like Google and GitHub.
- Outline serves as a knowledge base for growing teams.
The best part is that both Logto and Outline are open-source. In this article, we will demonstrate how to use Logto as an OpenID Connect (OIDC) identity provider for Outline.
Prerequisites
To get started, make sure you have the following:
- A running Logto instance or access to a Logto Cloud account.
- An Outline hosting environment with access to environment variables.
Configure Logto
If you are self-hosting Logto, refer to the Logto "Get started" documentation to set up your Logto instance.
Open Logto Console by entering the URL https://cloud.logto.io/ if you are using Logto Cloud, or the endpoint you have set up for self-hosting.
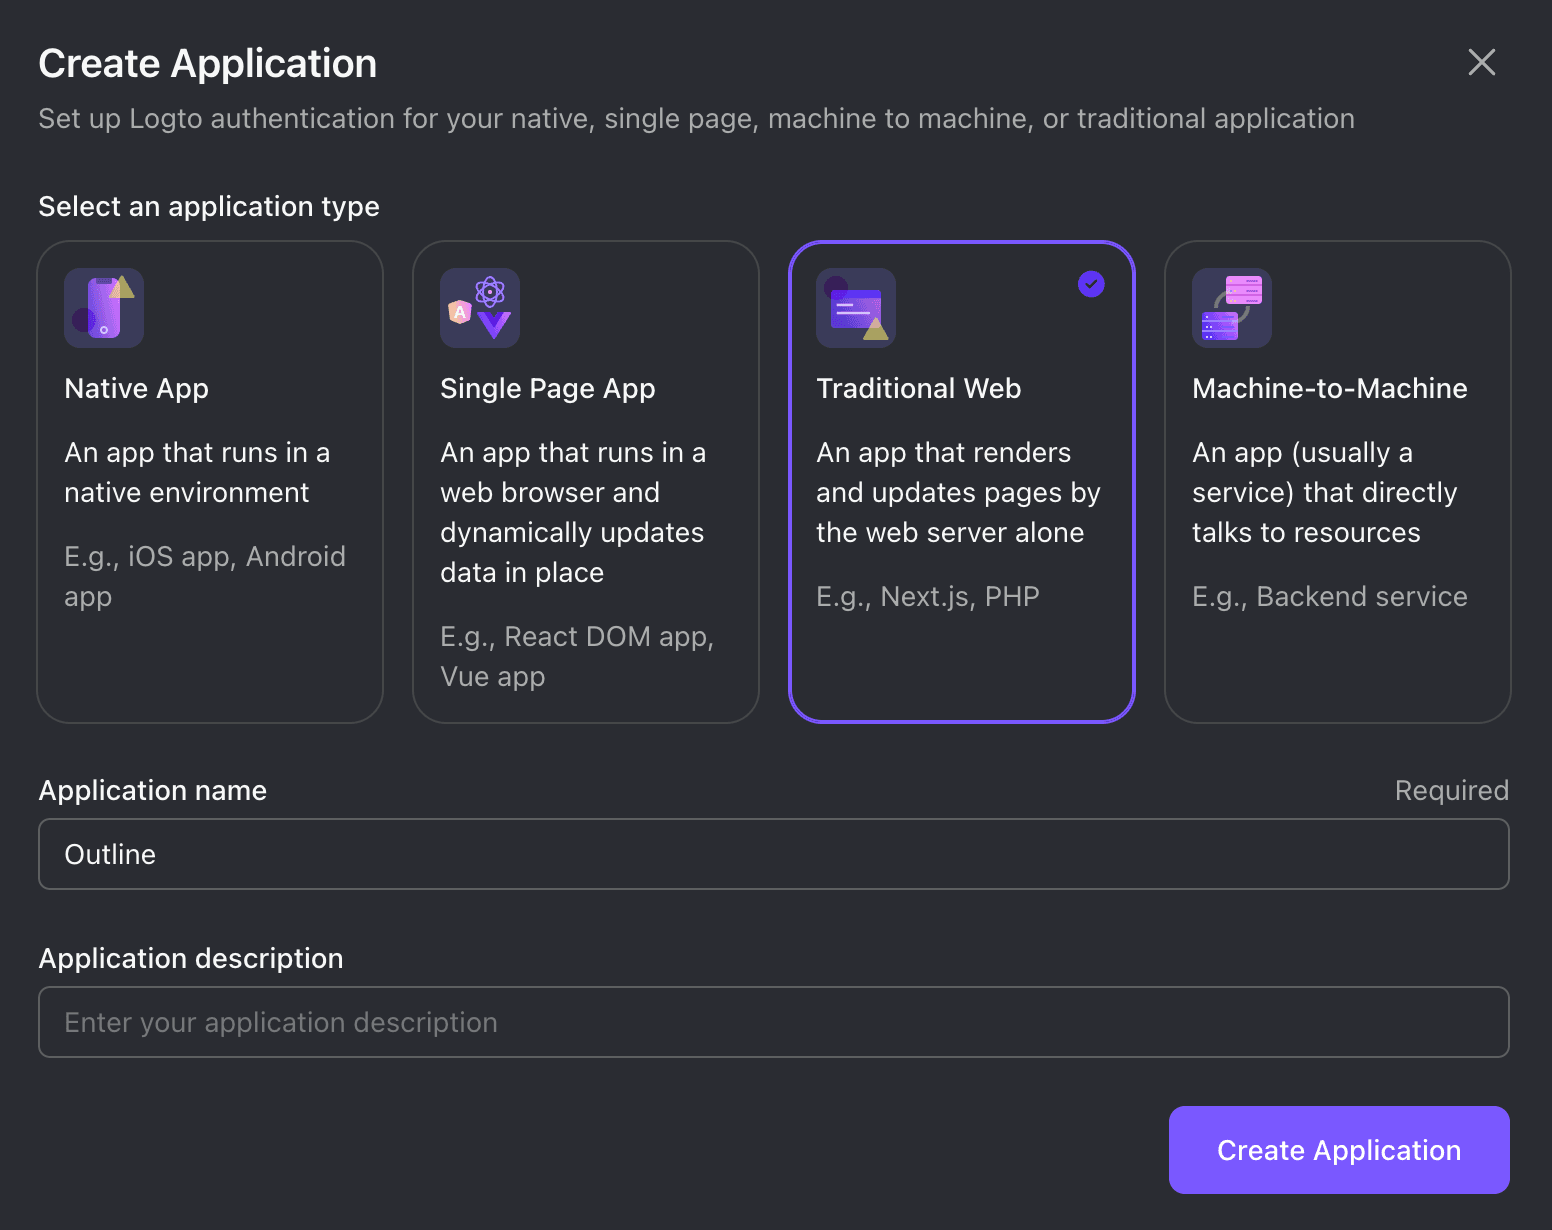
Next, navigate to the "Applications" tab and click on "Create application".

In the modal that appears, choose "Traditional Web" and provide an application name, such as "Outline". Then click on "Create application”.
You will be directed to a tutorial page in Logto. Click on "Skip" at the top-right corner to proceed to the Application details page.
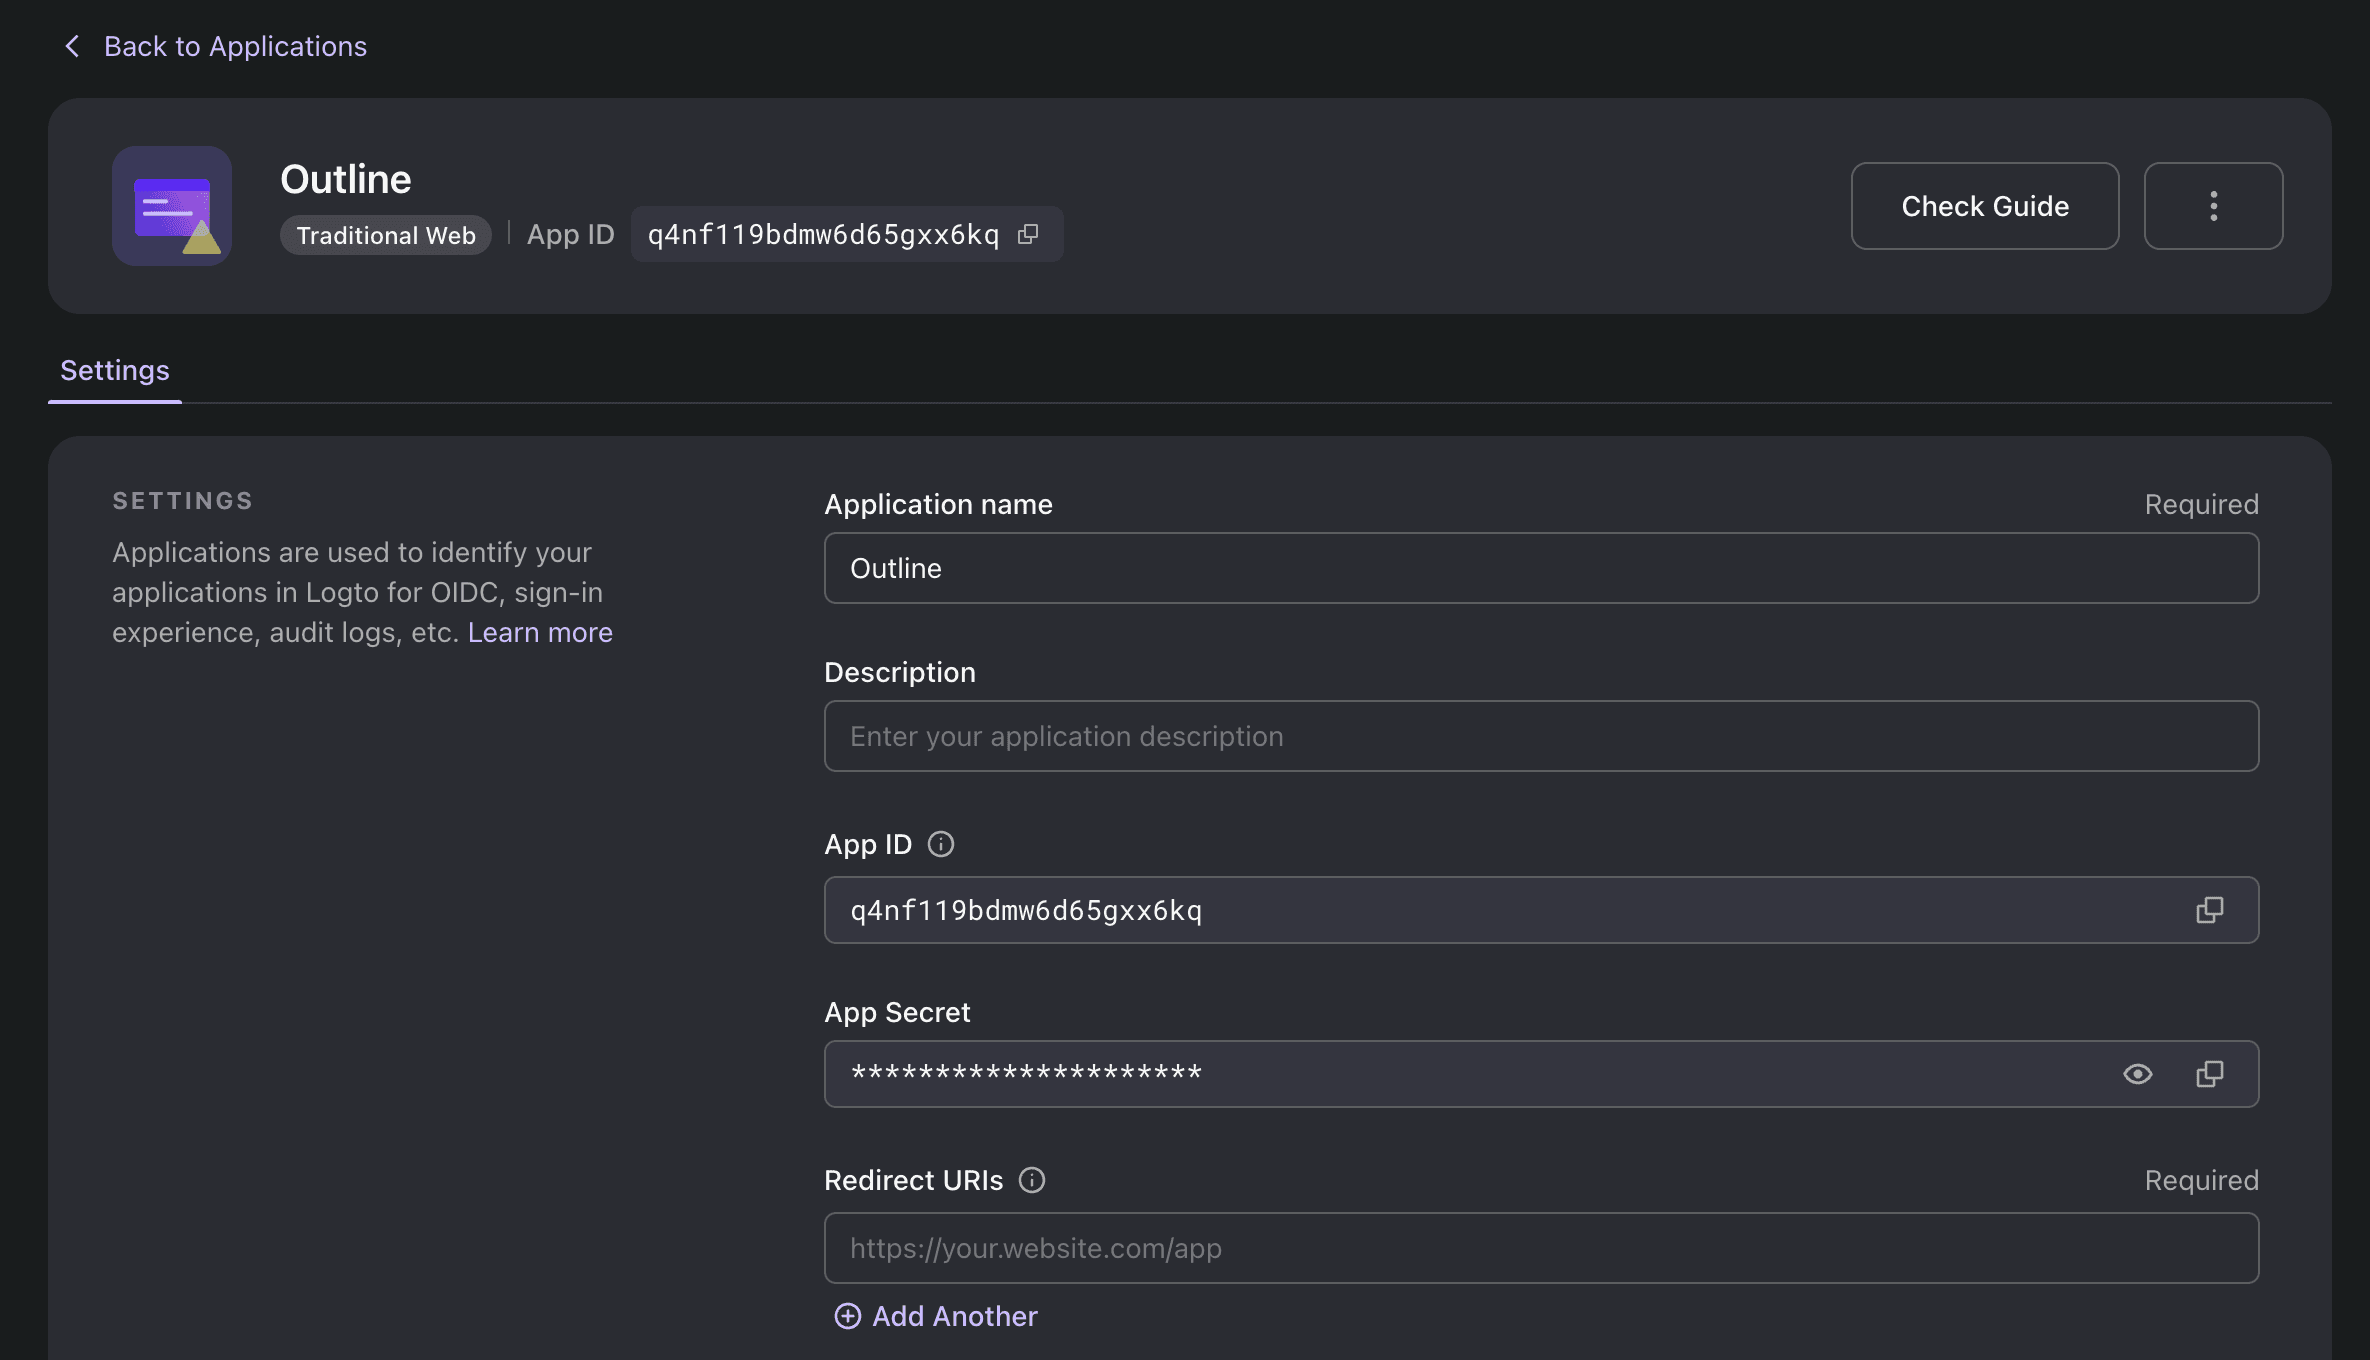
In the "Redirect URIs" section, enter the following value:
For example, if you are hosting Outline on http://localhost:3000, the value should be:
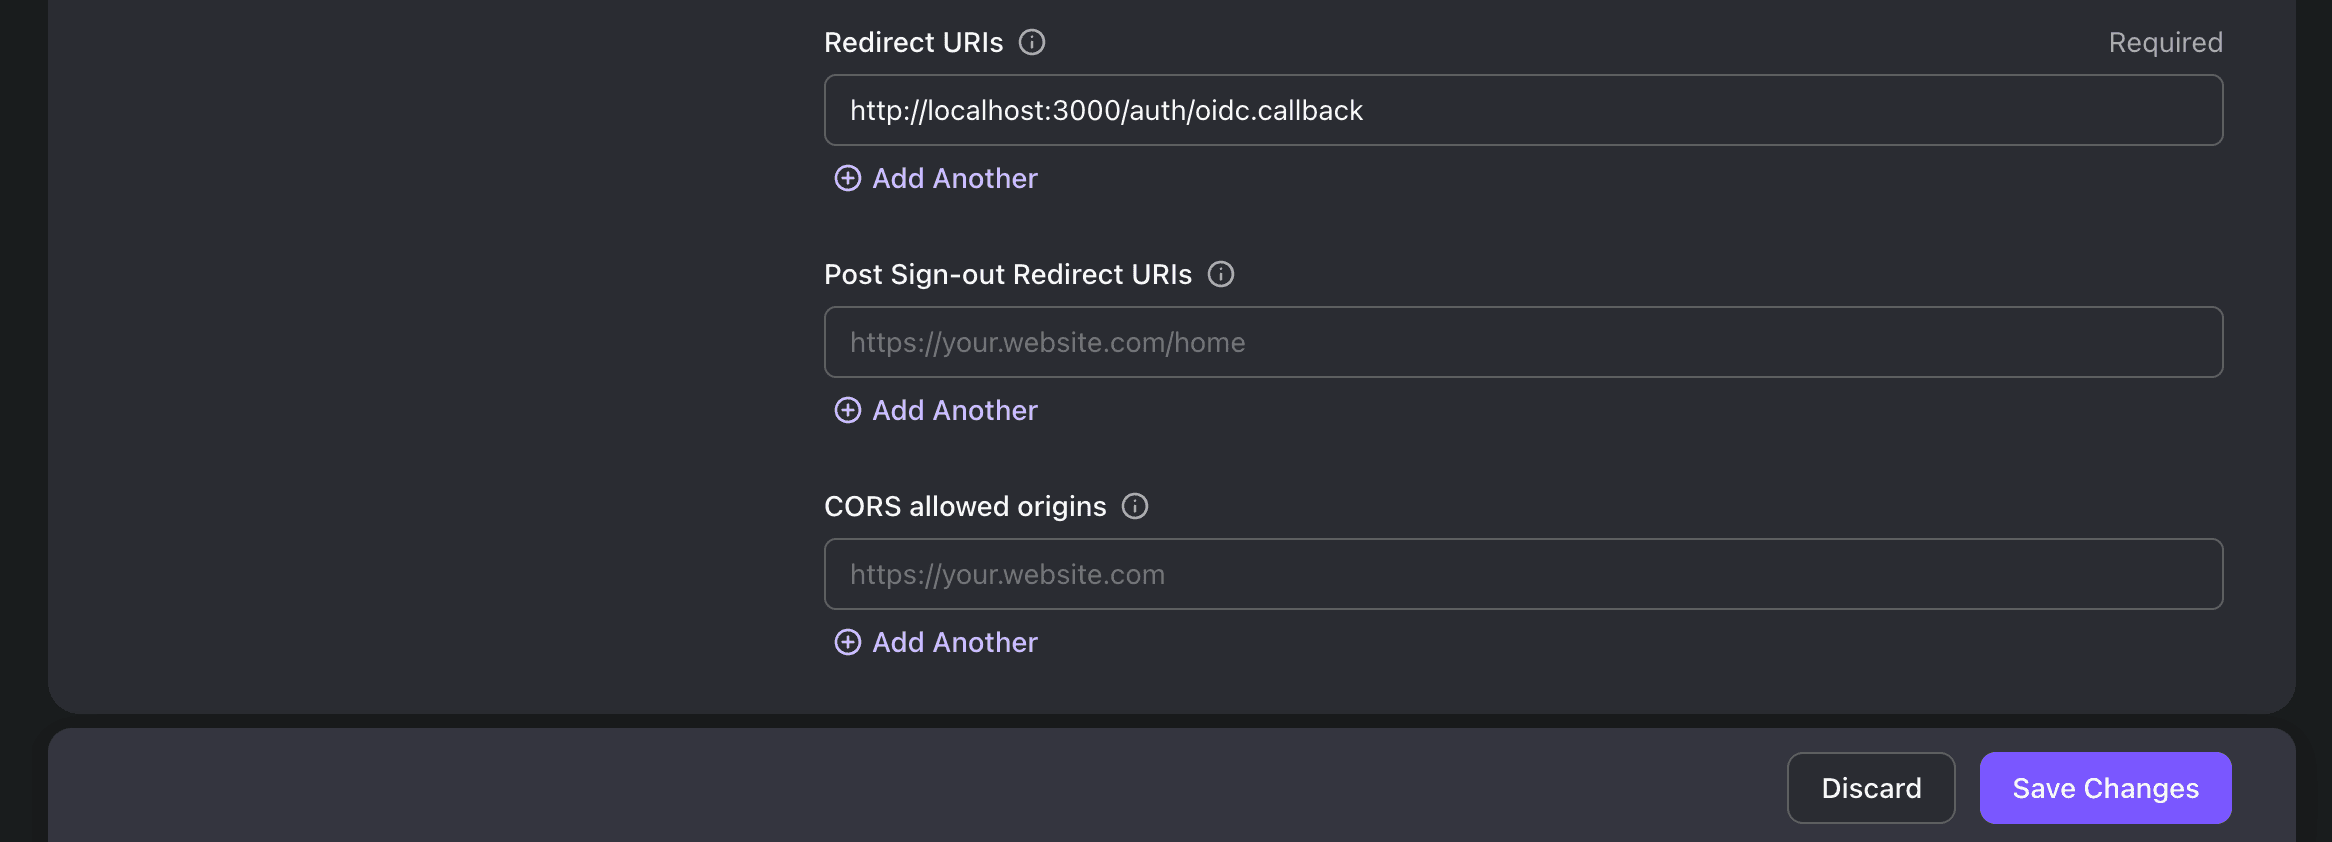
Click on the "Save Changes" button at the bottom. Once successful, keep this page open as it will be useful for the Outline configuration.
Configure Outline
Follow the steps outlined in the Outline hosting guide until you reach the authentication configuration step. Since Outline supports OIDC-compatible authentication providers by default, you can easily find most of the required configuration values on the Logto application details page.
Refer to the following table for the necessary configuration details:
| Outline Environment Variable | Logto Display Name |
|---|---|
| OIDC_CLIENT_ID | App ID |
| OIDC_CLIENT_SECRET | App Secret |
| OIDC_AUTH_URI | Authorization Endpoint |
| OIDC_TOKEN_URI | Token Endpoint |
| OIDC_USERINFO_URI | Userinfo Endpoint |
Here's another table containing additional variables:
| Outline Environment Variable | Description |
|---|---|
| OIDC_USERNAME_CLAIM | Set to username |
| OIDC_DISPLAY_NAME | Optional - customize as needed |
| OIDC_SCOPES | Keep default; no need to set |
Self-hosted only: Configure email sign-in in Logto
Since Outline requires user email to be provided, you need to configure email sign-in or a social sign-in that provides trustworthy email address, such as Google sign-in.
See Configure connectors to learn more about configuring connectors in Logto.
Checkpoint: Test Logto and Outline integration
Start the Outline instance and access its endpoint. You should see a button in the center labeled "Continue with OpenID Connect"; it can be customized by setting the OIDC_DISPLAY_NAME environment variable.
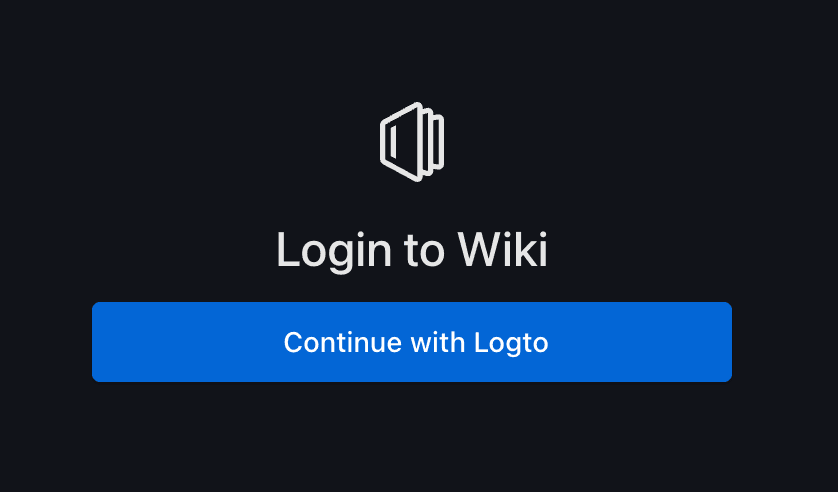
Click on the button, and you will be directed to the Logto sign-in experience.
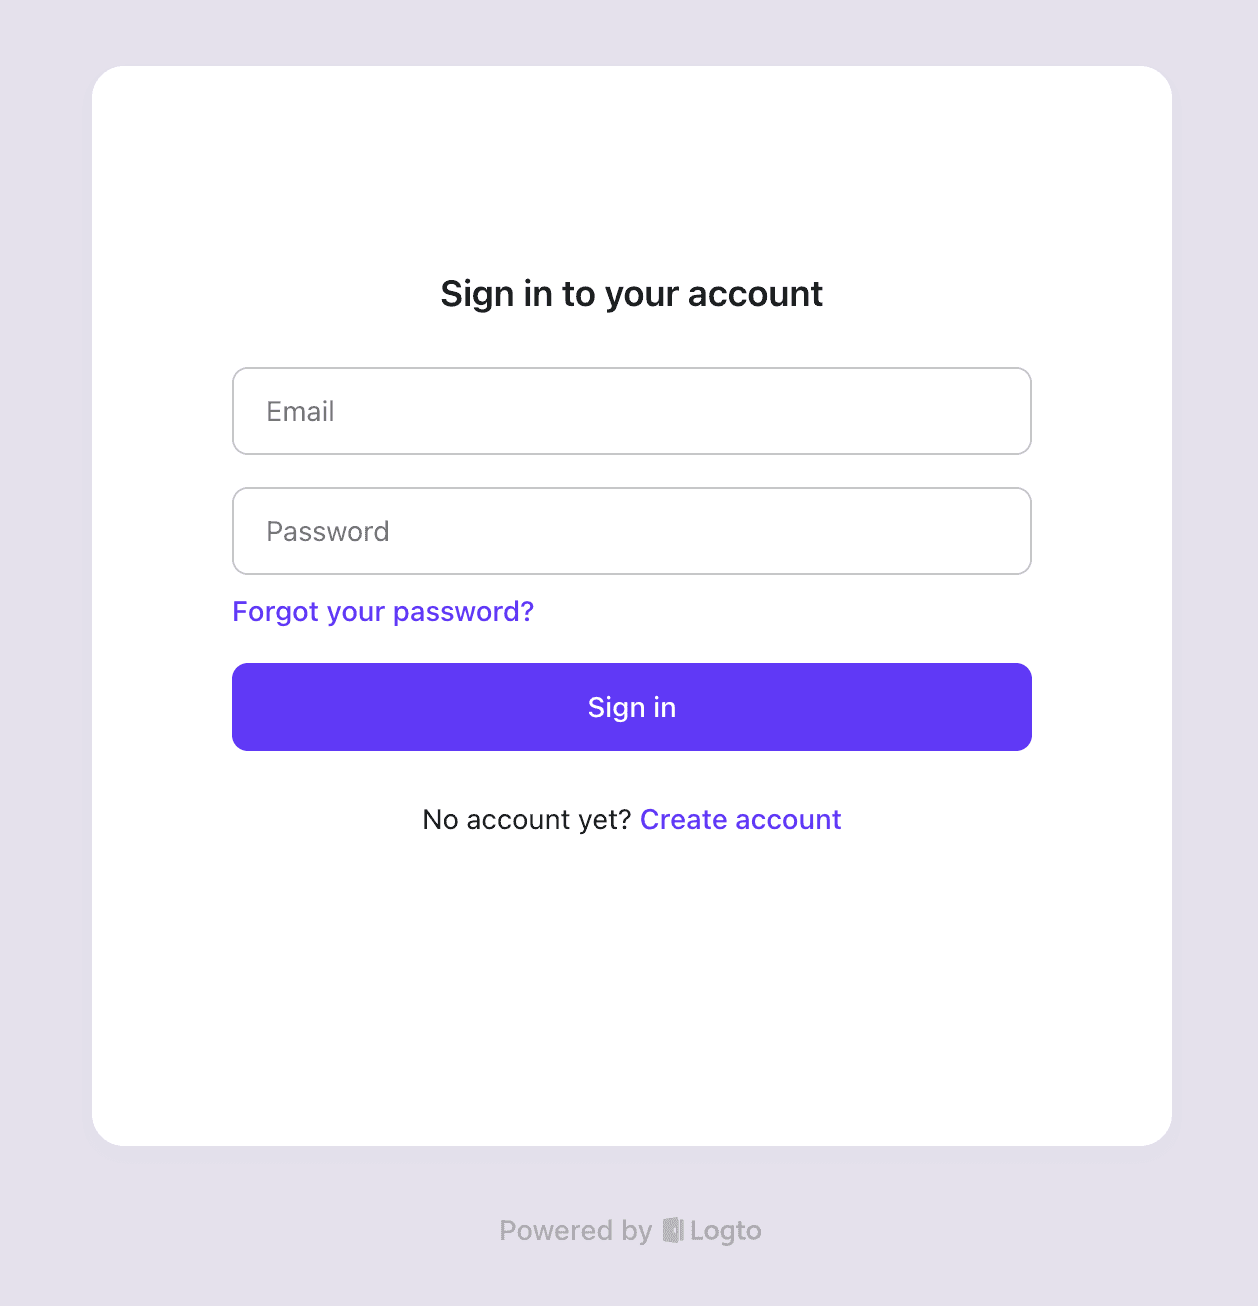
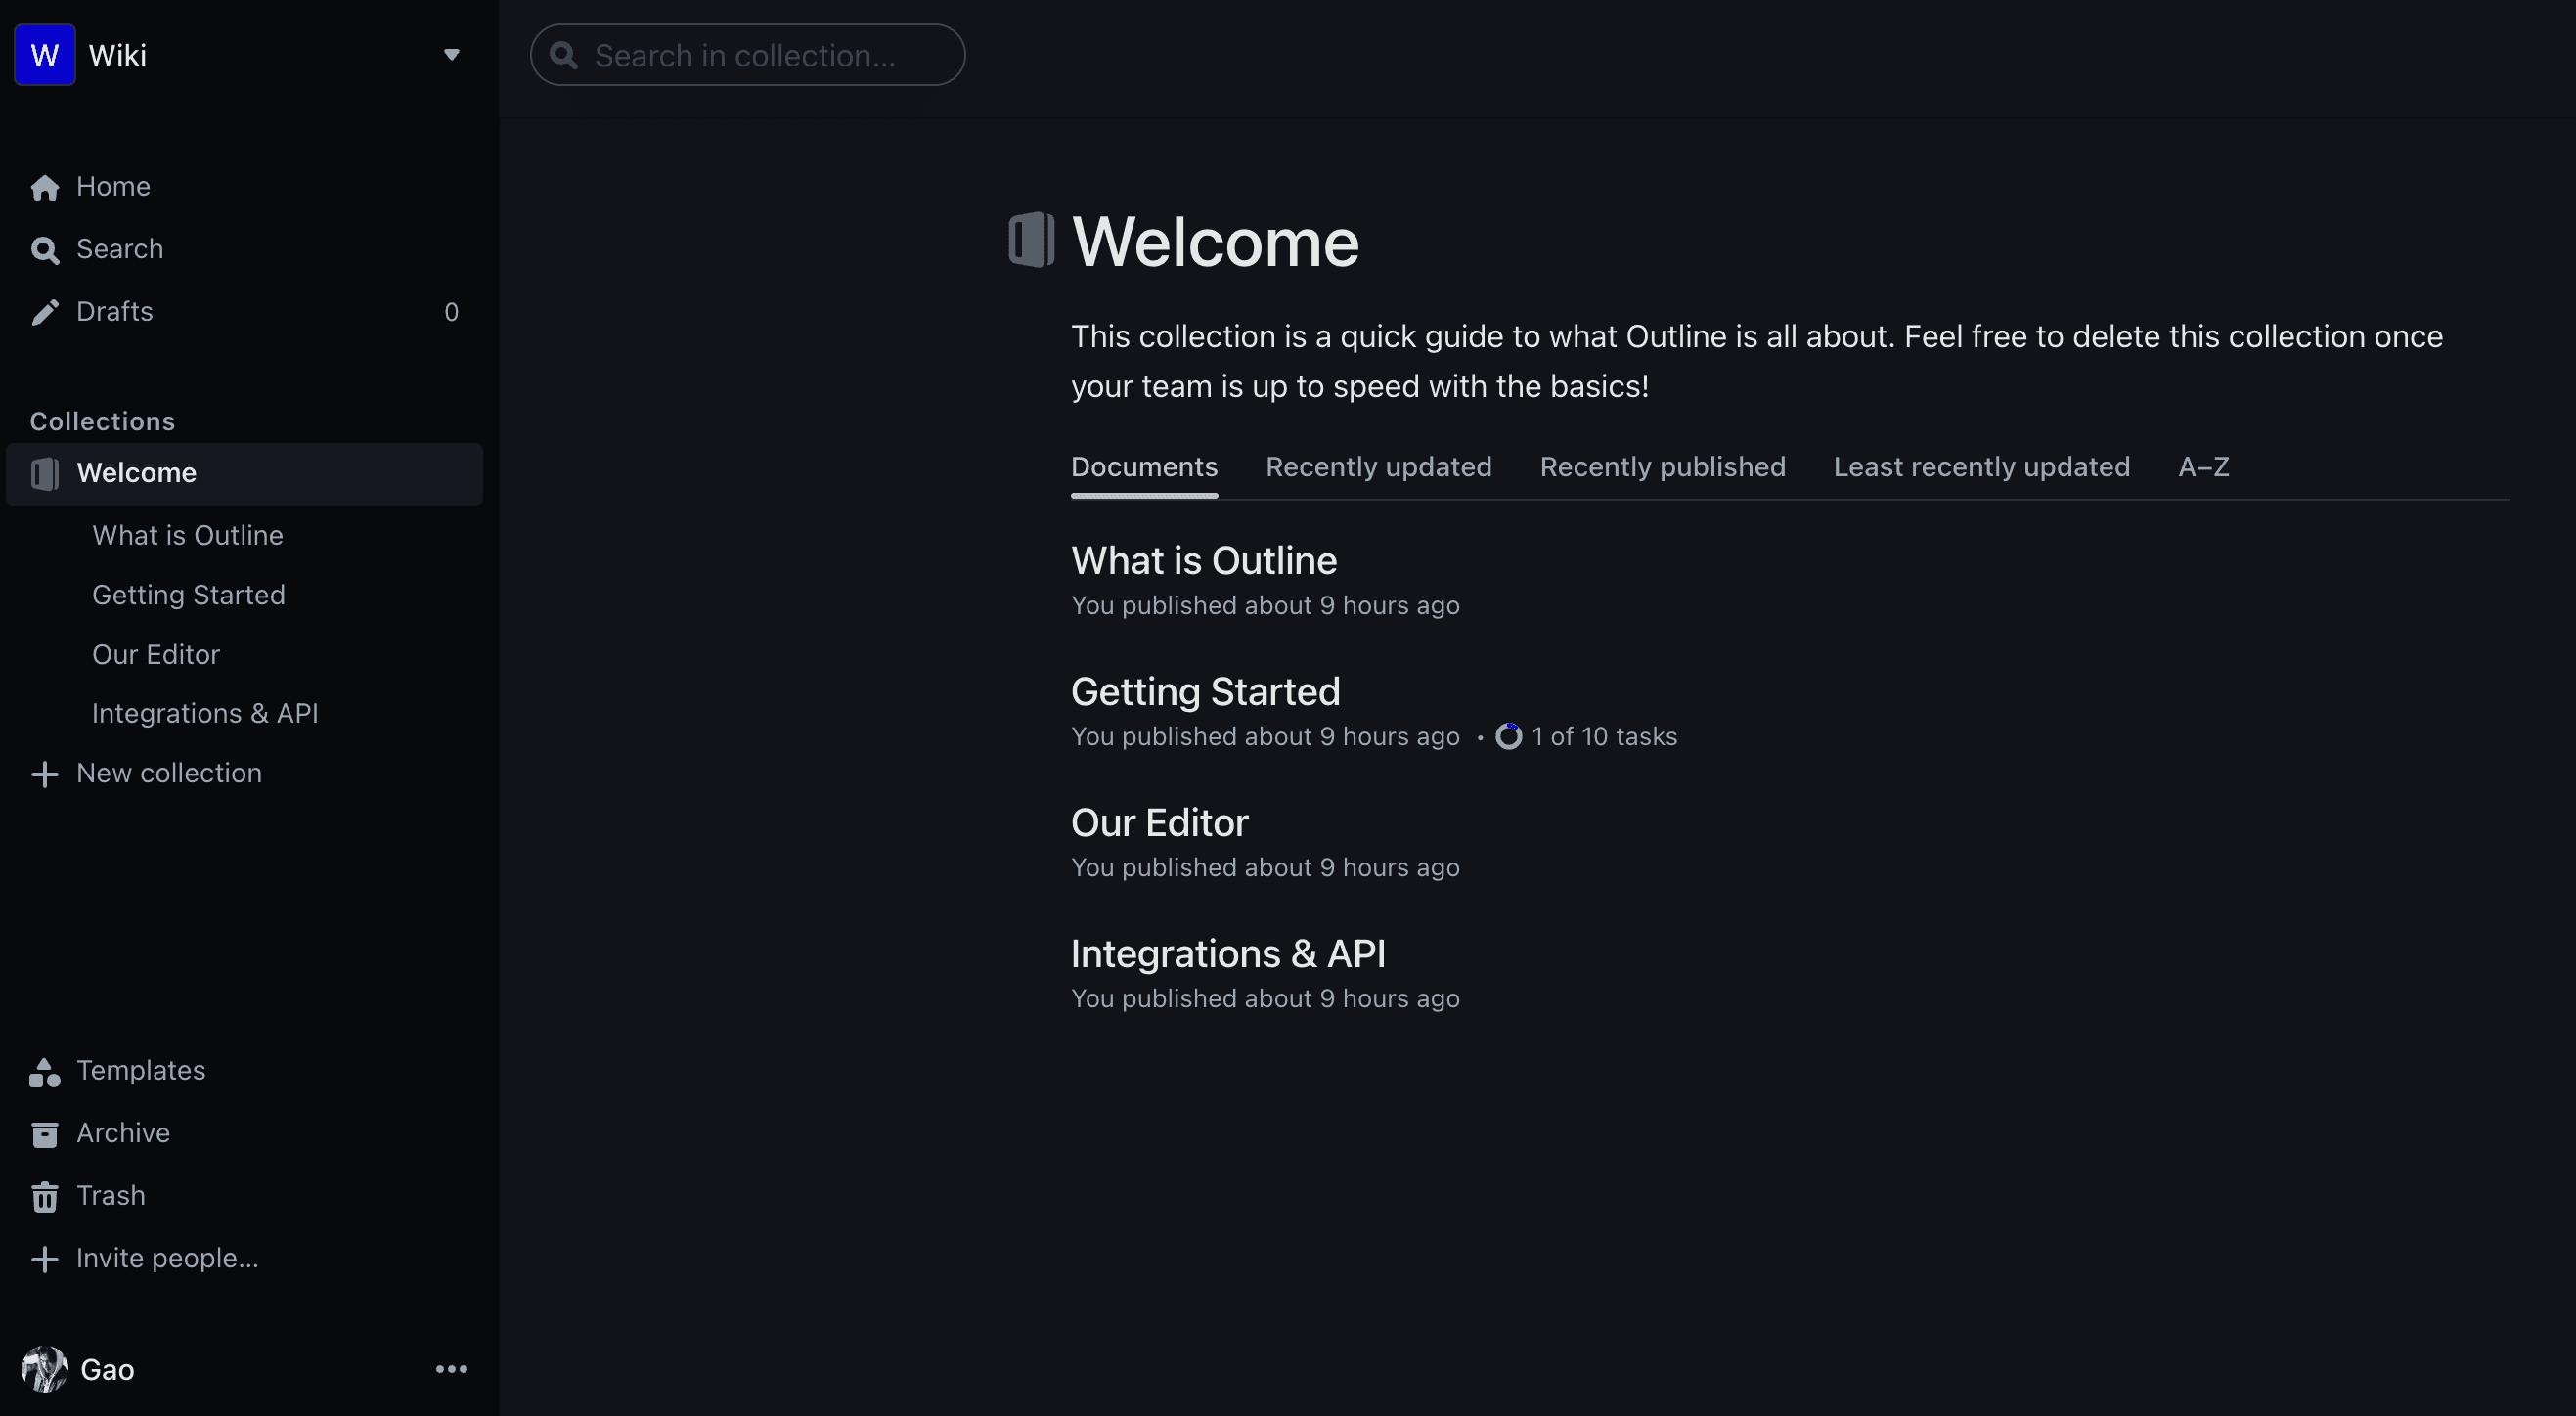
If everything has been configured correctly, once you complete the sign-in or registration process in Logto, you will be redirected back to Outline. You can then see your personal information displayed in the bottom left corner of the page.
If you encounter any issues during the integration, please don't hesitate to contact us via email at [email protected] or join our Discord server!

