Automate your custom sign-in UI deployment with GitHub Actions workflow
Let's show you how to automate the deployment of your custom sign-in UI to Logto Cloud in your devops pipeline with a GitHub Actions workflow.
Background
Logto is your better choice of Customer Identity and Access Management (CIAM) solution. Recently, we launched the "Bring your own UI" feature on Logto Cloud, enabling developers to fully customize their sign-in UI.
In a previous blog post, we also provided a step-to-step guide on creating your own sign-in UI, which includes:
- Developing a custom sign-in page with code samples
- Setting up the
@logto/tunnelCLI for local debugging - Building and zipping your custom UI assets
- Uploading the zip package and deploying to Logto Cloud via the Console UI
However, as an app developer with a DevOps mindset, you may find this process cumbersome when making changes to your custom sign-in page. Is there a way to automate the entire process?
We’ve listened to your feedback, and are excited to introduce a new deploy CLI command in @logto/tunnel. This command allows you to automate the deployment process by executing the command in your terminal, or integrating it into a GitHub Actions workflow, which is particularly useful for building your CI/CD pipeline. Let's dive in!
Prerequisites
Before we dive into the setup, ensure you have the following:
- Logto Cloud account with subscription plan.
- A machine-to-machine application with Management API permissions in your Logto tenant.
- Your project source code should be hosted on GitHub.
- Install
@logto/tunnelCLI tool as a dev dependency in your project.
Step 1: Create a GitHub Actions workflow
In your GitHub repository, create a new workflow file. You can do this by navigating to .github/workflows/ and creating a file named deploy.yml.
Explanation of the GitHub Actions workflow
- Trigger: The workflow is triggered on every push to the main branch.
- Jobs: The deploy job runs on the latest Ubuntu environment, and will execute the follow steps.
- Steps:
- Checkout code: This step checks out your repository code.
- Set up Node.js: This step sets up the Node.js environment.
- Install dependencies: This step installs your project dependencies.
- Build: This step builds your project source code into html assets. Let's assuming the output folder is named
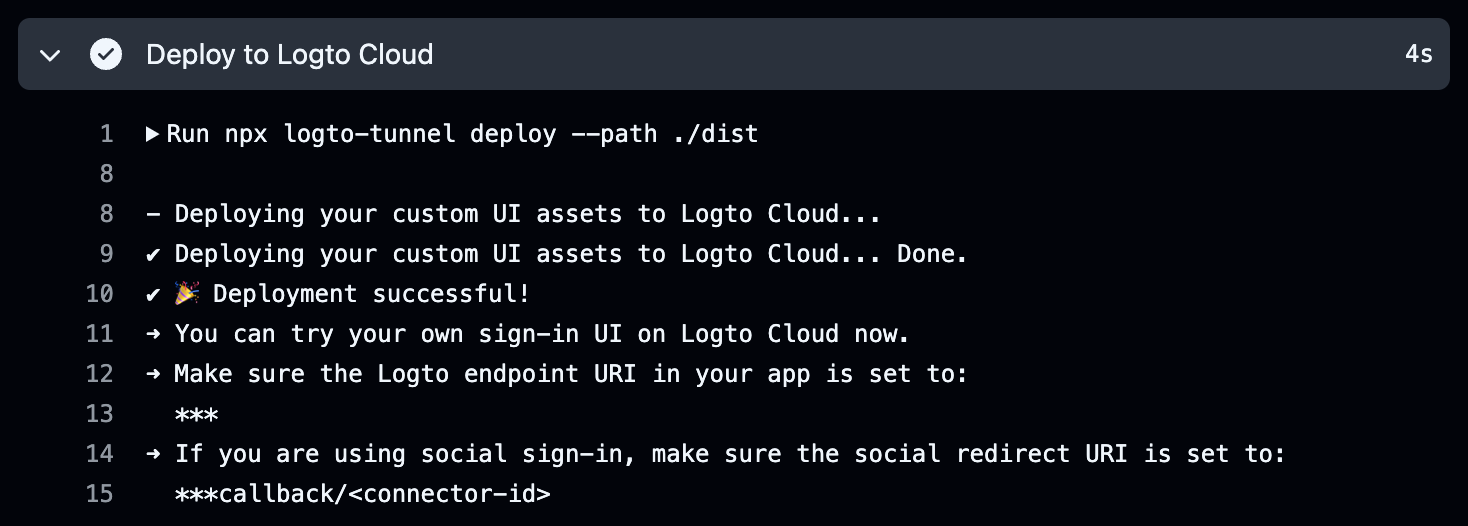
distin the root directory. - Deploy to Logto Cloud: This step runs the Tunnel CLI command to deploy html assets in
./distdirectory to your Logto Cloud tenant. It uses environment variables for sensitive information.
For more information on GitHub Actions. visit the GitHub Actions Documentation.
Step 2: Configure action secrets in GitHub
To keep your credentials secure, you should store them as secrets in your GitHub repository:
- Go to your GitHub repository.
- Click on "Settings".
- Navigate to "Secrets and variables > Actions"
- Click on New repository secret and add the following secrets:
- LOGTO_AUTH: Your Logto M2M application credentials in the format
<m2m-app-id>:<m2m-app-secret>. - LOGTO_ENDPOINT: Your Logto Cloud endpoint URI.
- LOGTO_RESOURCE: Your Logto Management API resource indicator. Can be found in "API resources -> Logto Management API". Required if custom domain is enabled in your Logto Cloud tenant.
Step 3: Test your workflow
Once you have set up the workflow and configured the secrets, you can test it by merging a PR into the master branch. The GitHub Actions workflow will automatically trigger, and your custom sign-in UI will be deployed to Logto Cloud.

Conclusion
By integrating the @logto/tunnel CLI command into your GitHub Actions workflow, you can streamline the deployment process of your custom sign-in UI to Logto Cloud. This automation allows you to focus on development while ensuring that your changes are continuously tested in a live environment.
Happy coding!

