Vibe code using Cursor and Logto to quickly build your app and handle login flows
Learn how to vibe code a photo gallery app using Cursor and add login with Logto in minutes. From UI to authentication, it’s fast, simple, and AI-powered.

Product & Design

Vibe coding is becoming popular thanks to powerful tools like Cursor and Windsurf. Even with limited experience, you can quickly build your own app.
For many developers and builders, setting up login flows can be tricky. But with MCP and the context-aware features built into modern IDEs, adding authentication to your app is no longer a complex task, even if you’re not a developer.
In this tutorial, I’ll show you:
- How to build a web app using vibe coding in Cursor.
- How to add authentication (login flows) with Logto to protect your content.
Build a photo gallery app in Cursor
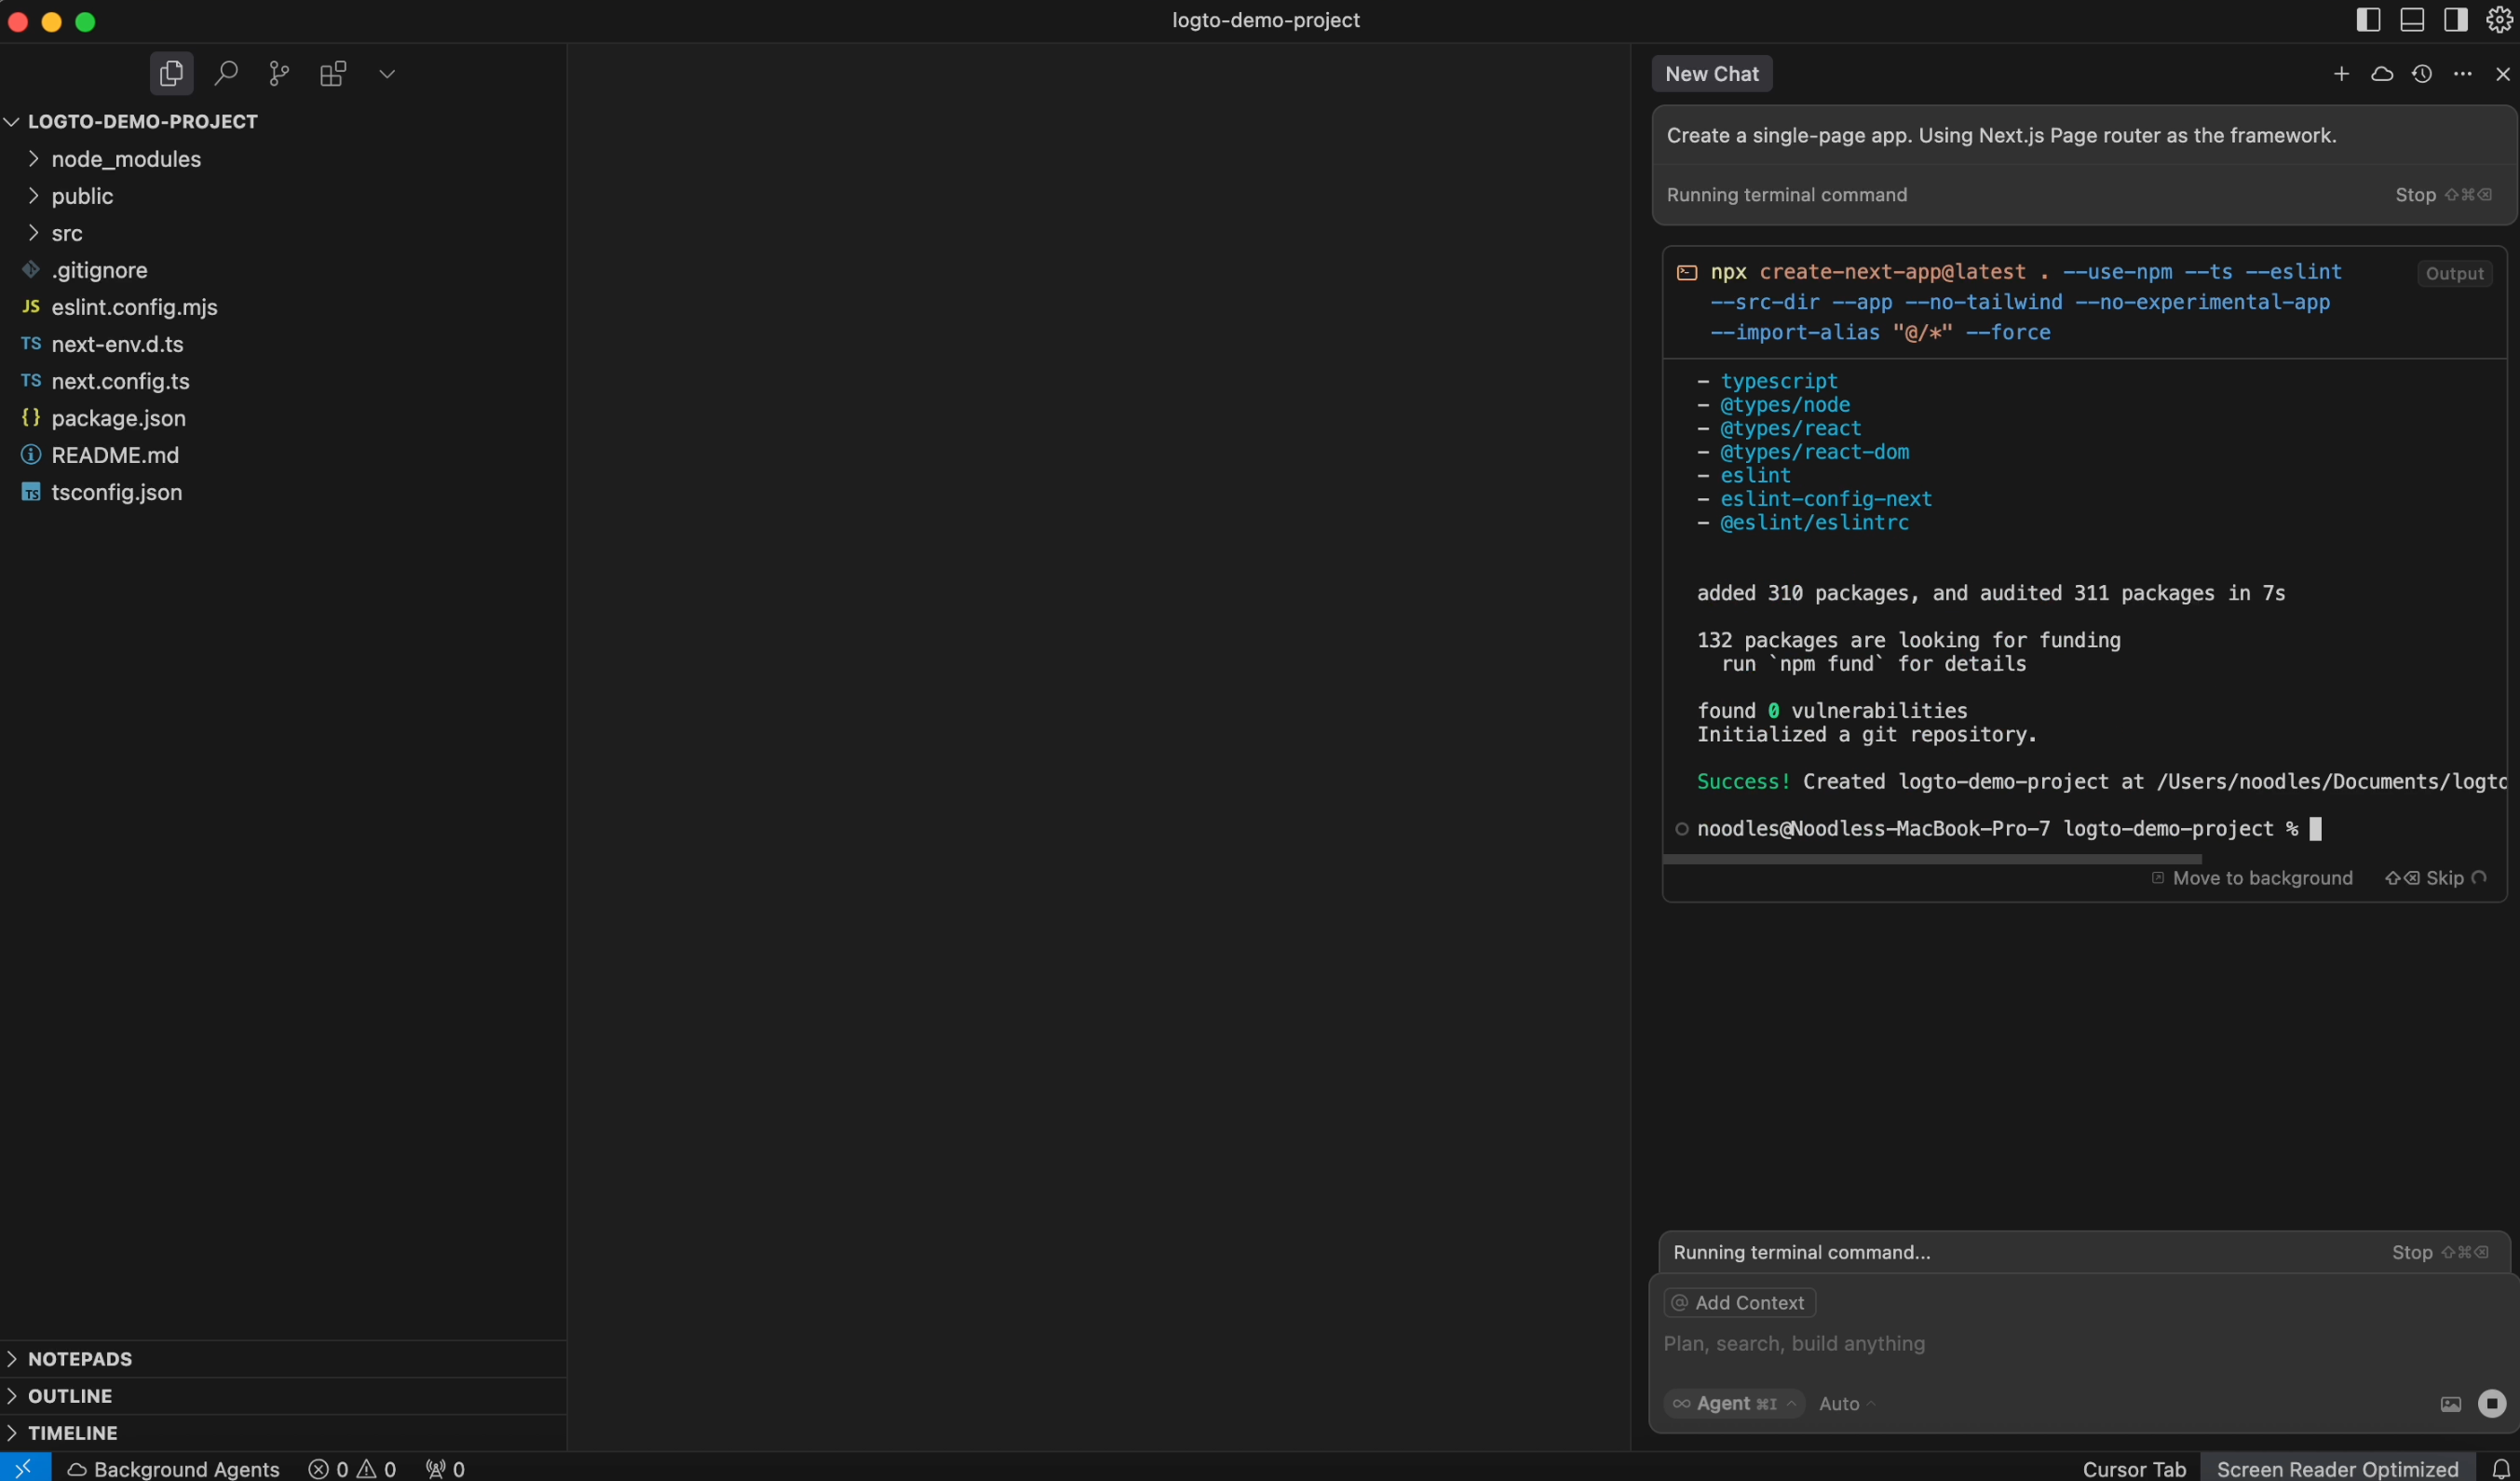
First, I just open a chat in Cursor and type the prompt:
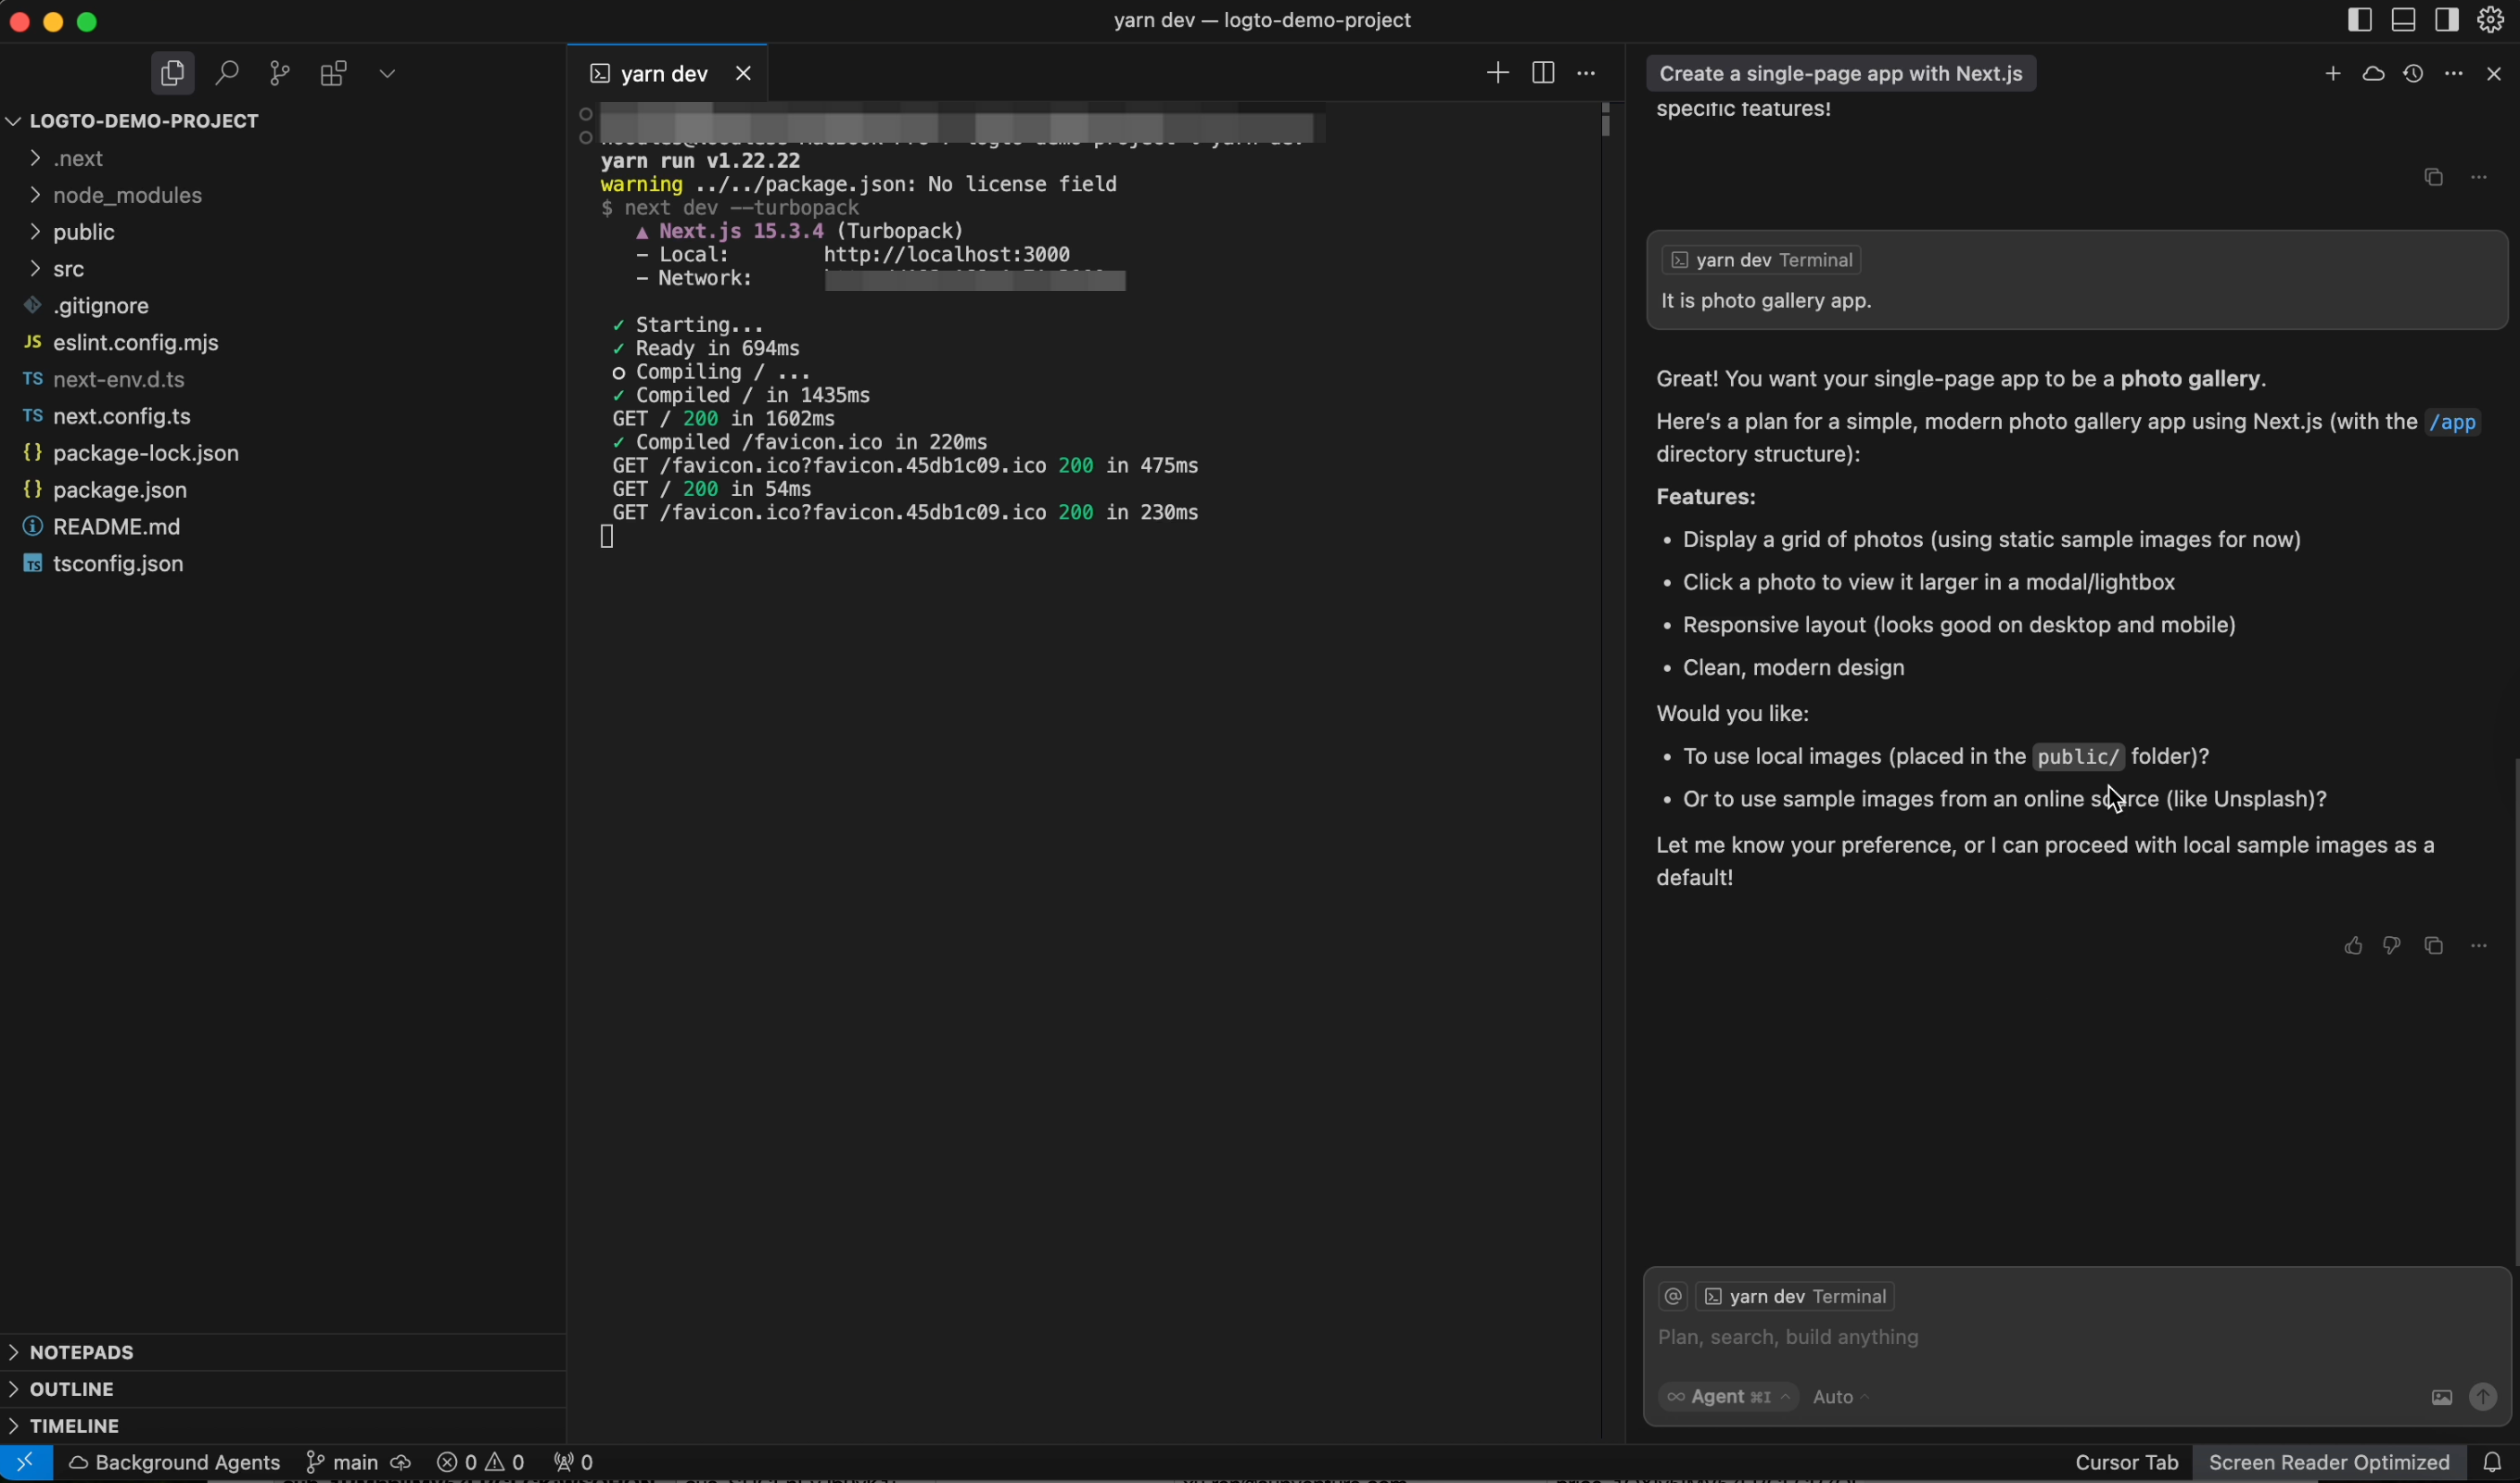
“Create a single-page app using Next.js Page Router.” Cursor will take care of the rest and generate it for me.
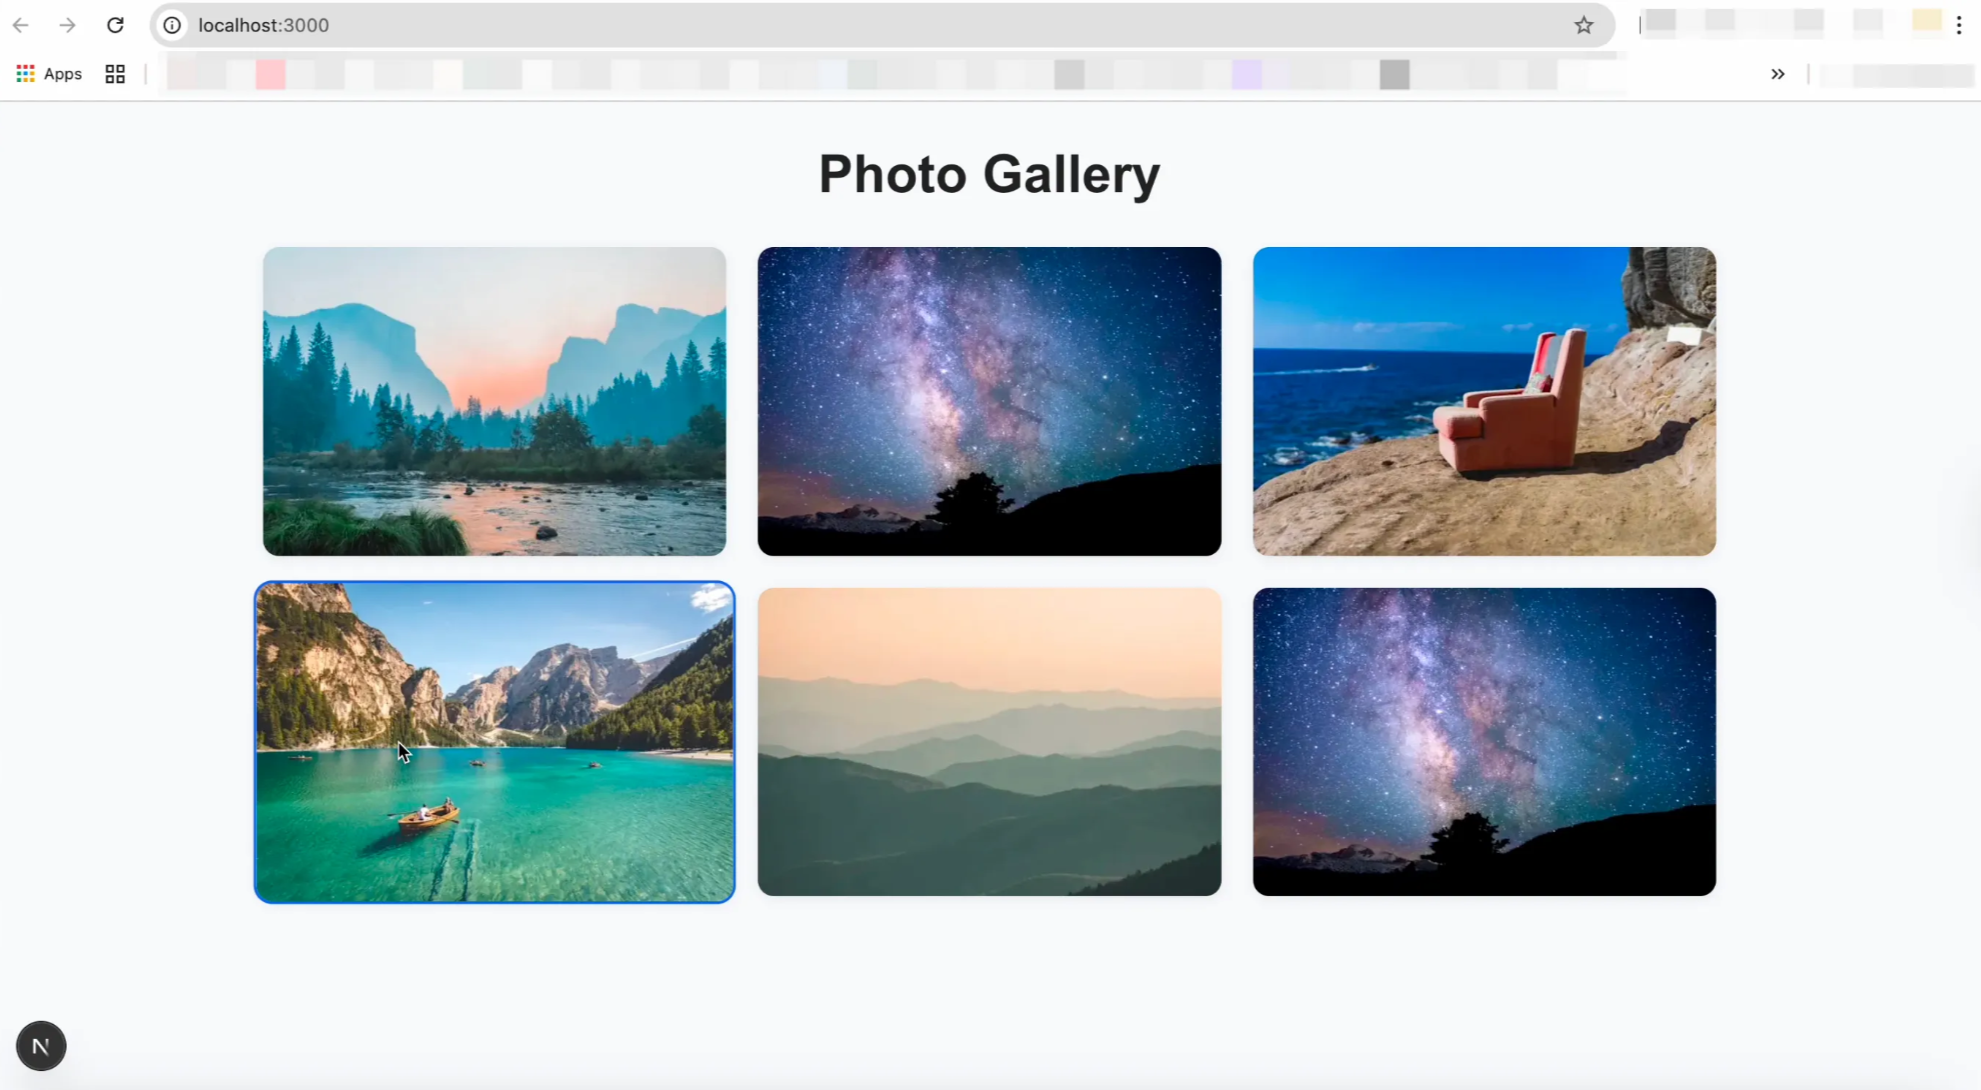
Let’s make it a photo gallery app. It helps me fetch several photos from Unsplash and organize them for me.
Add authentication to your photo gallery app
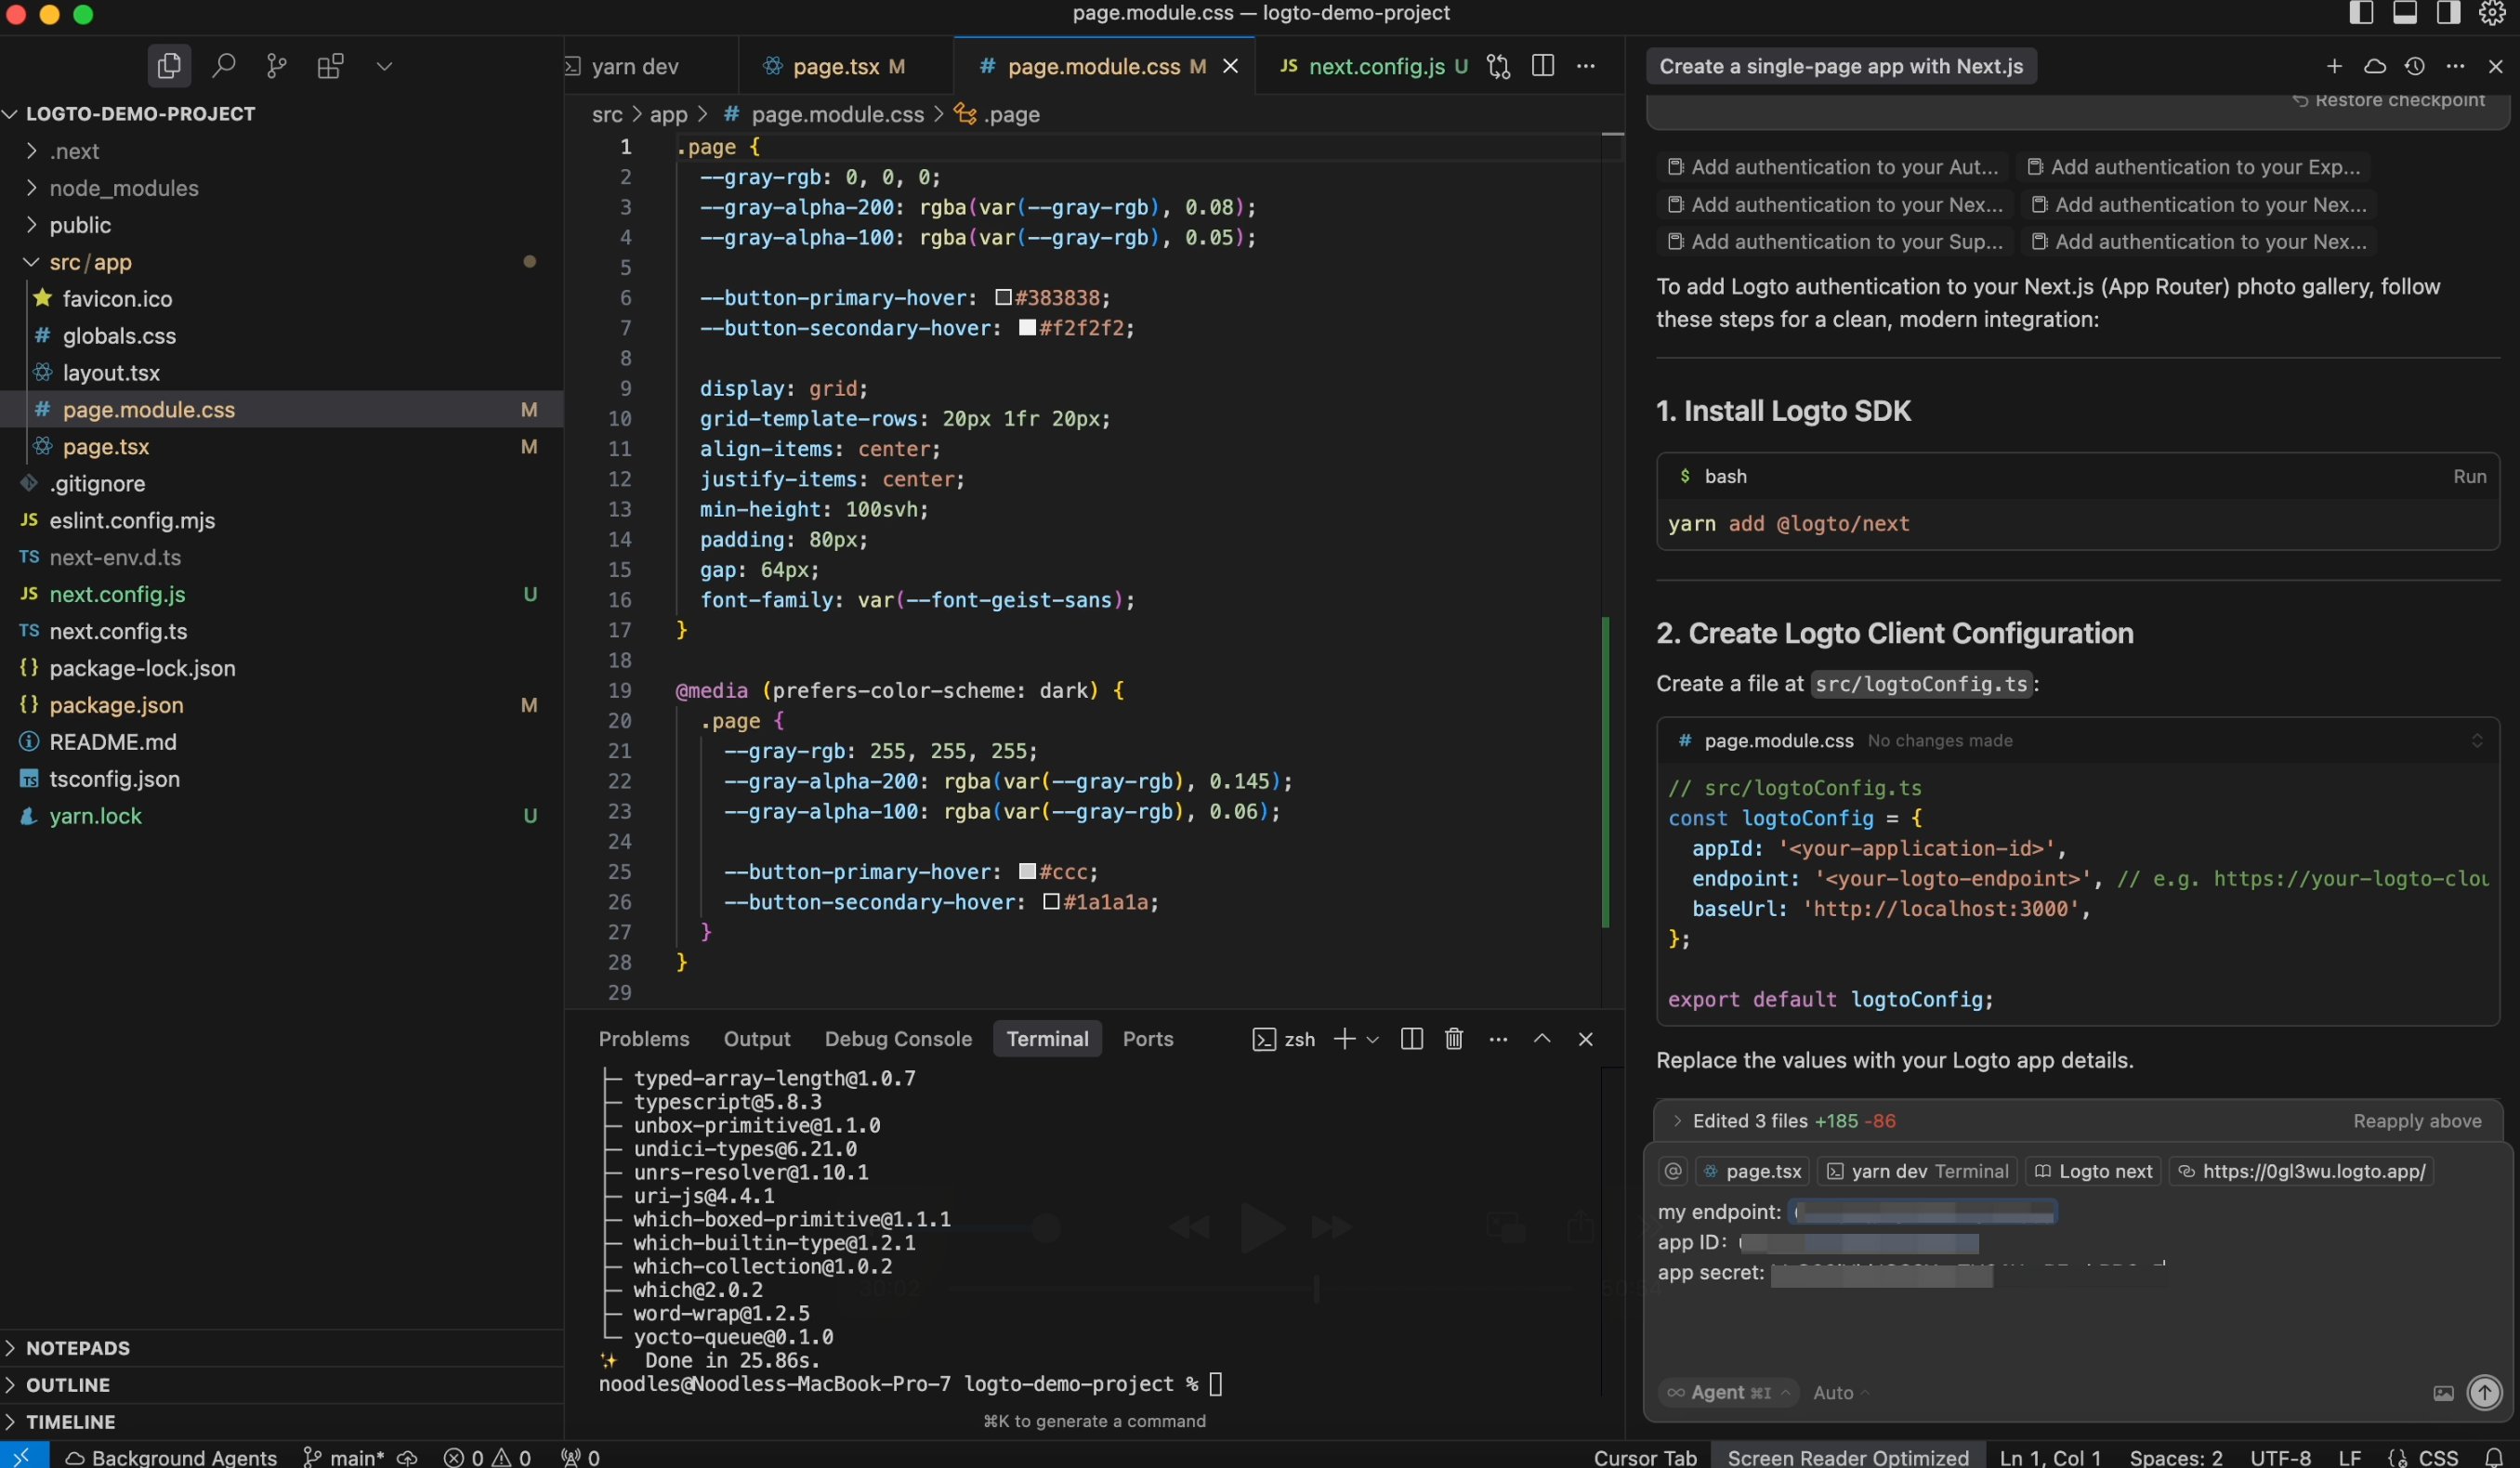
Traditionally, you’d have to manually read the docs and work through the SDK to complete the integration. But with Cursor, you can fully leverage AI to make the process much smoother and faster.
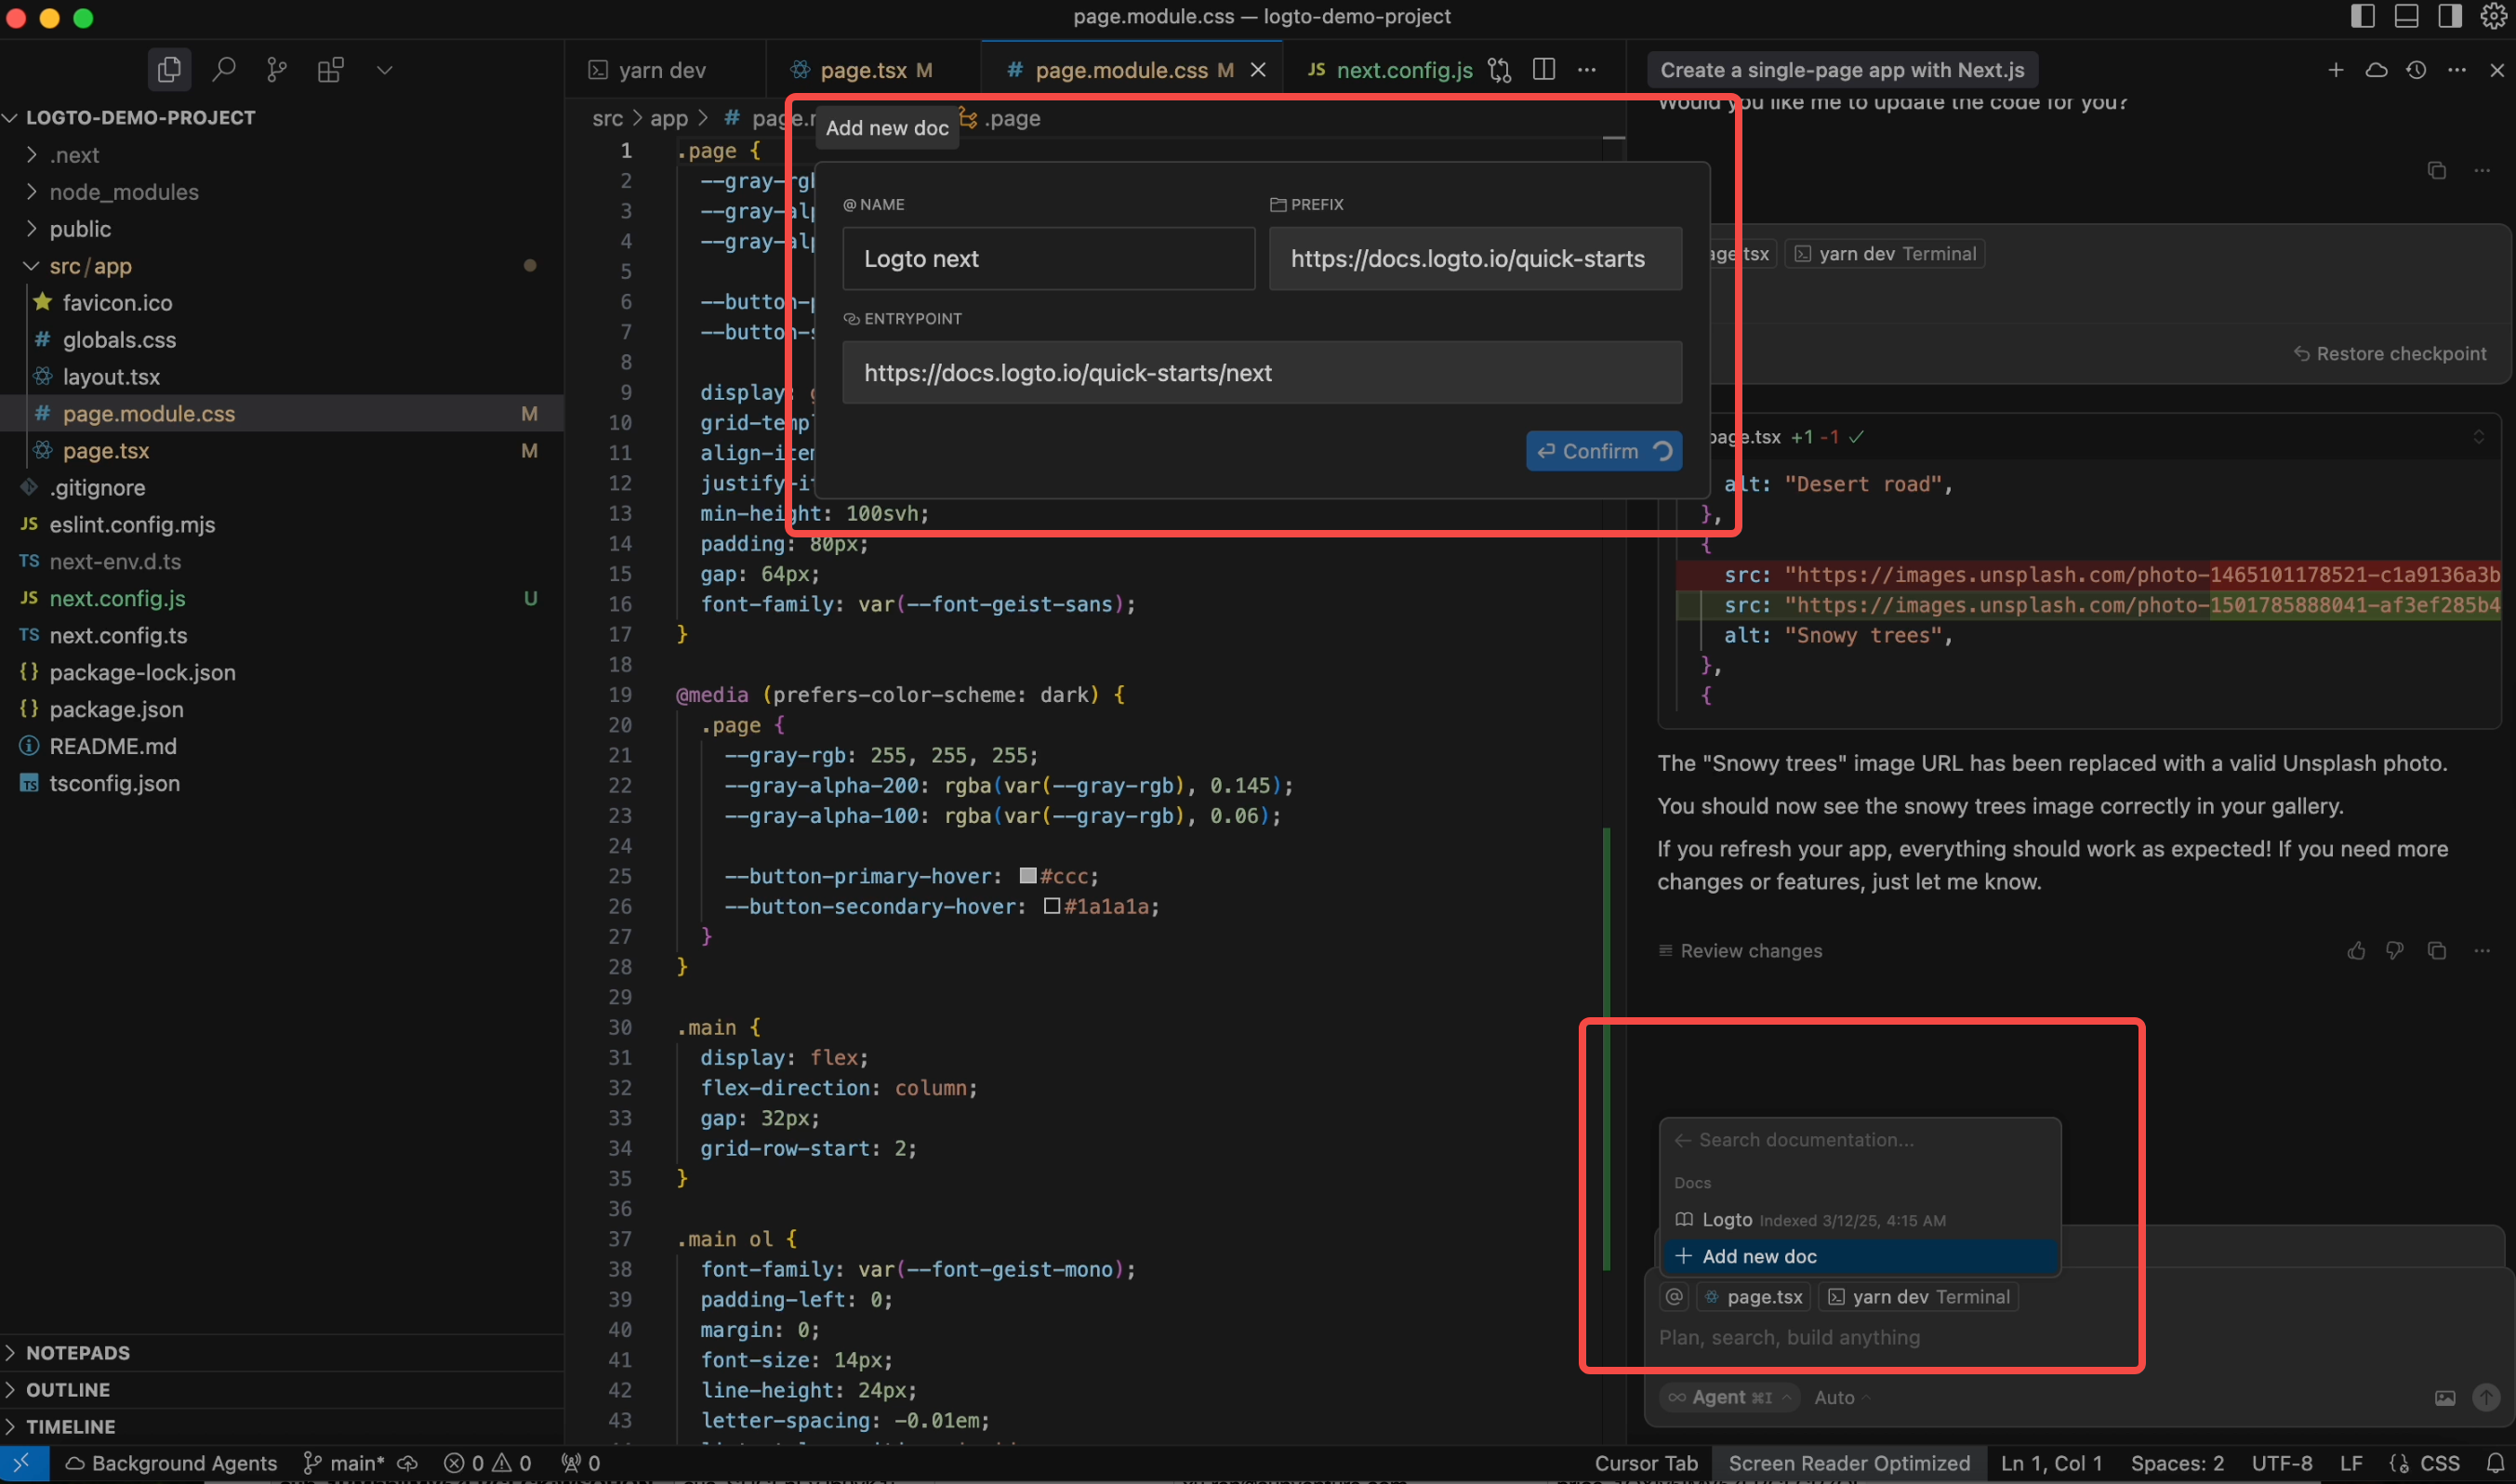
Add Logto doc as context
You can add a login flow to protect your app. Cursor supports context-aware prompts, so you can add the Logto documentation as a reference. This allows you to easily integrate authentication using the Logto SDK for Next.js (Page Router).
Finish the integration
As you can see, it references the Quick Start guide to tell you what to do next. In the second step, it asks me to configure settings like appId, endpoint, and so on. To get these, I need to go to Logto Cloud and register a new app.
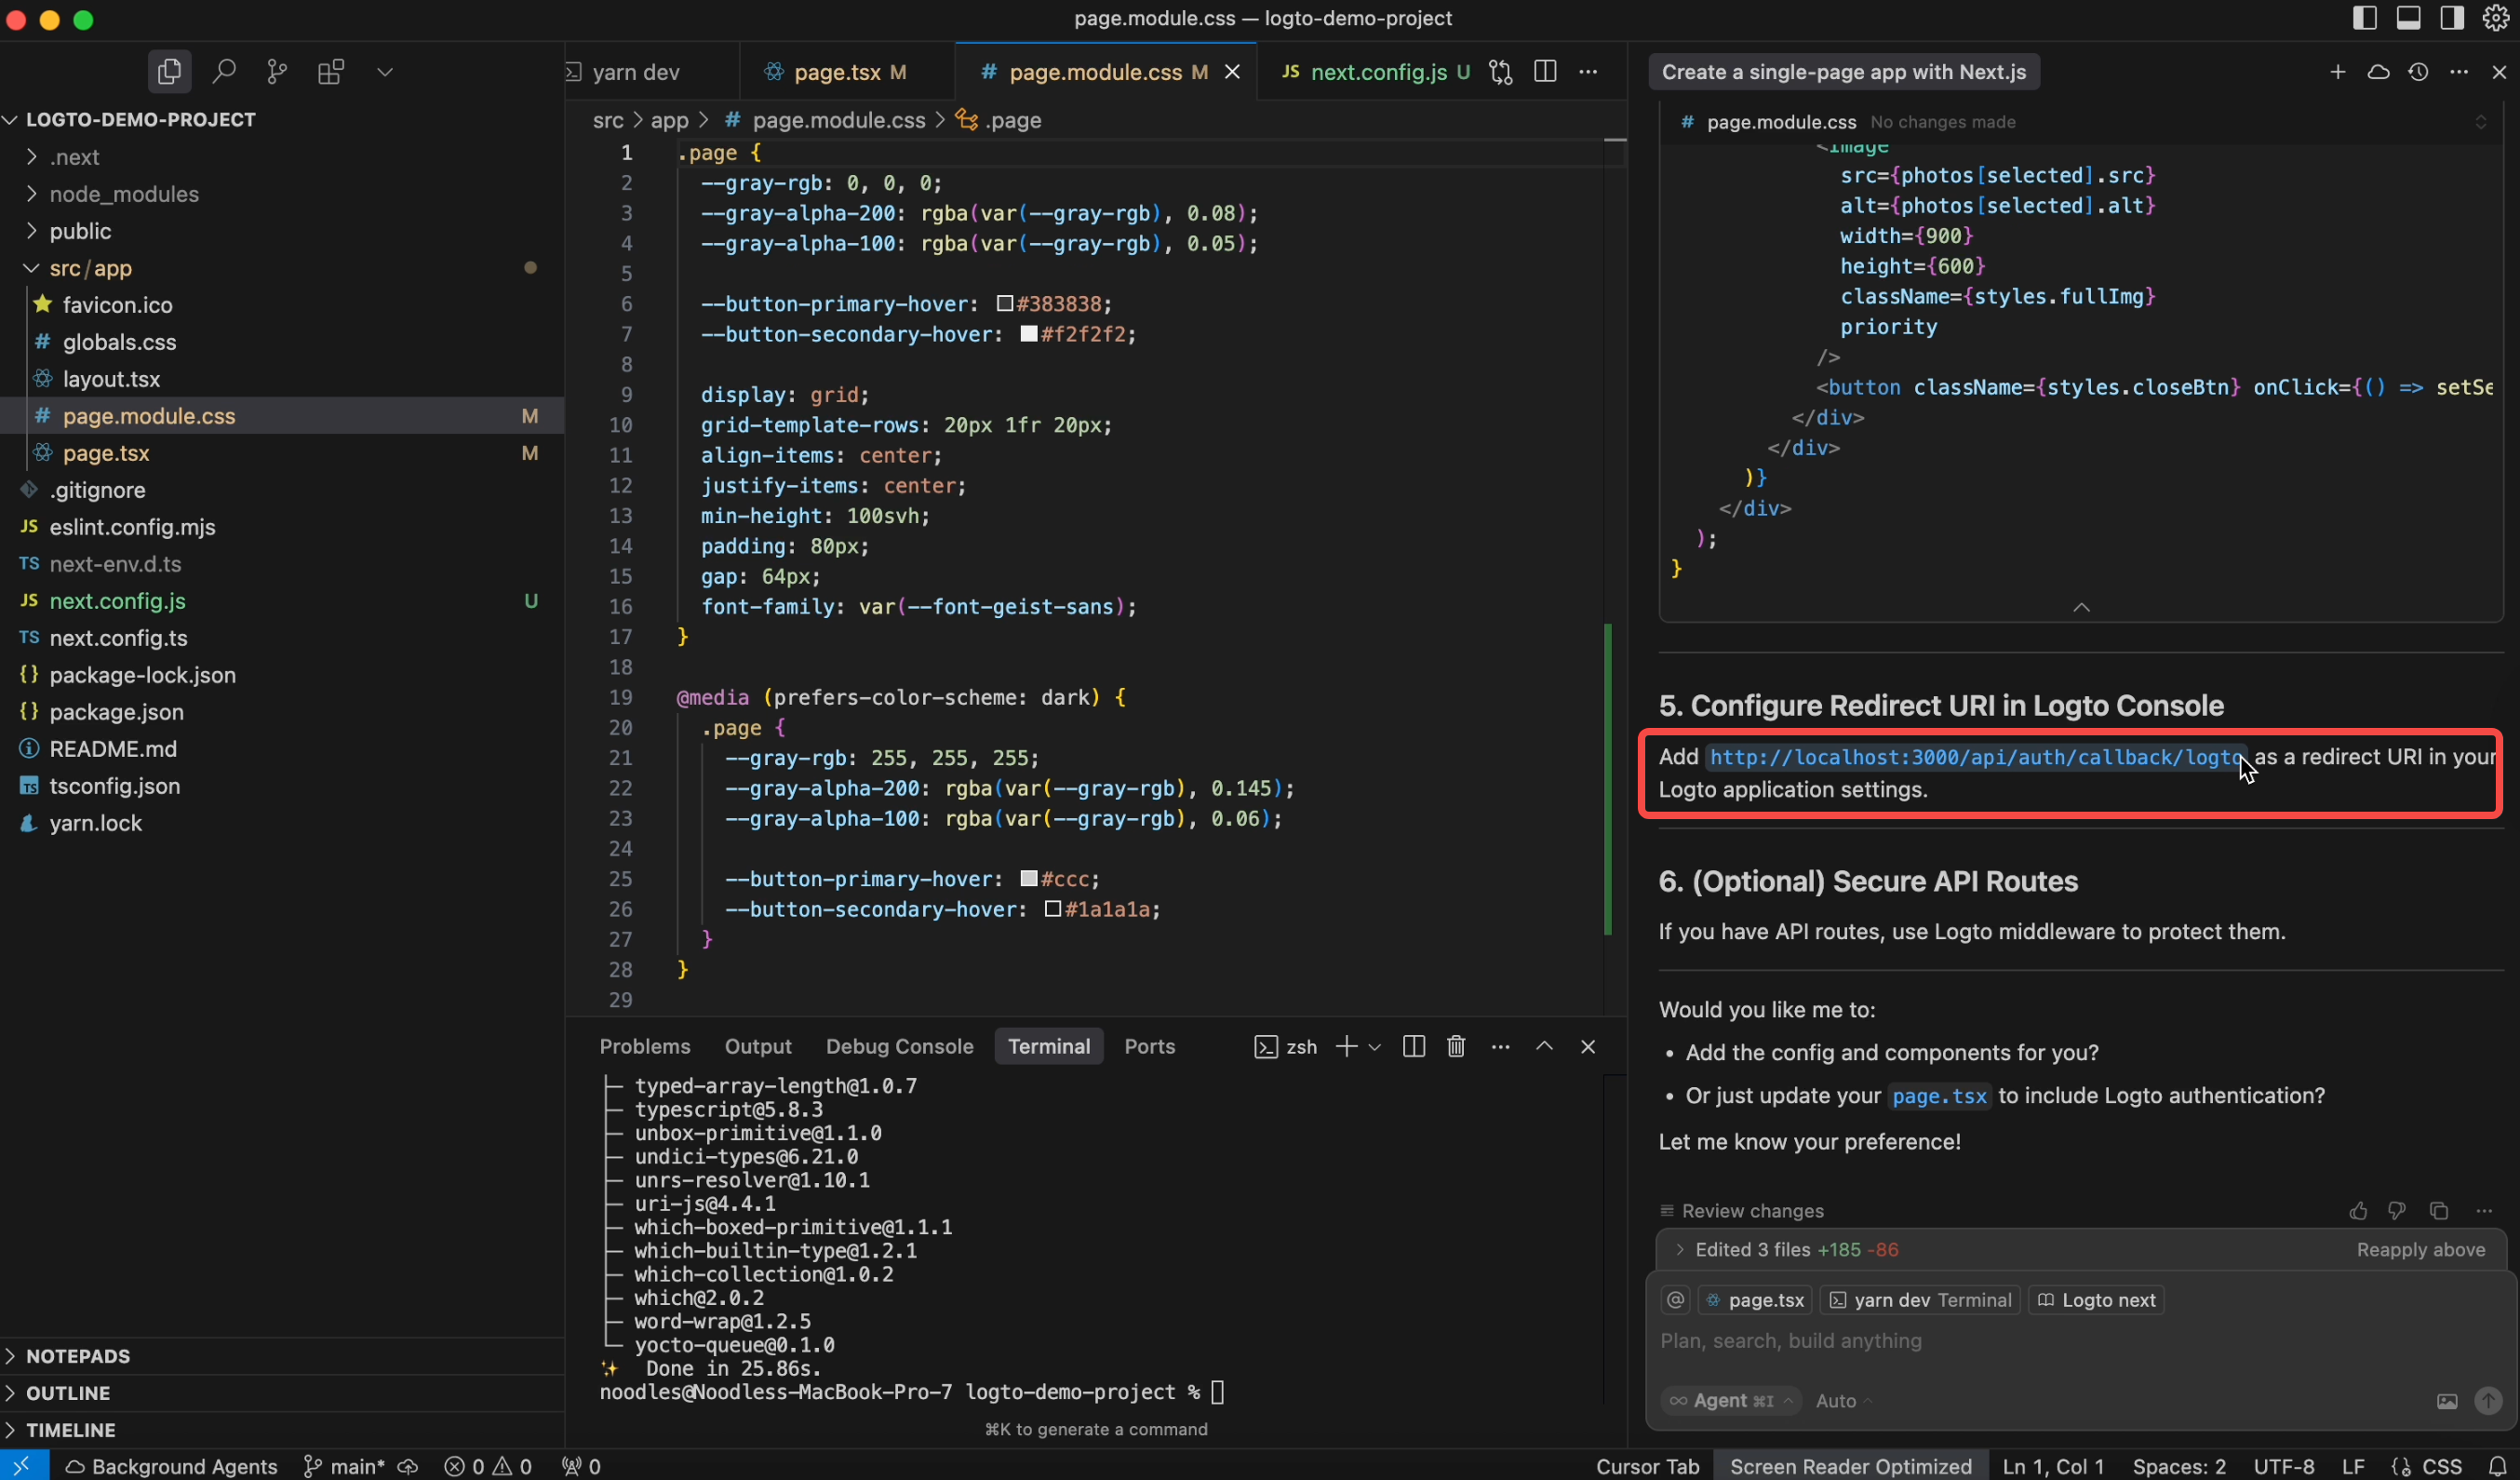
It also ask me to enter http://localhost:3000/api/auth/callback/logto as the redirect URI.
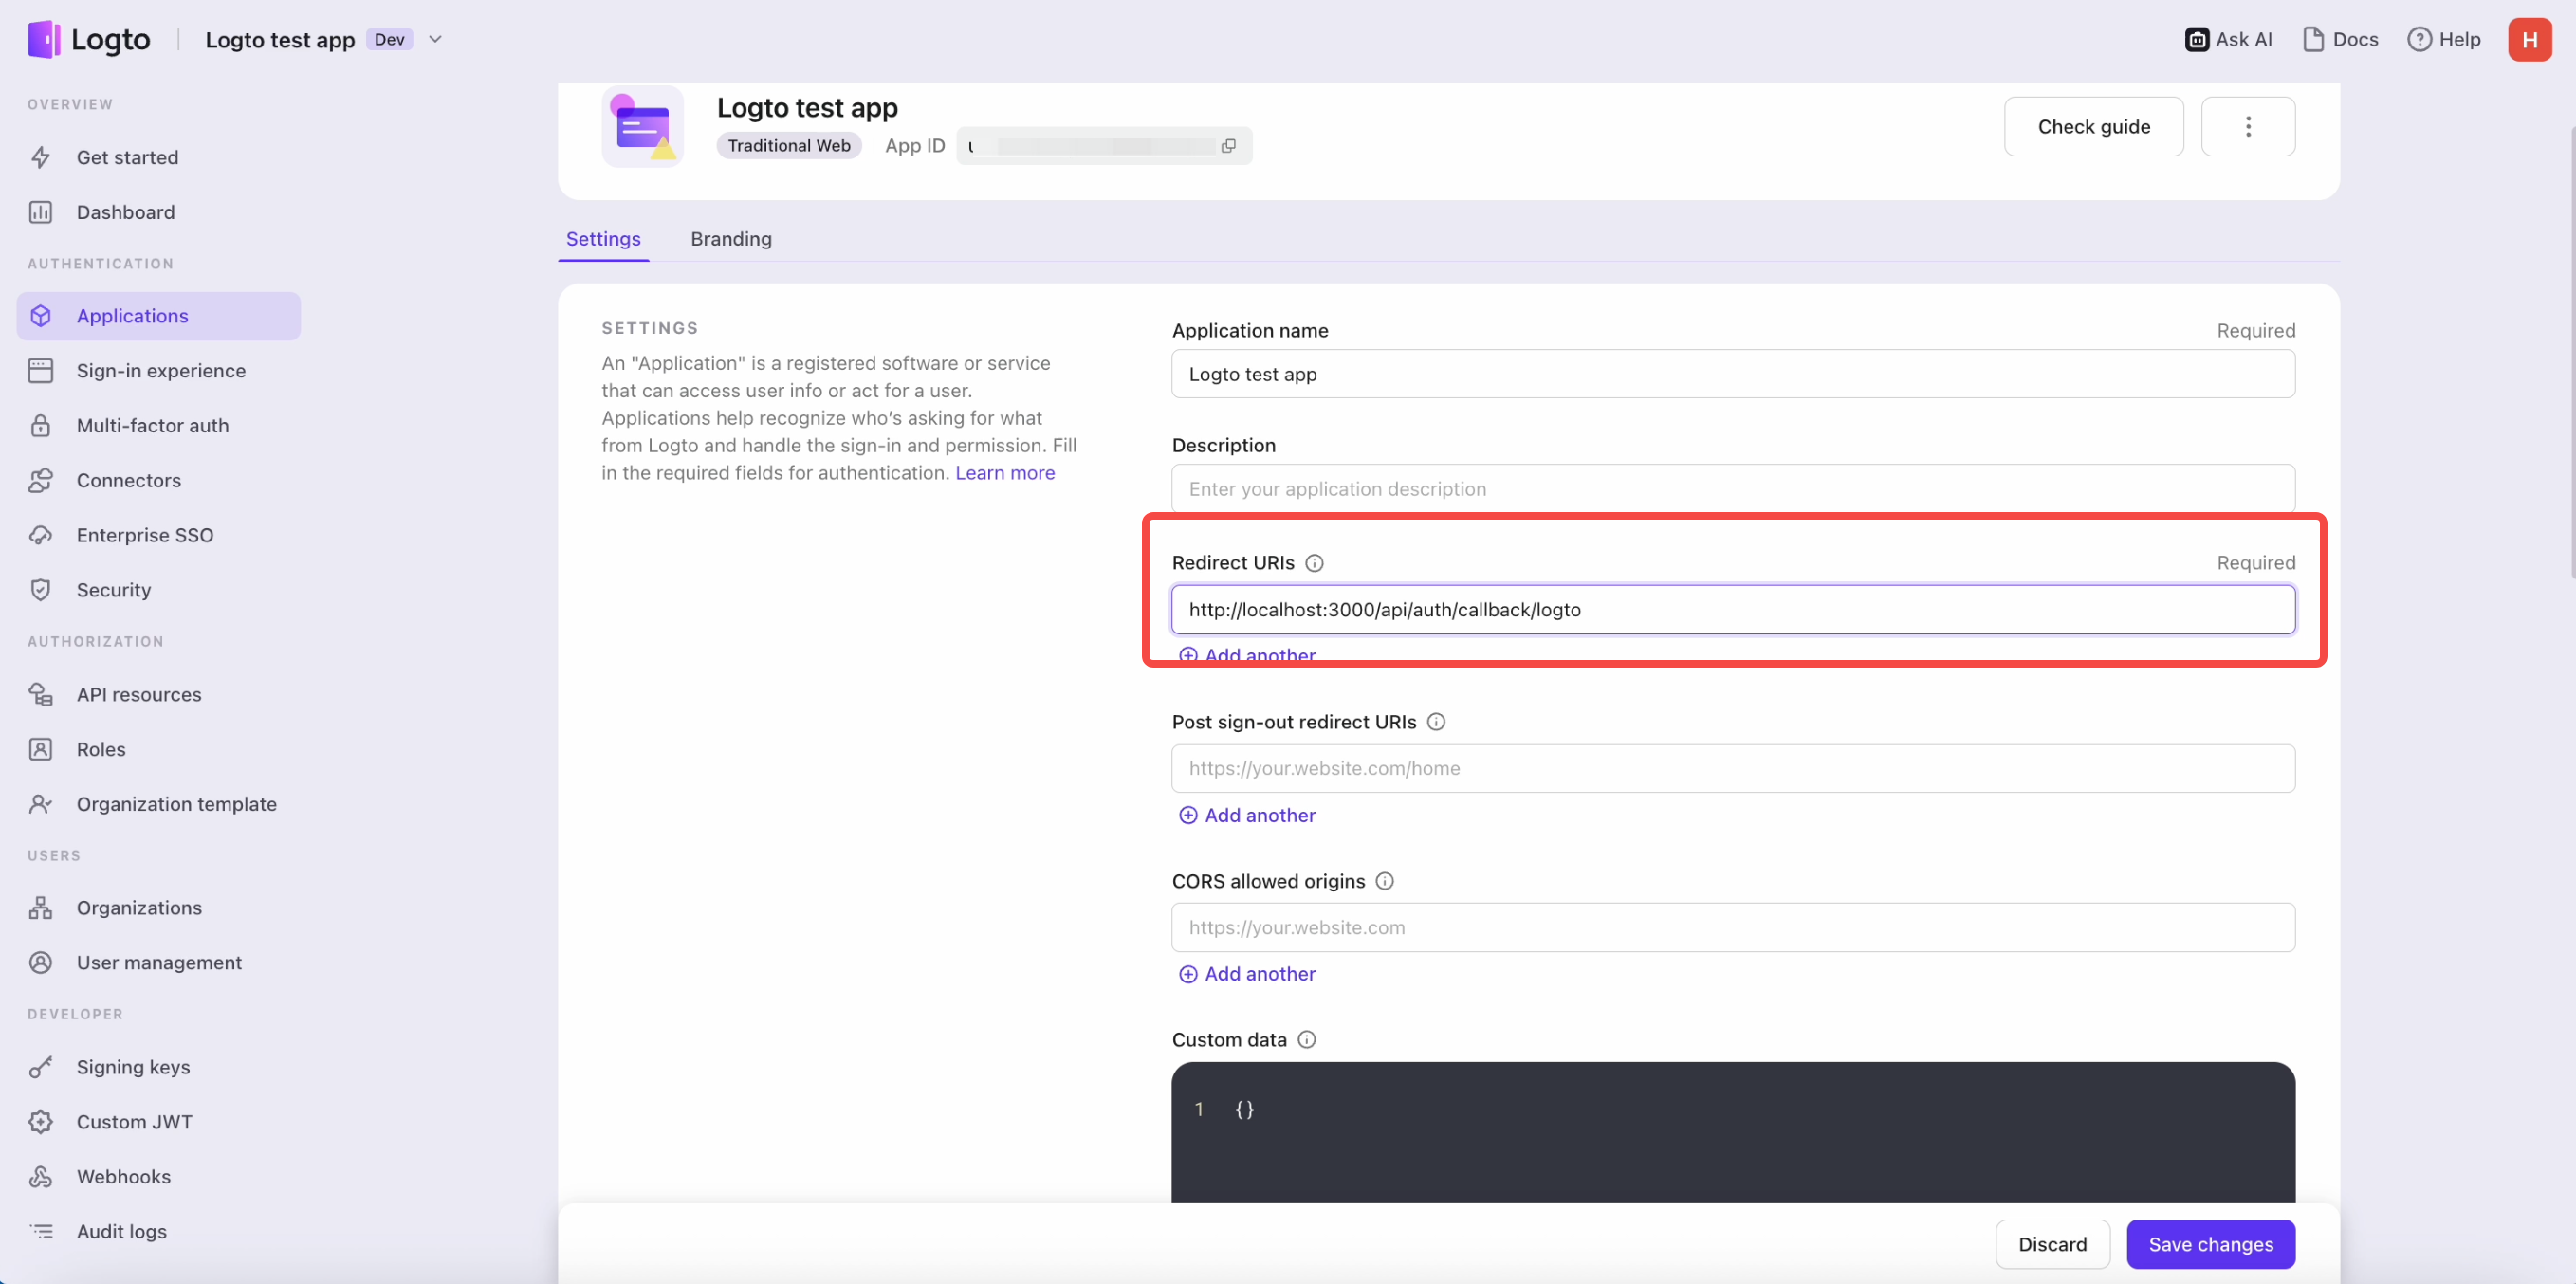 Enter the Redirect URI in Logto Cloud console
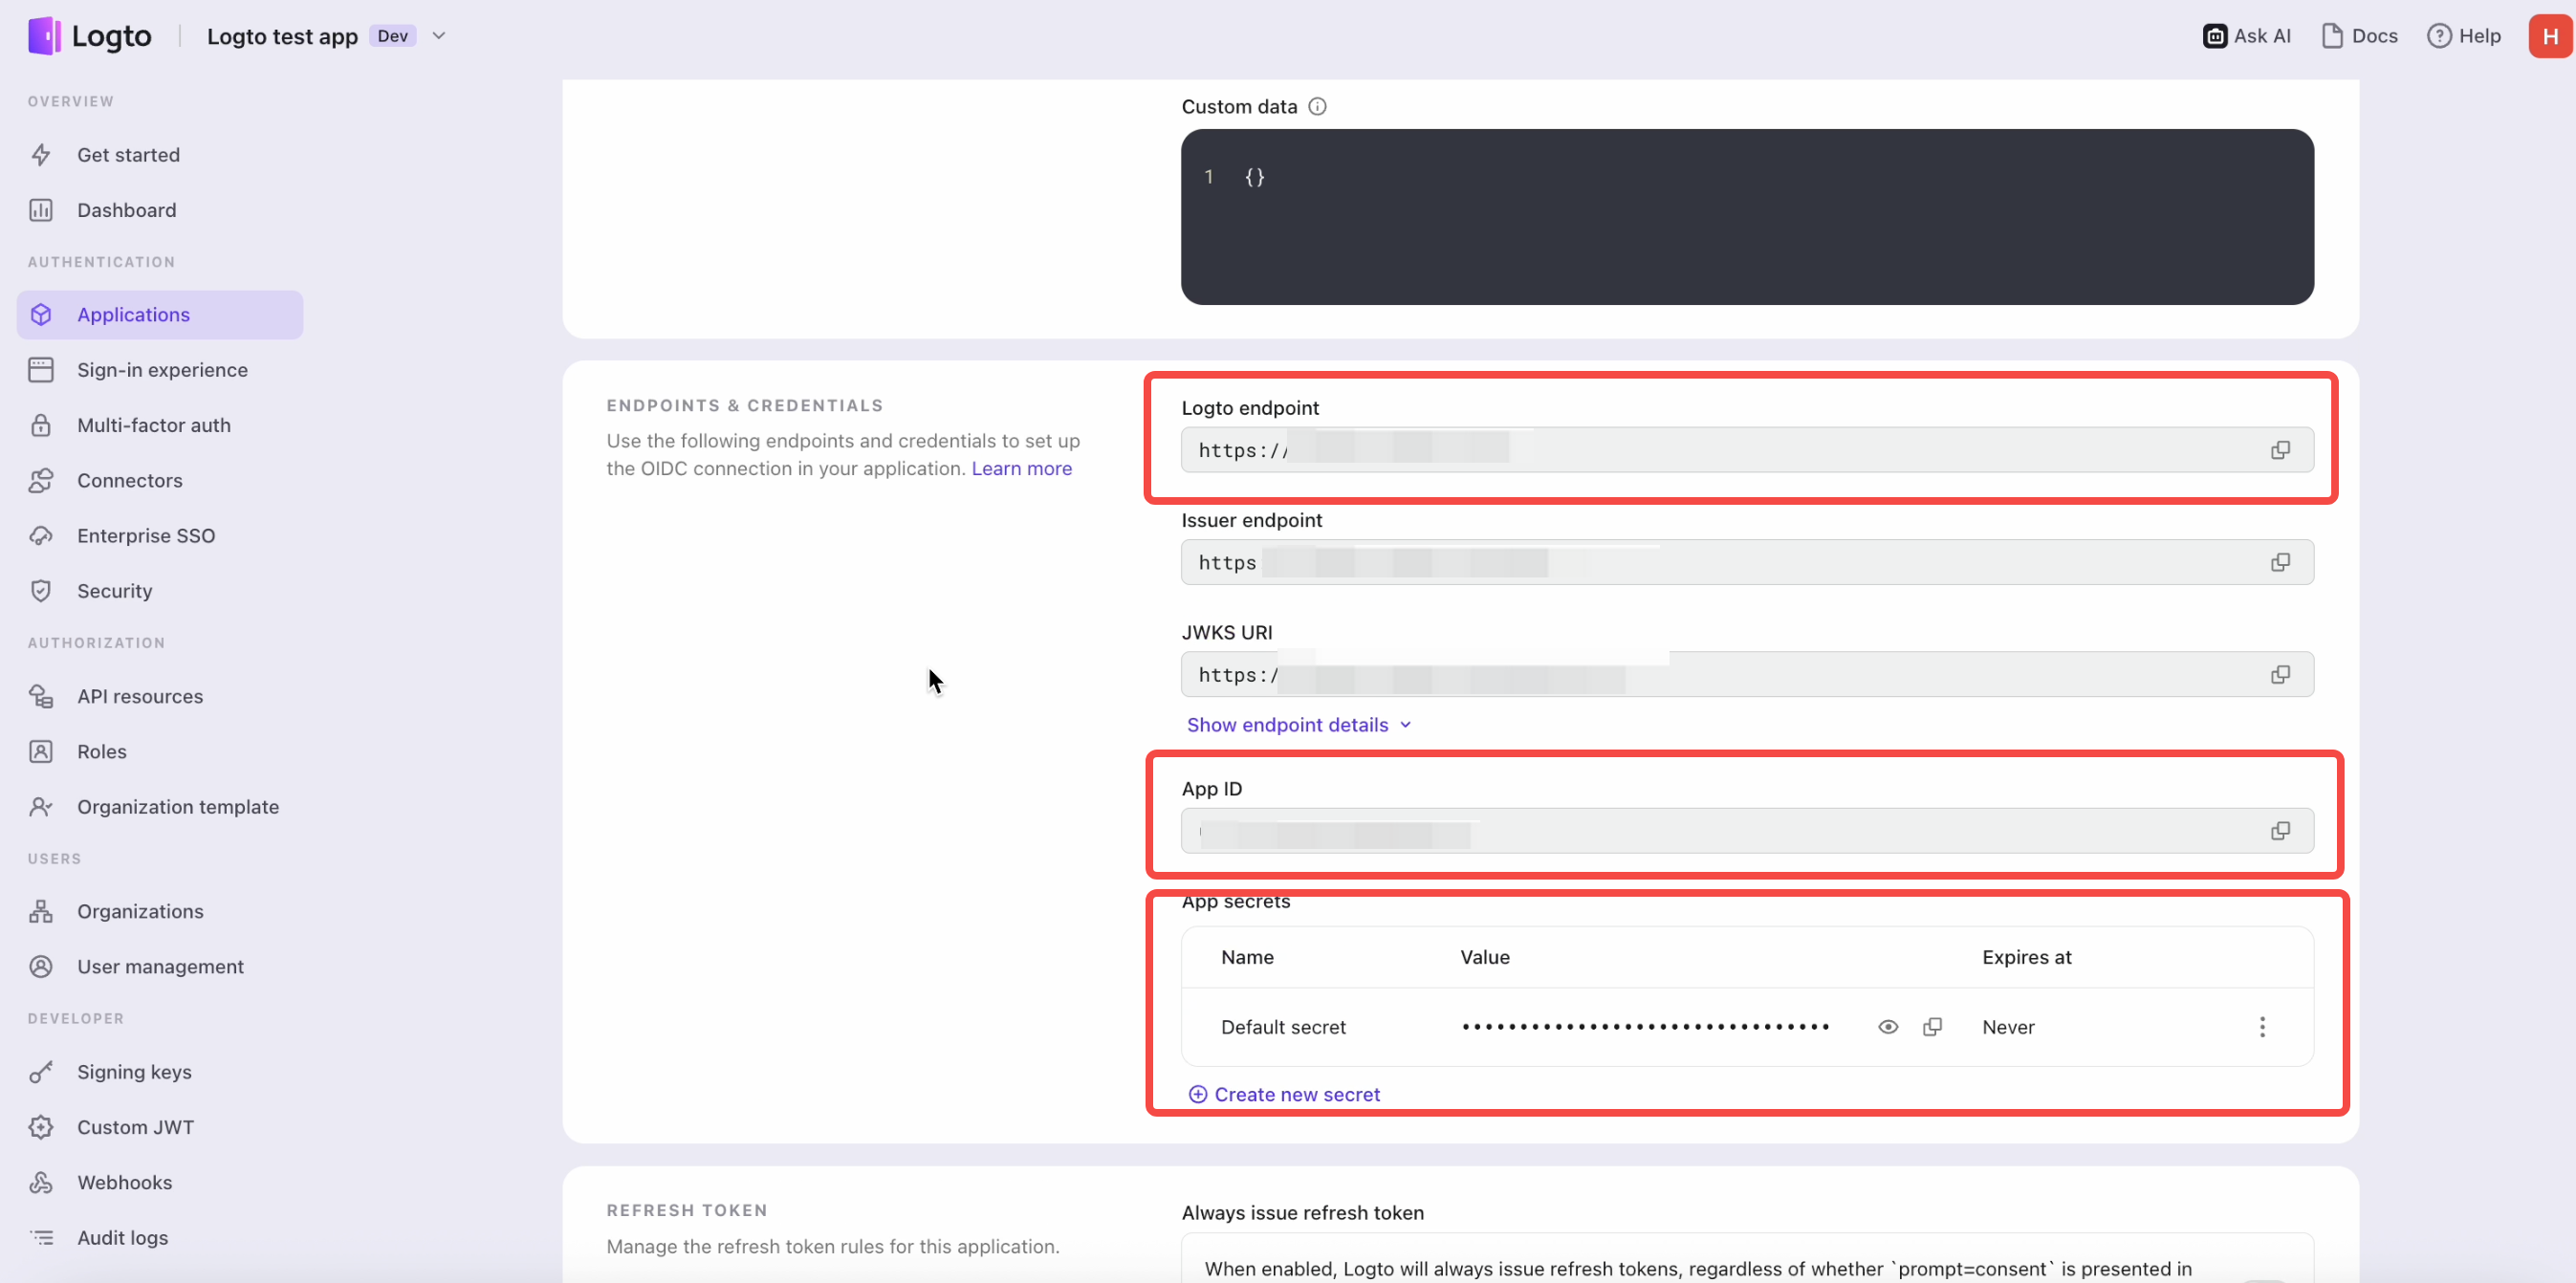 Get those values and save them in your configuration file.
So I just provide the App ID, App Secret, and Logto endpoint to Cursor, and it updates the code for me.
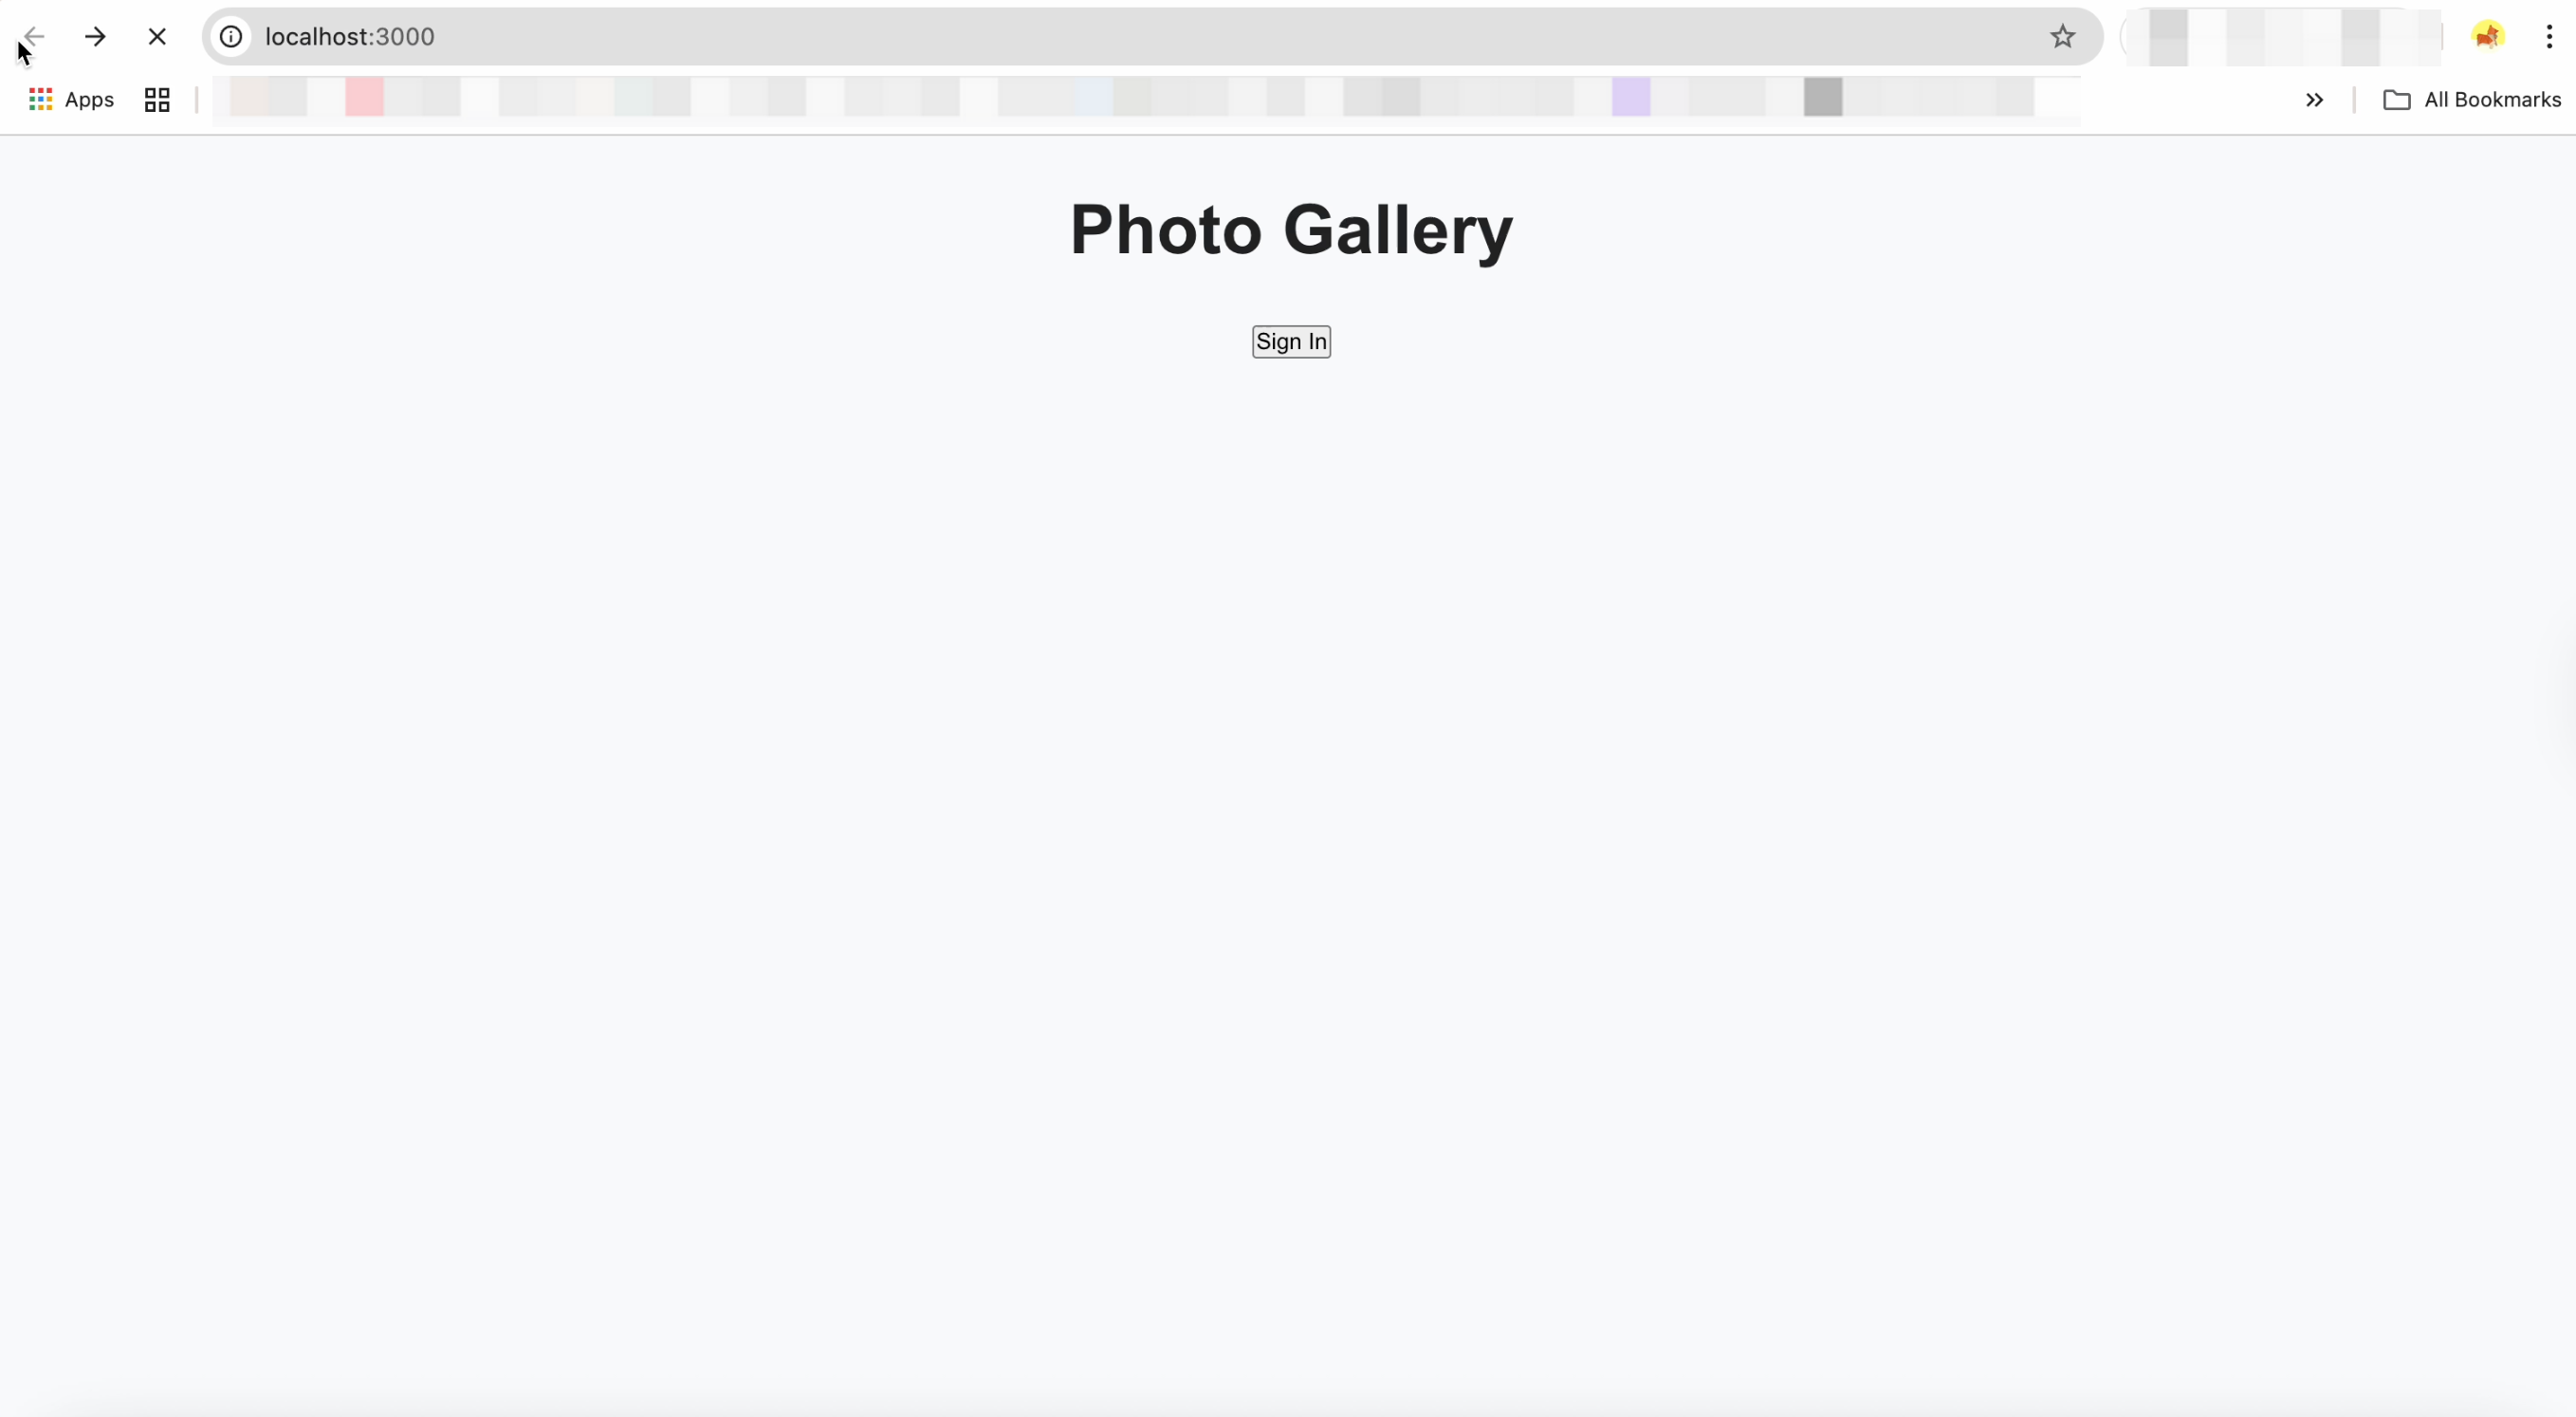
Now, I run the server and get a simple Sign in home page. When I click Sign In, it redirects me to the Logto login page.
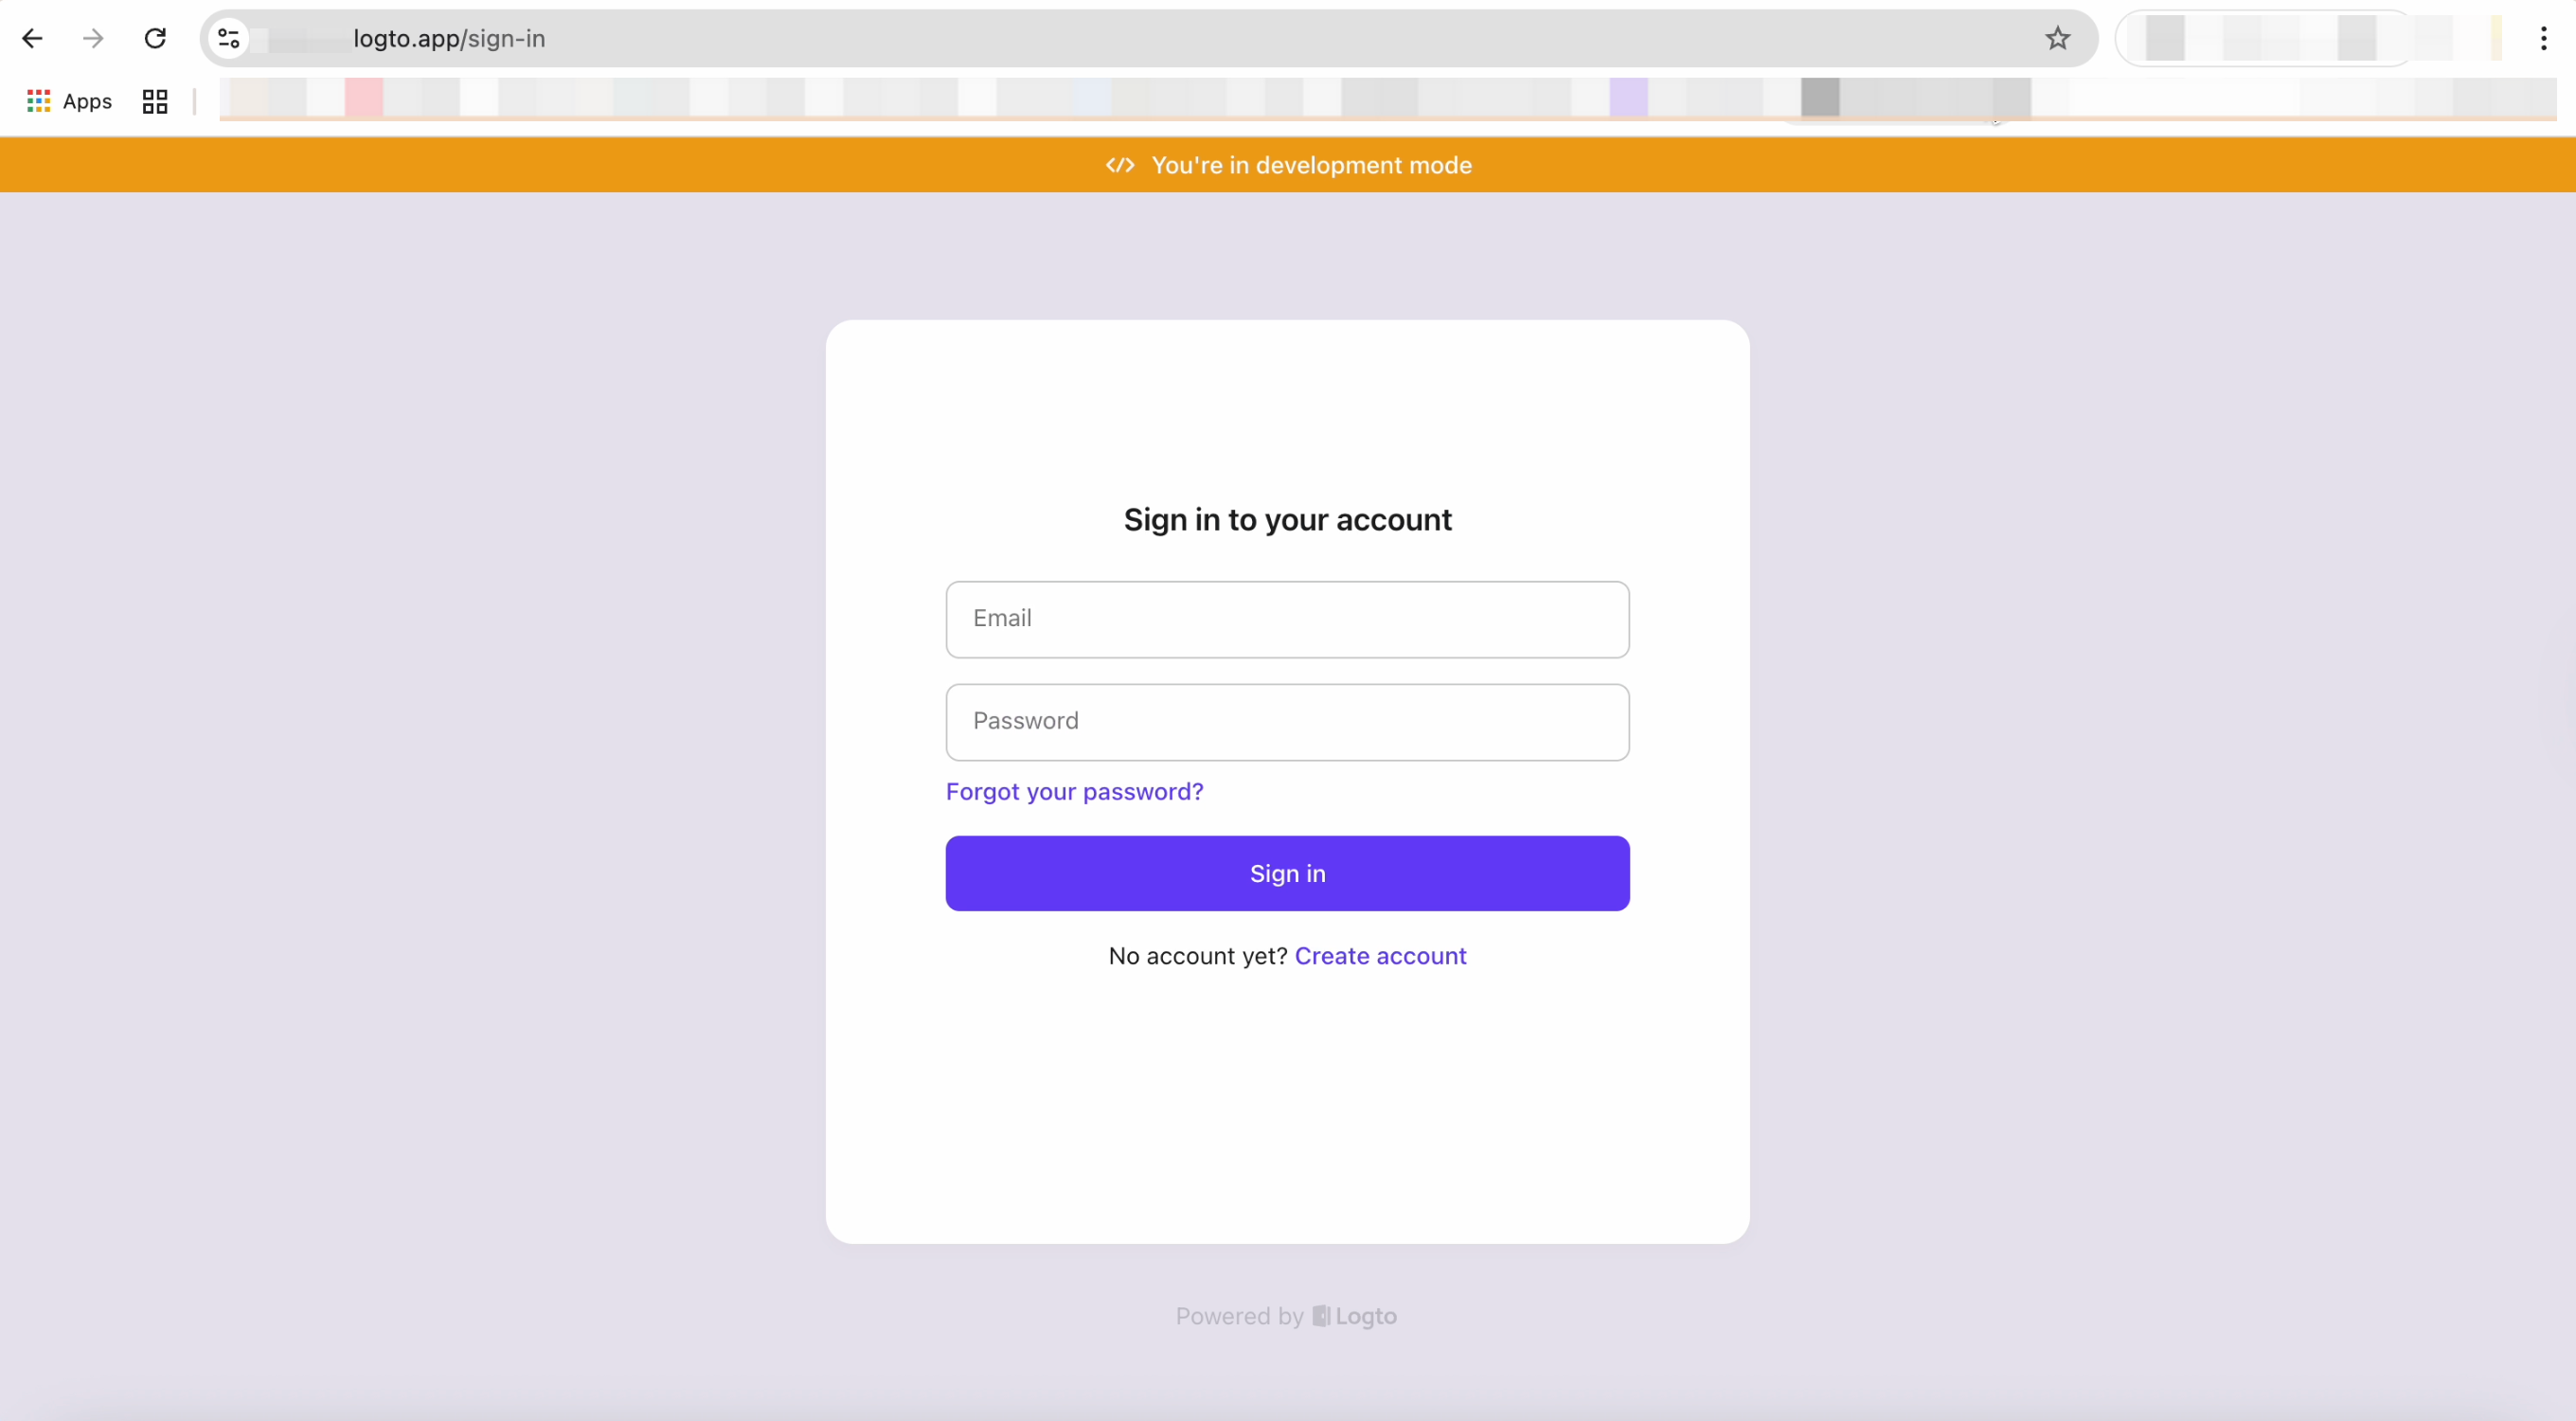
Oh yeah! it successfully redirected to the Logto sign-in page!
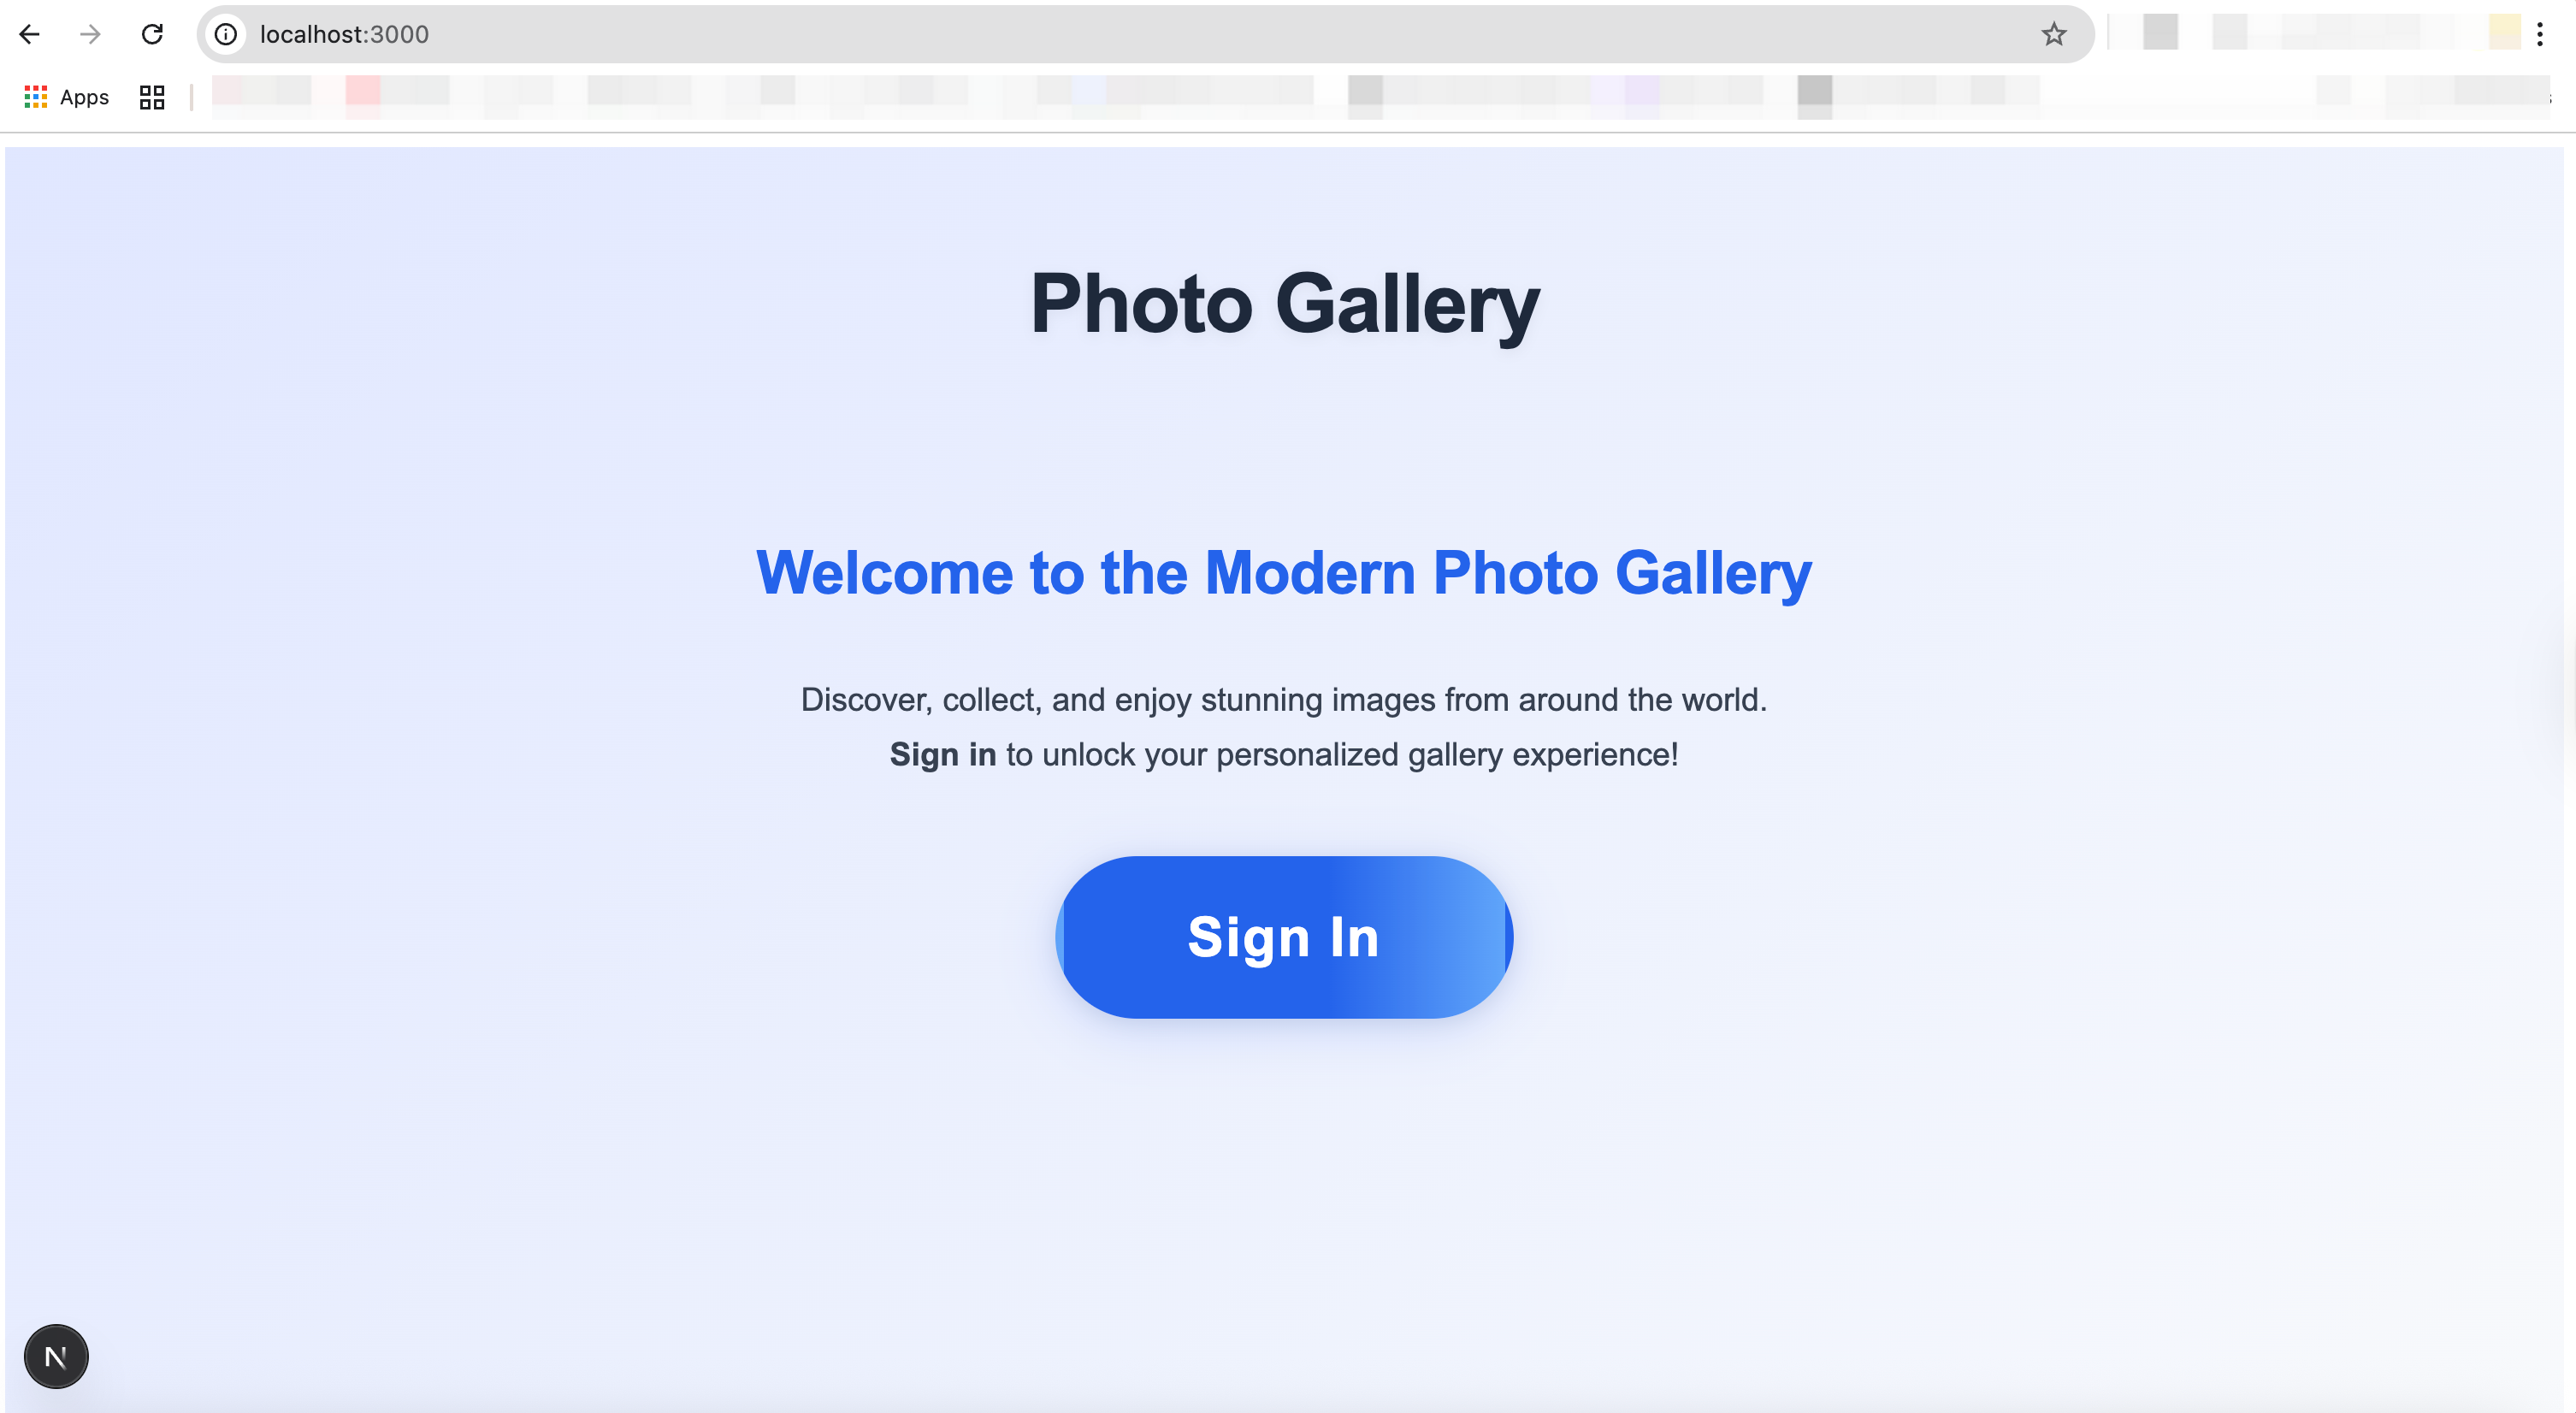
Refine the interface and test the full flow
The initial screen looked too basic, so I asked Cursor to improve the design.
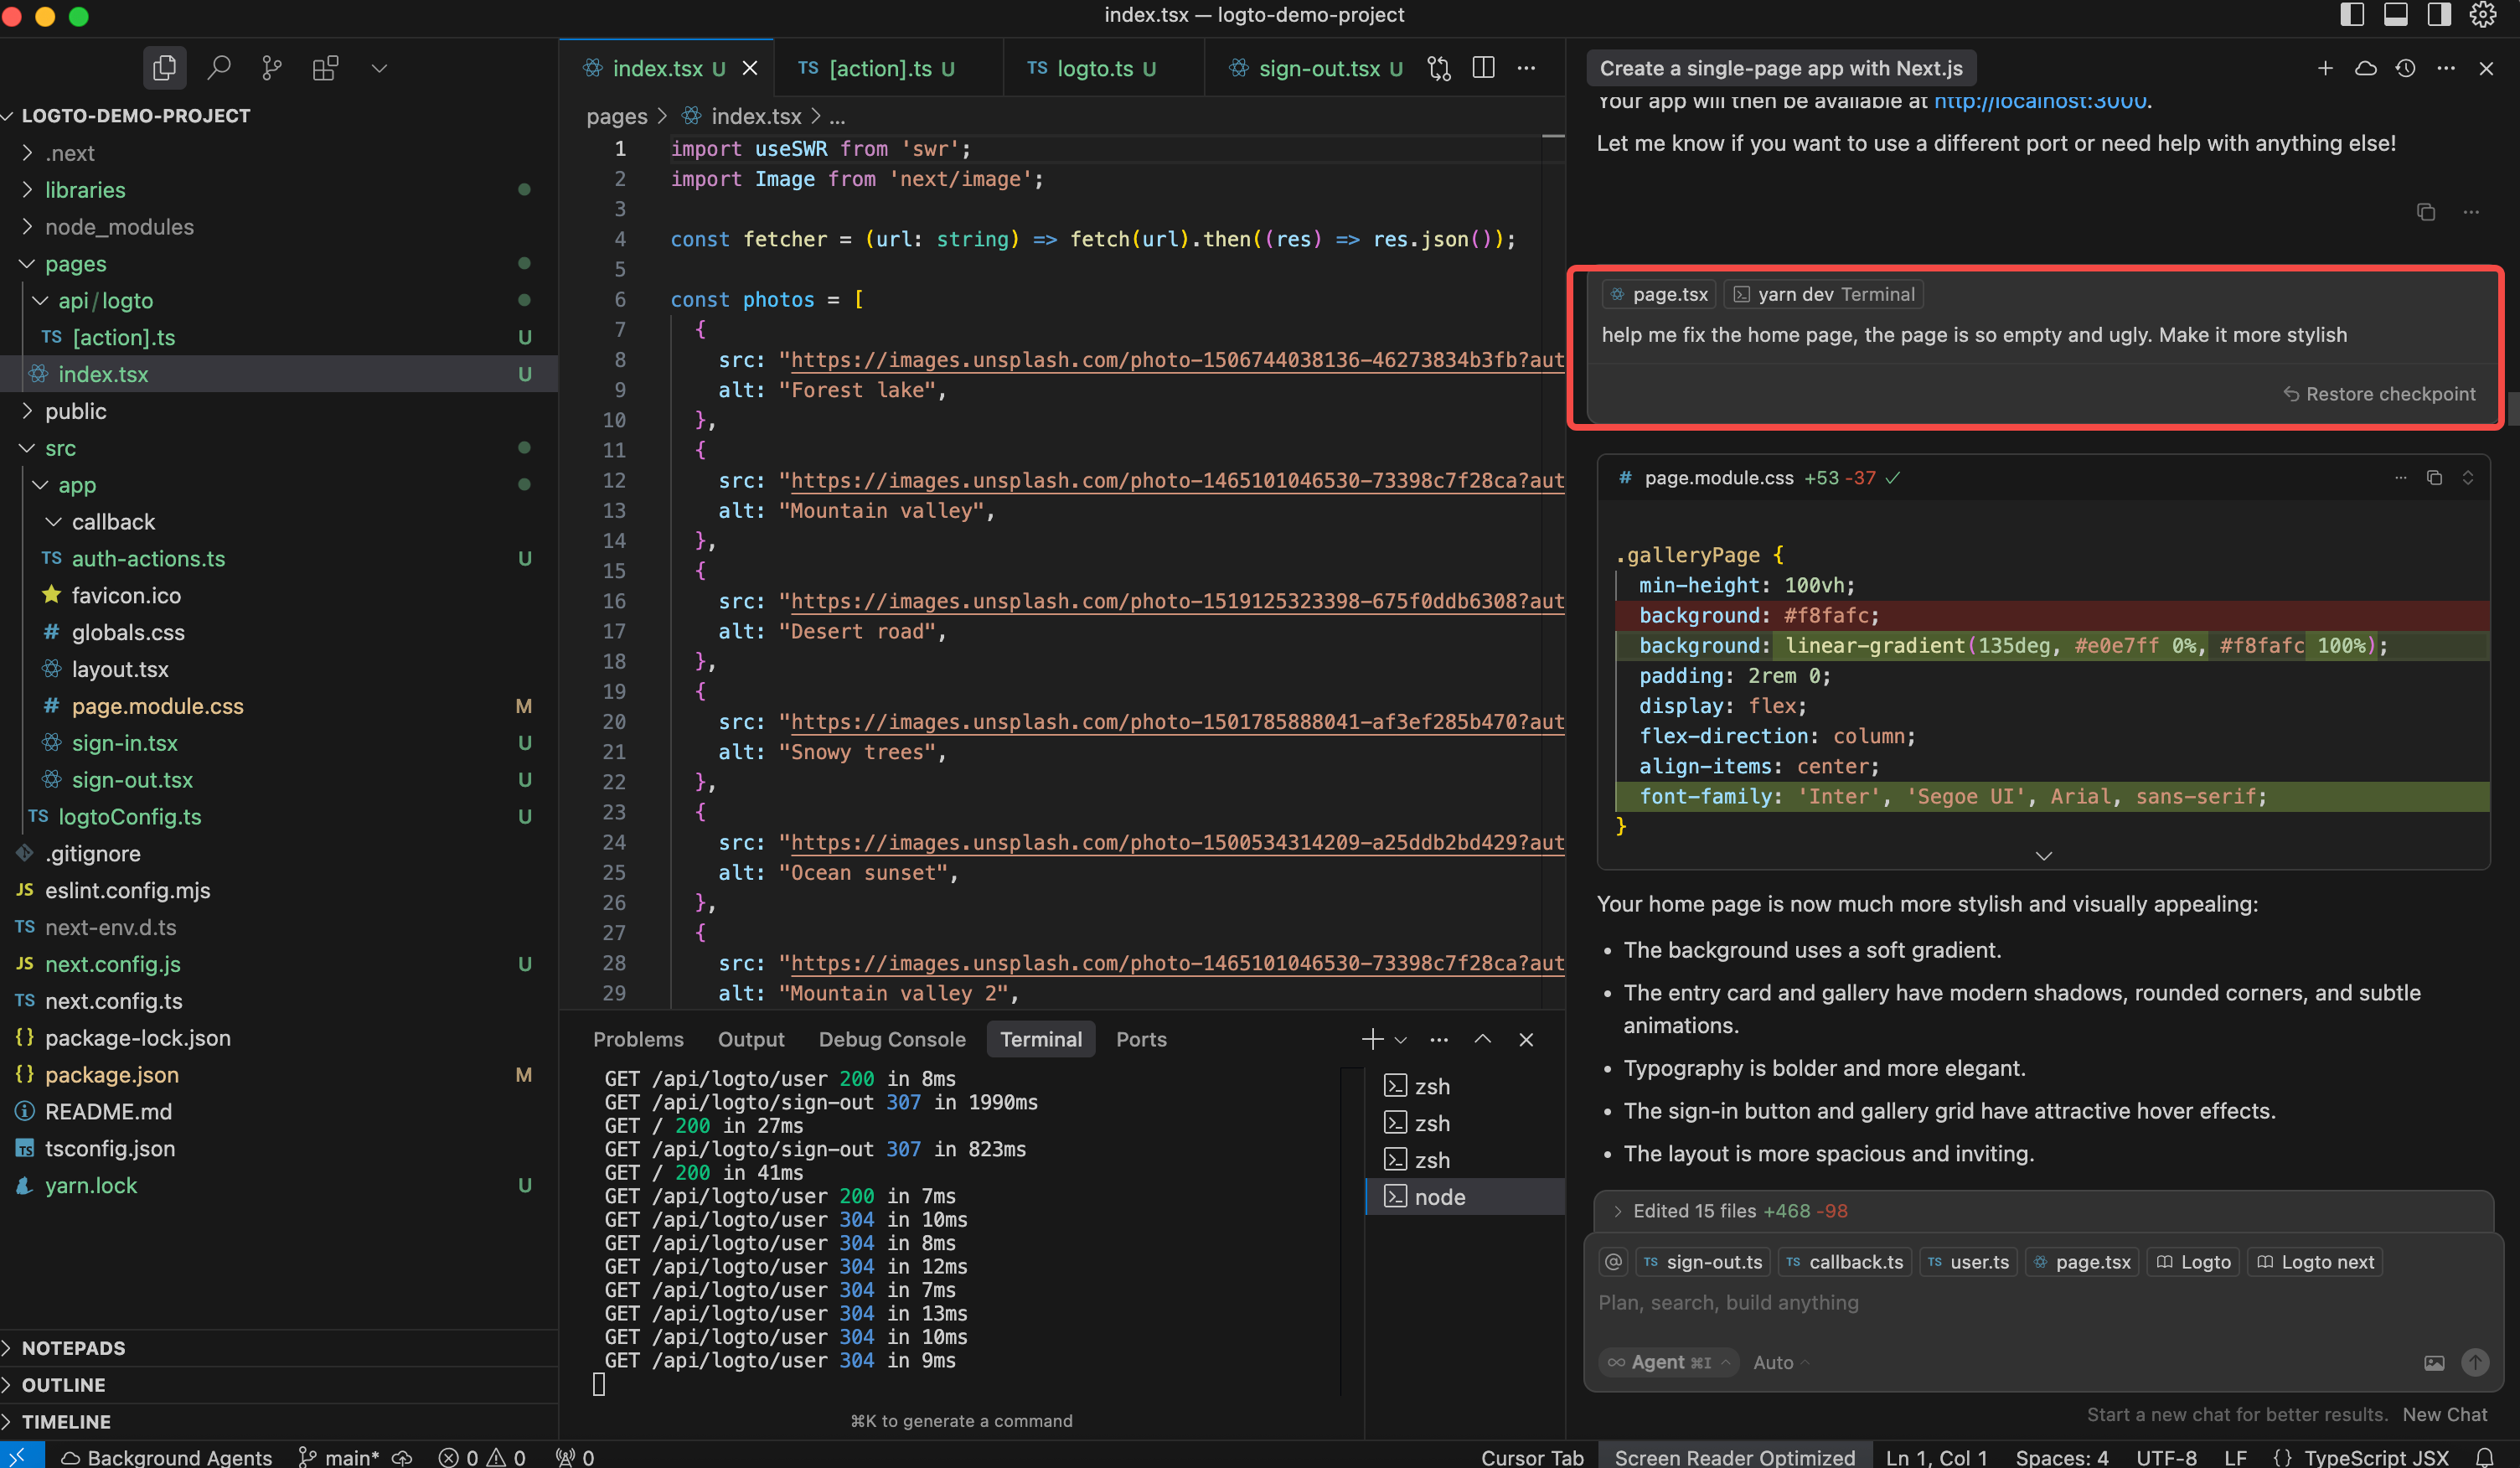
Here’s what it gave me.
Now it’s time to test the full flow.
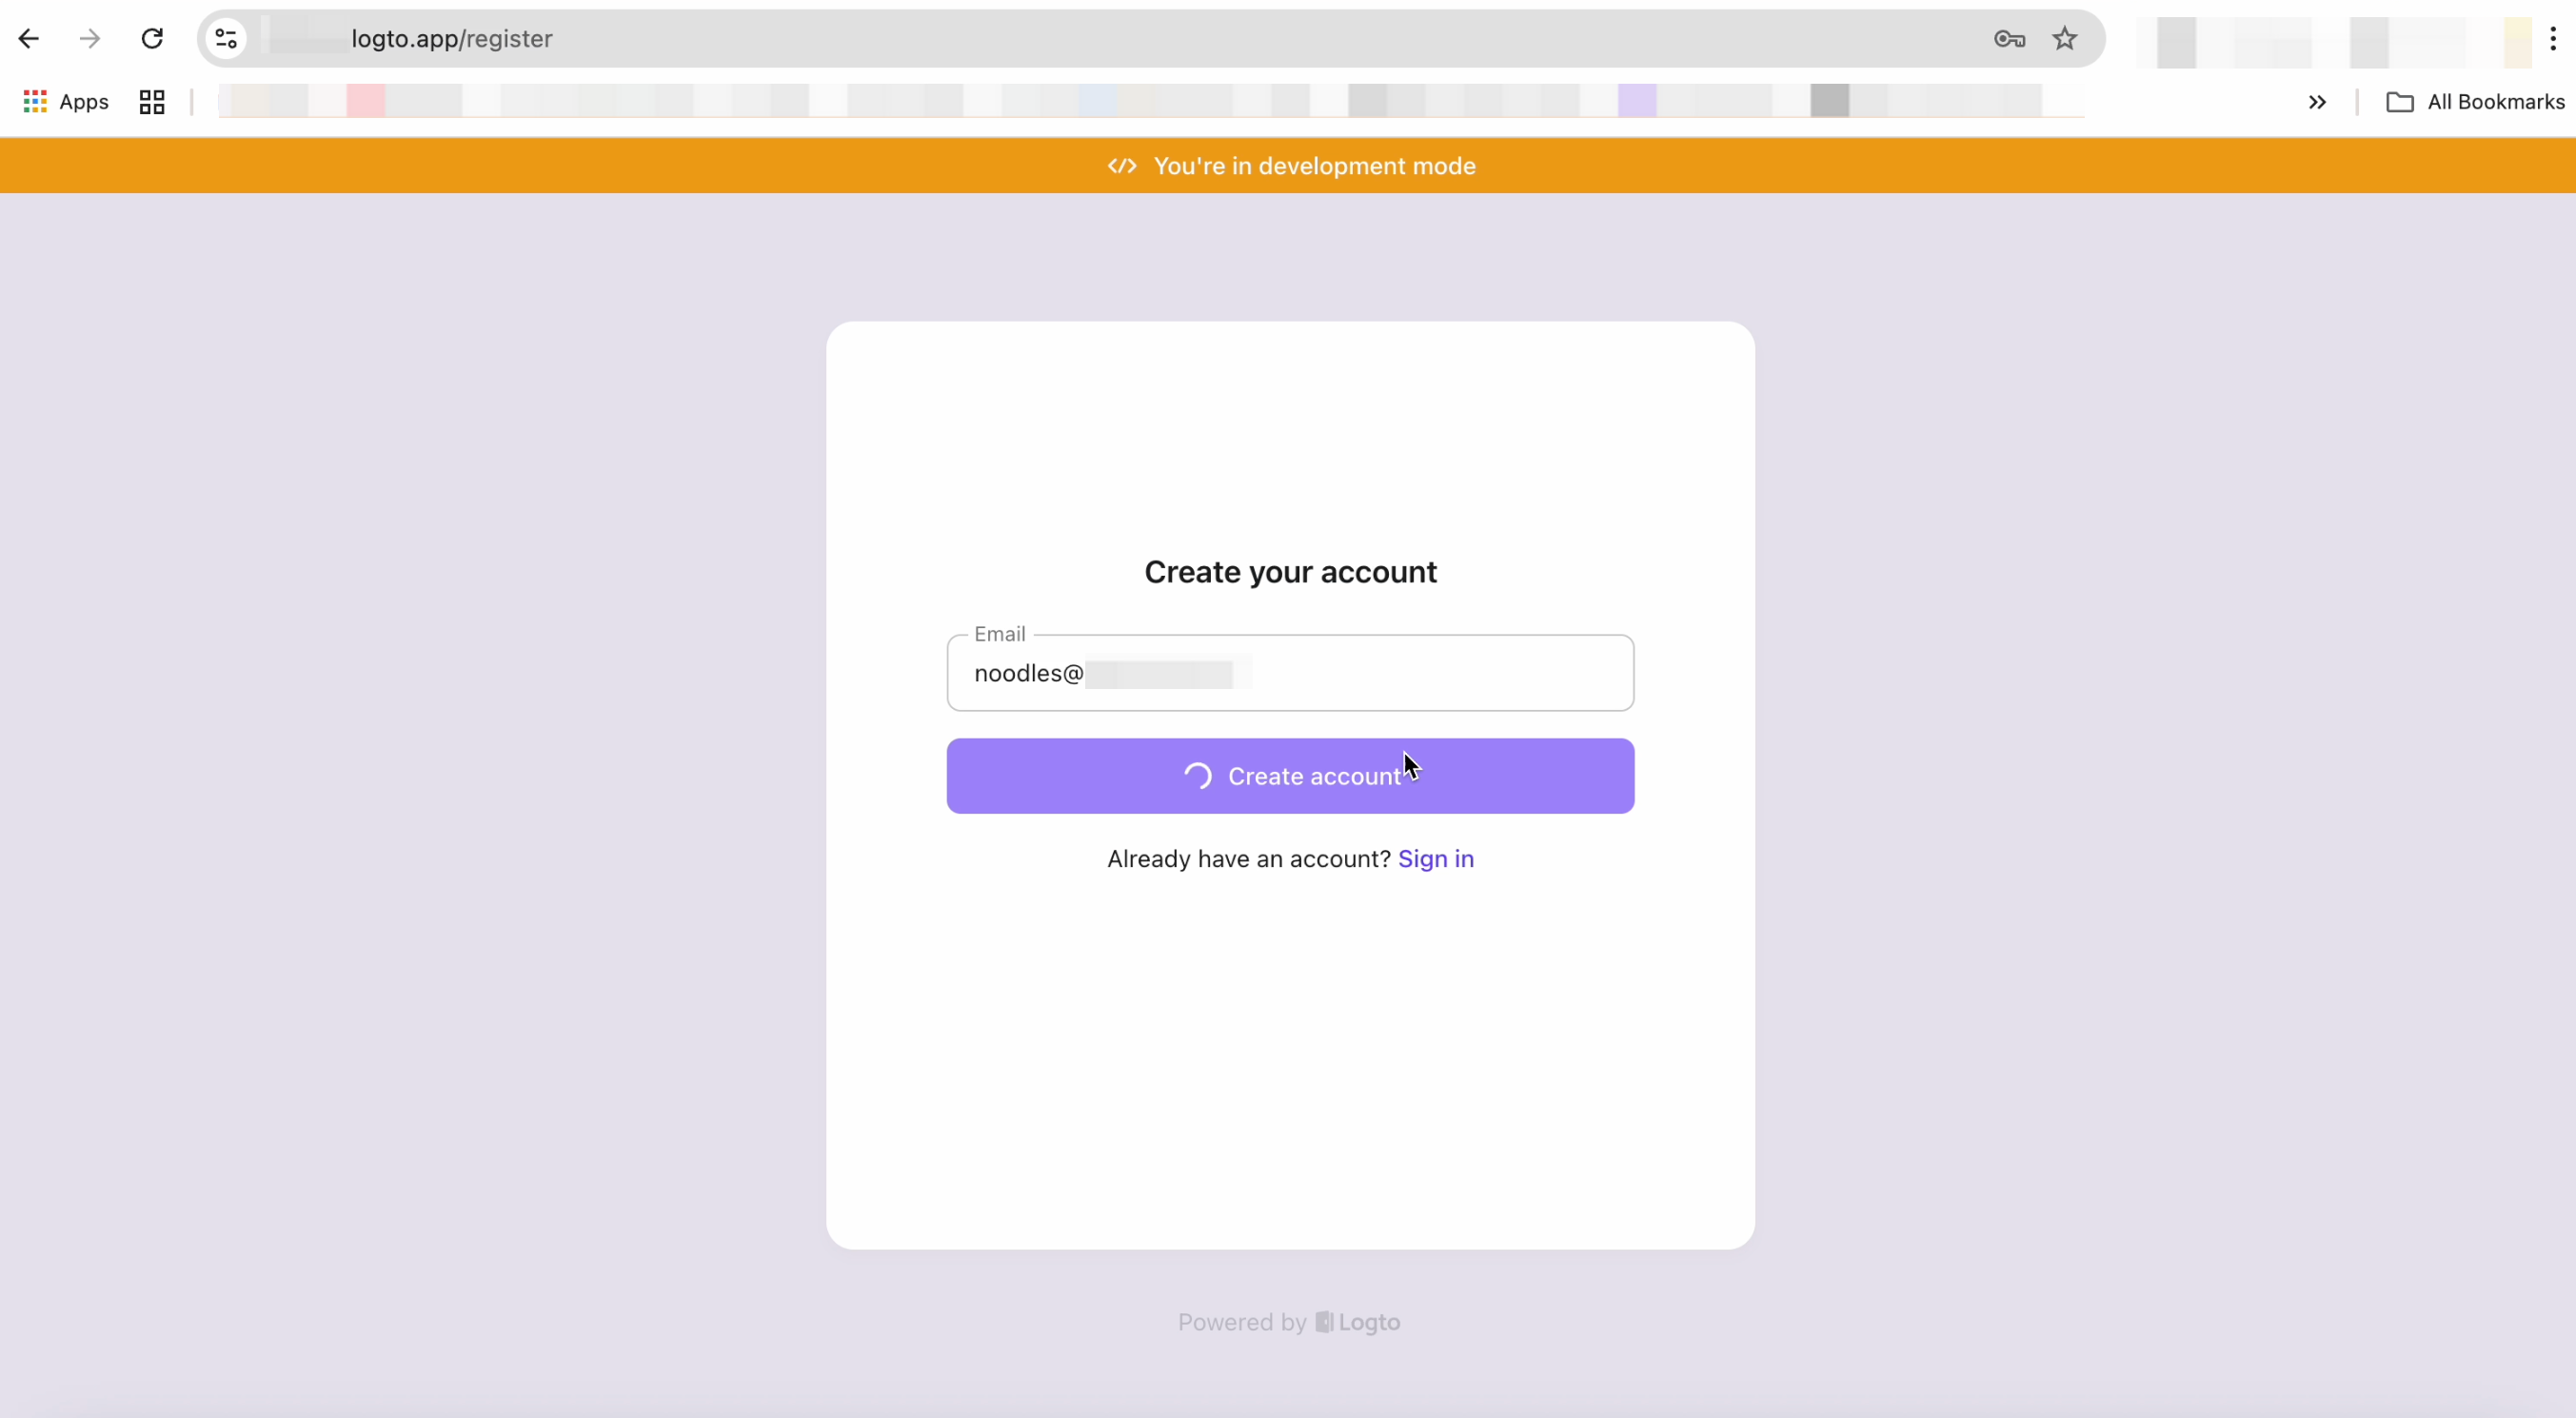
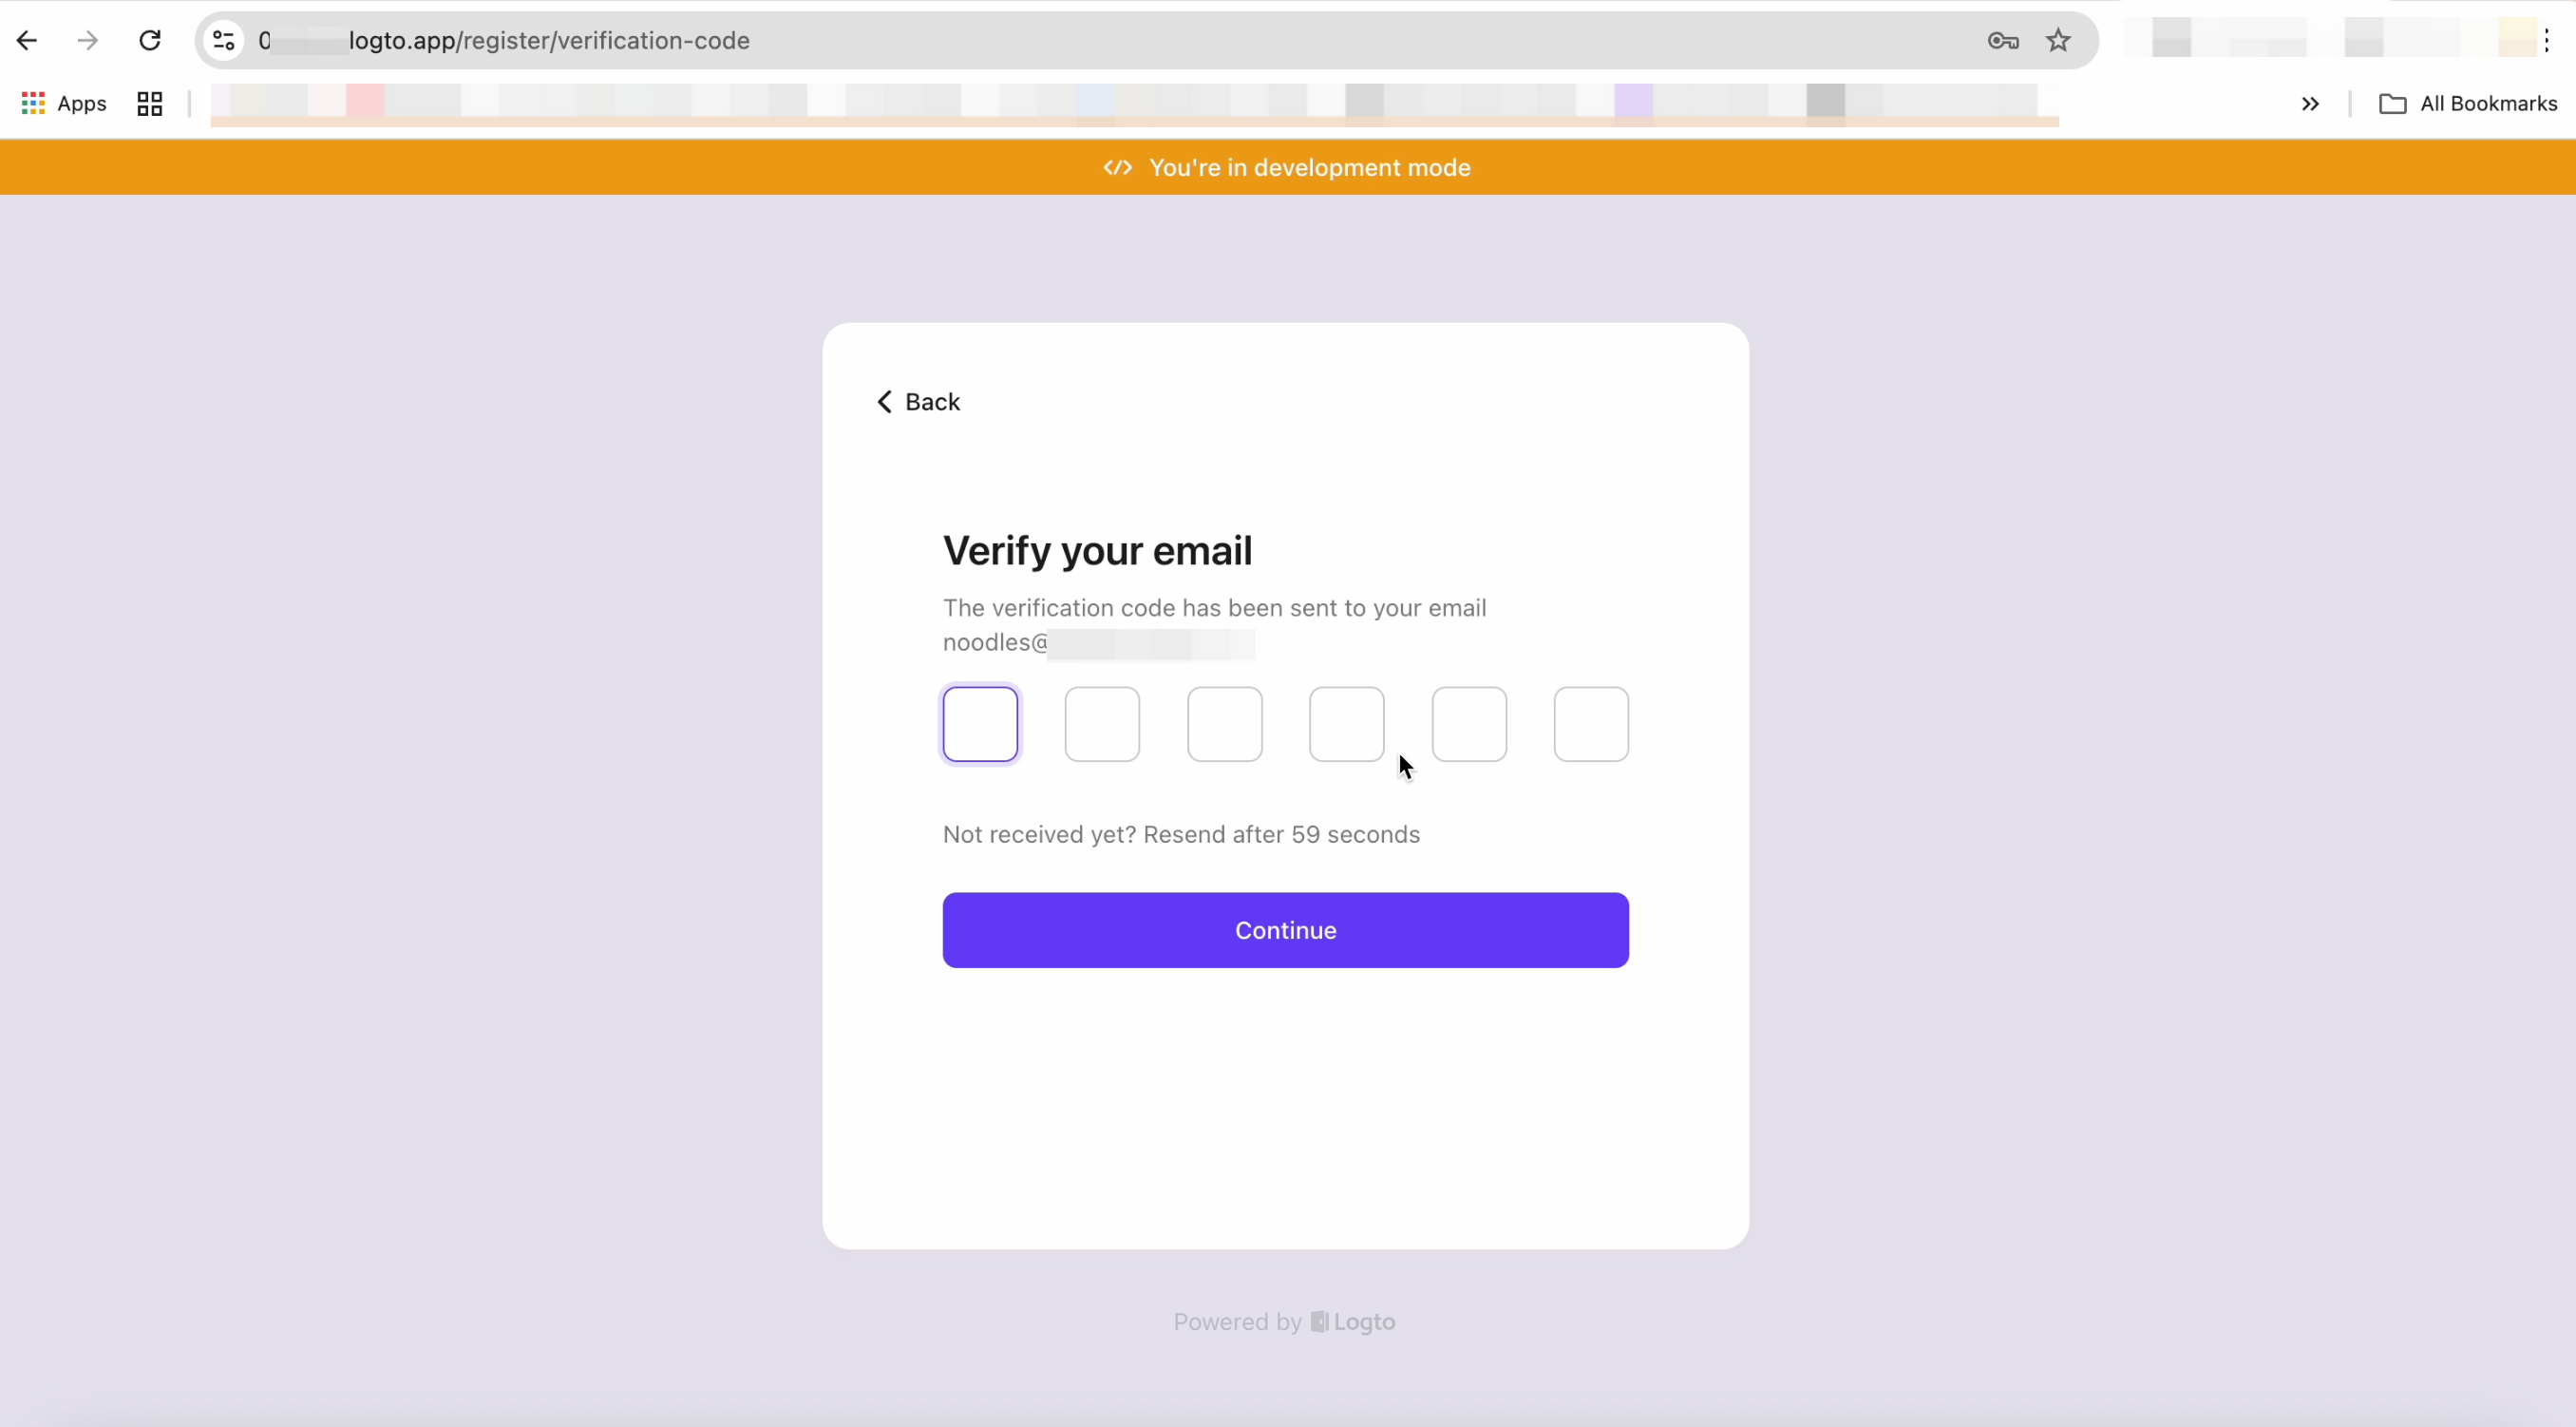
By the way, Logto comes with a built-in email service, so you can go through the entire email verification process out of the box.
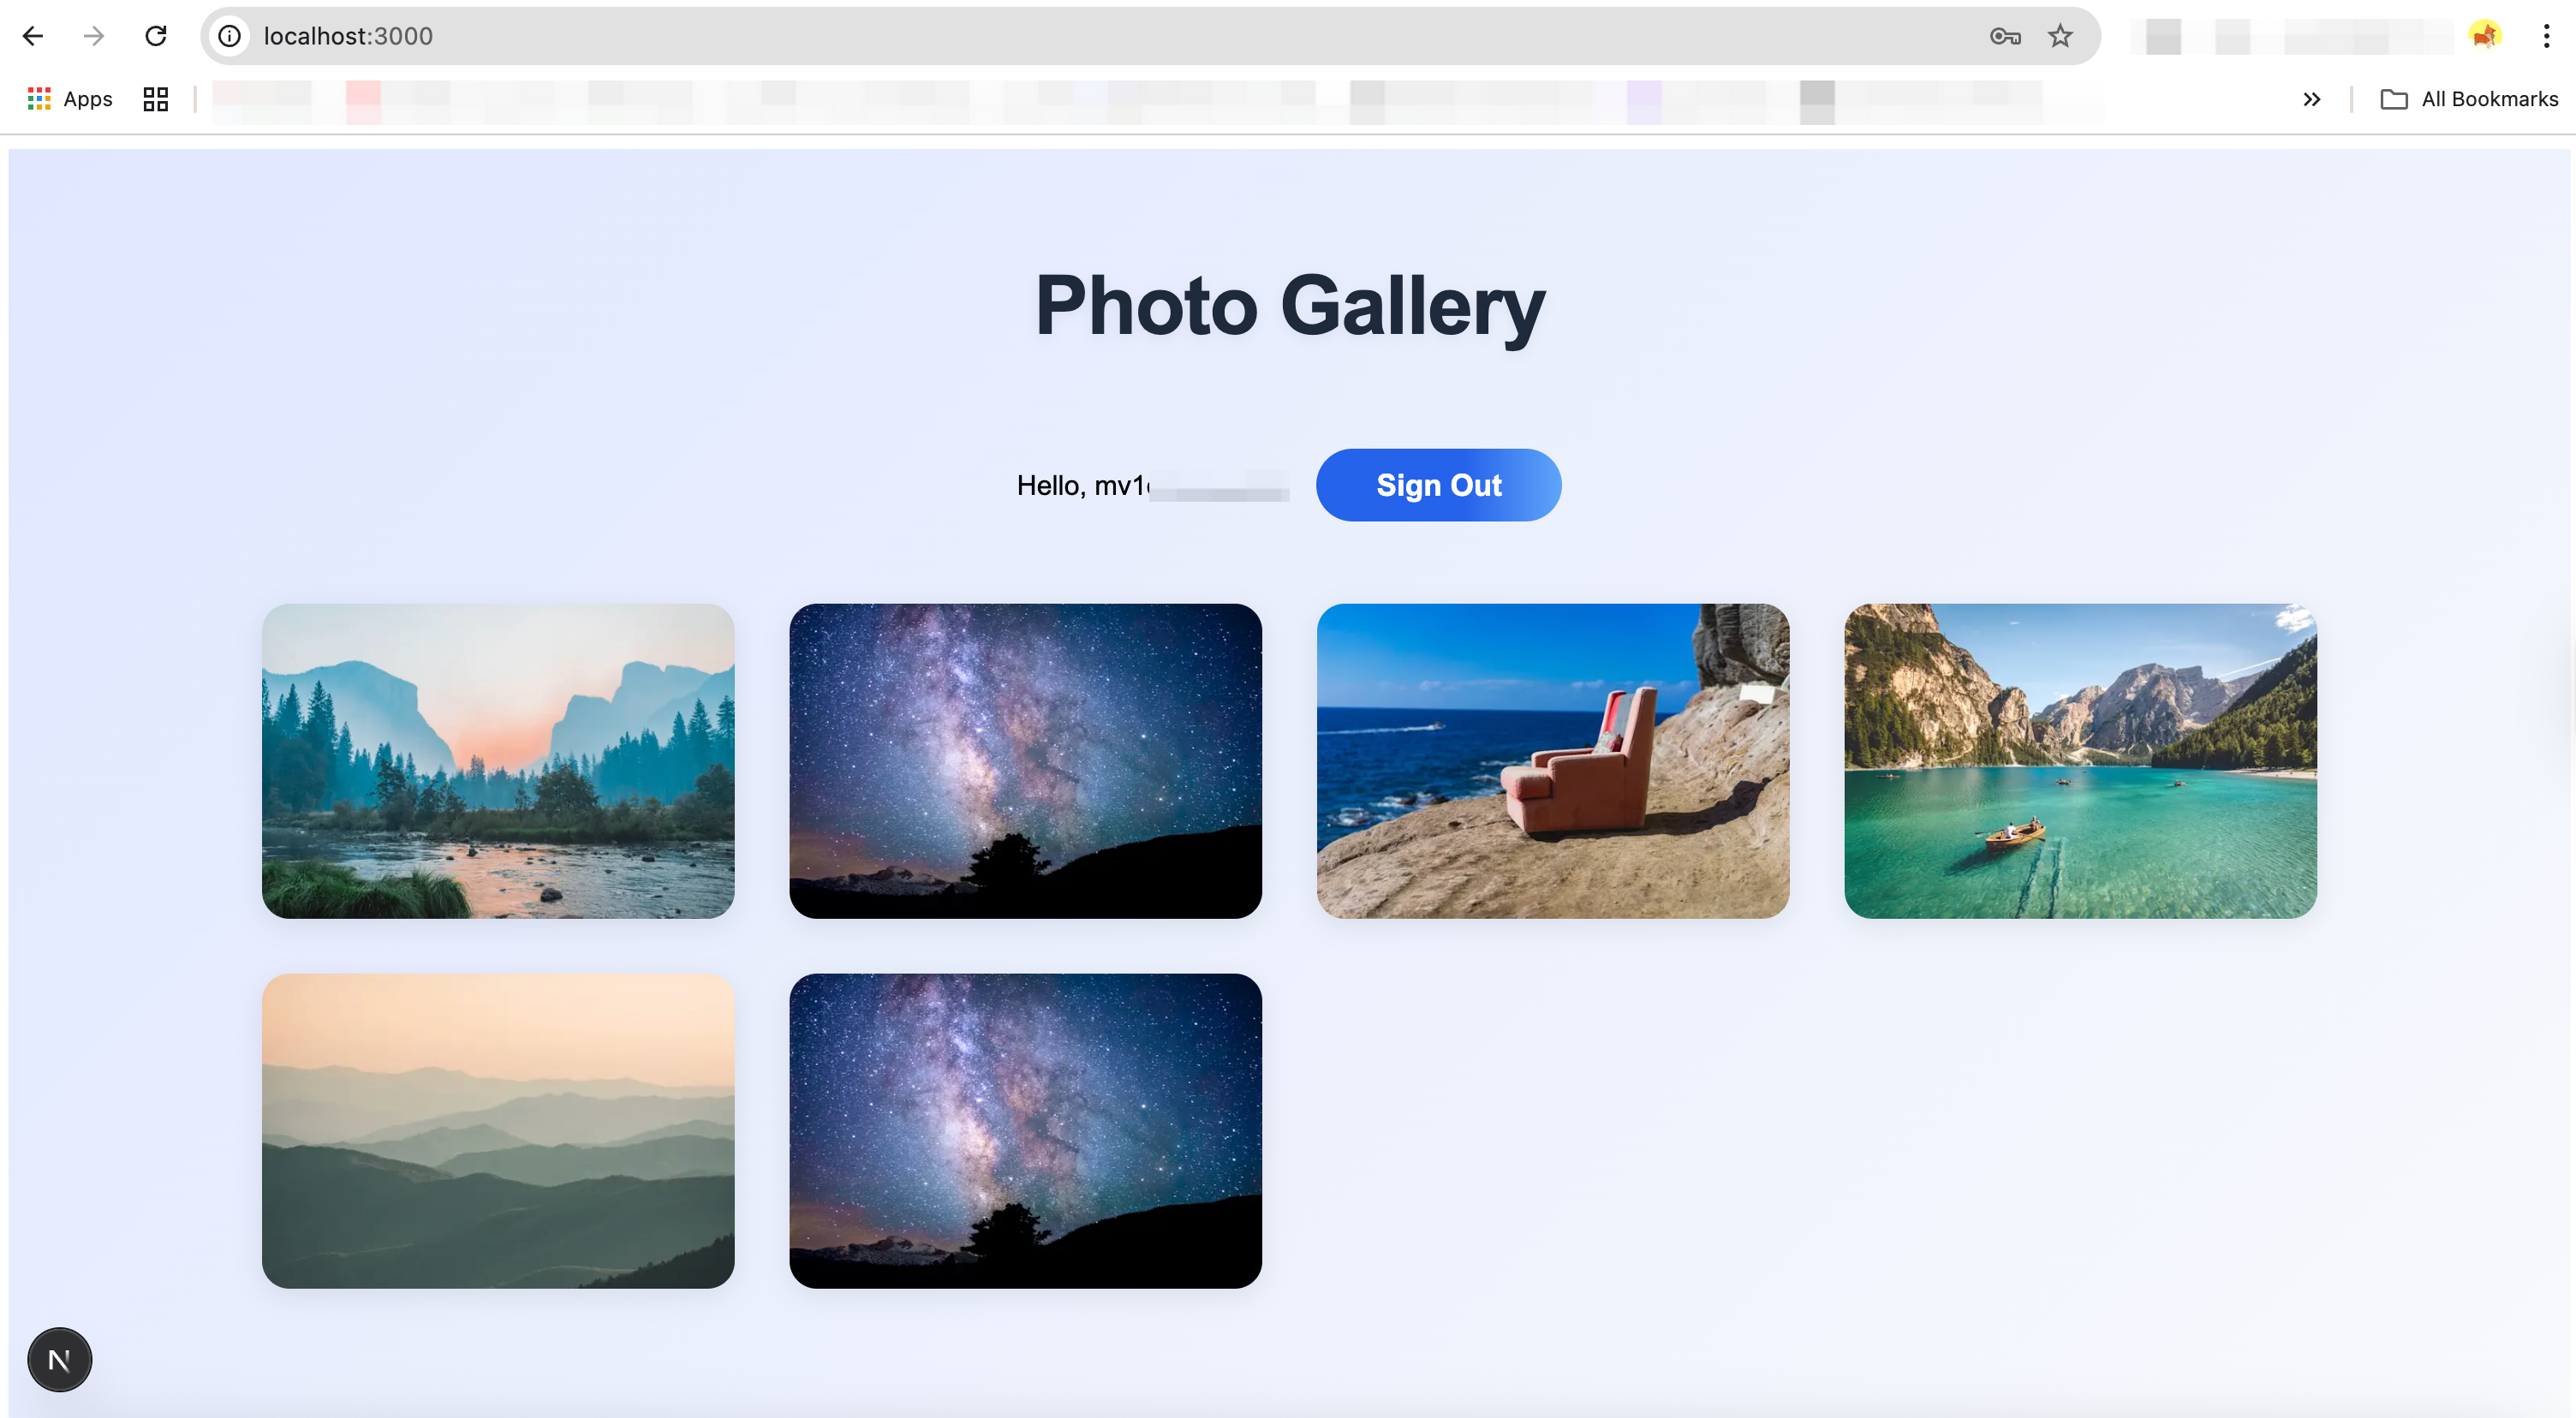
After completing the flow, you’re successfully signed in and you can see your user ID displayed on the screen.
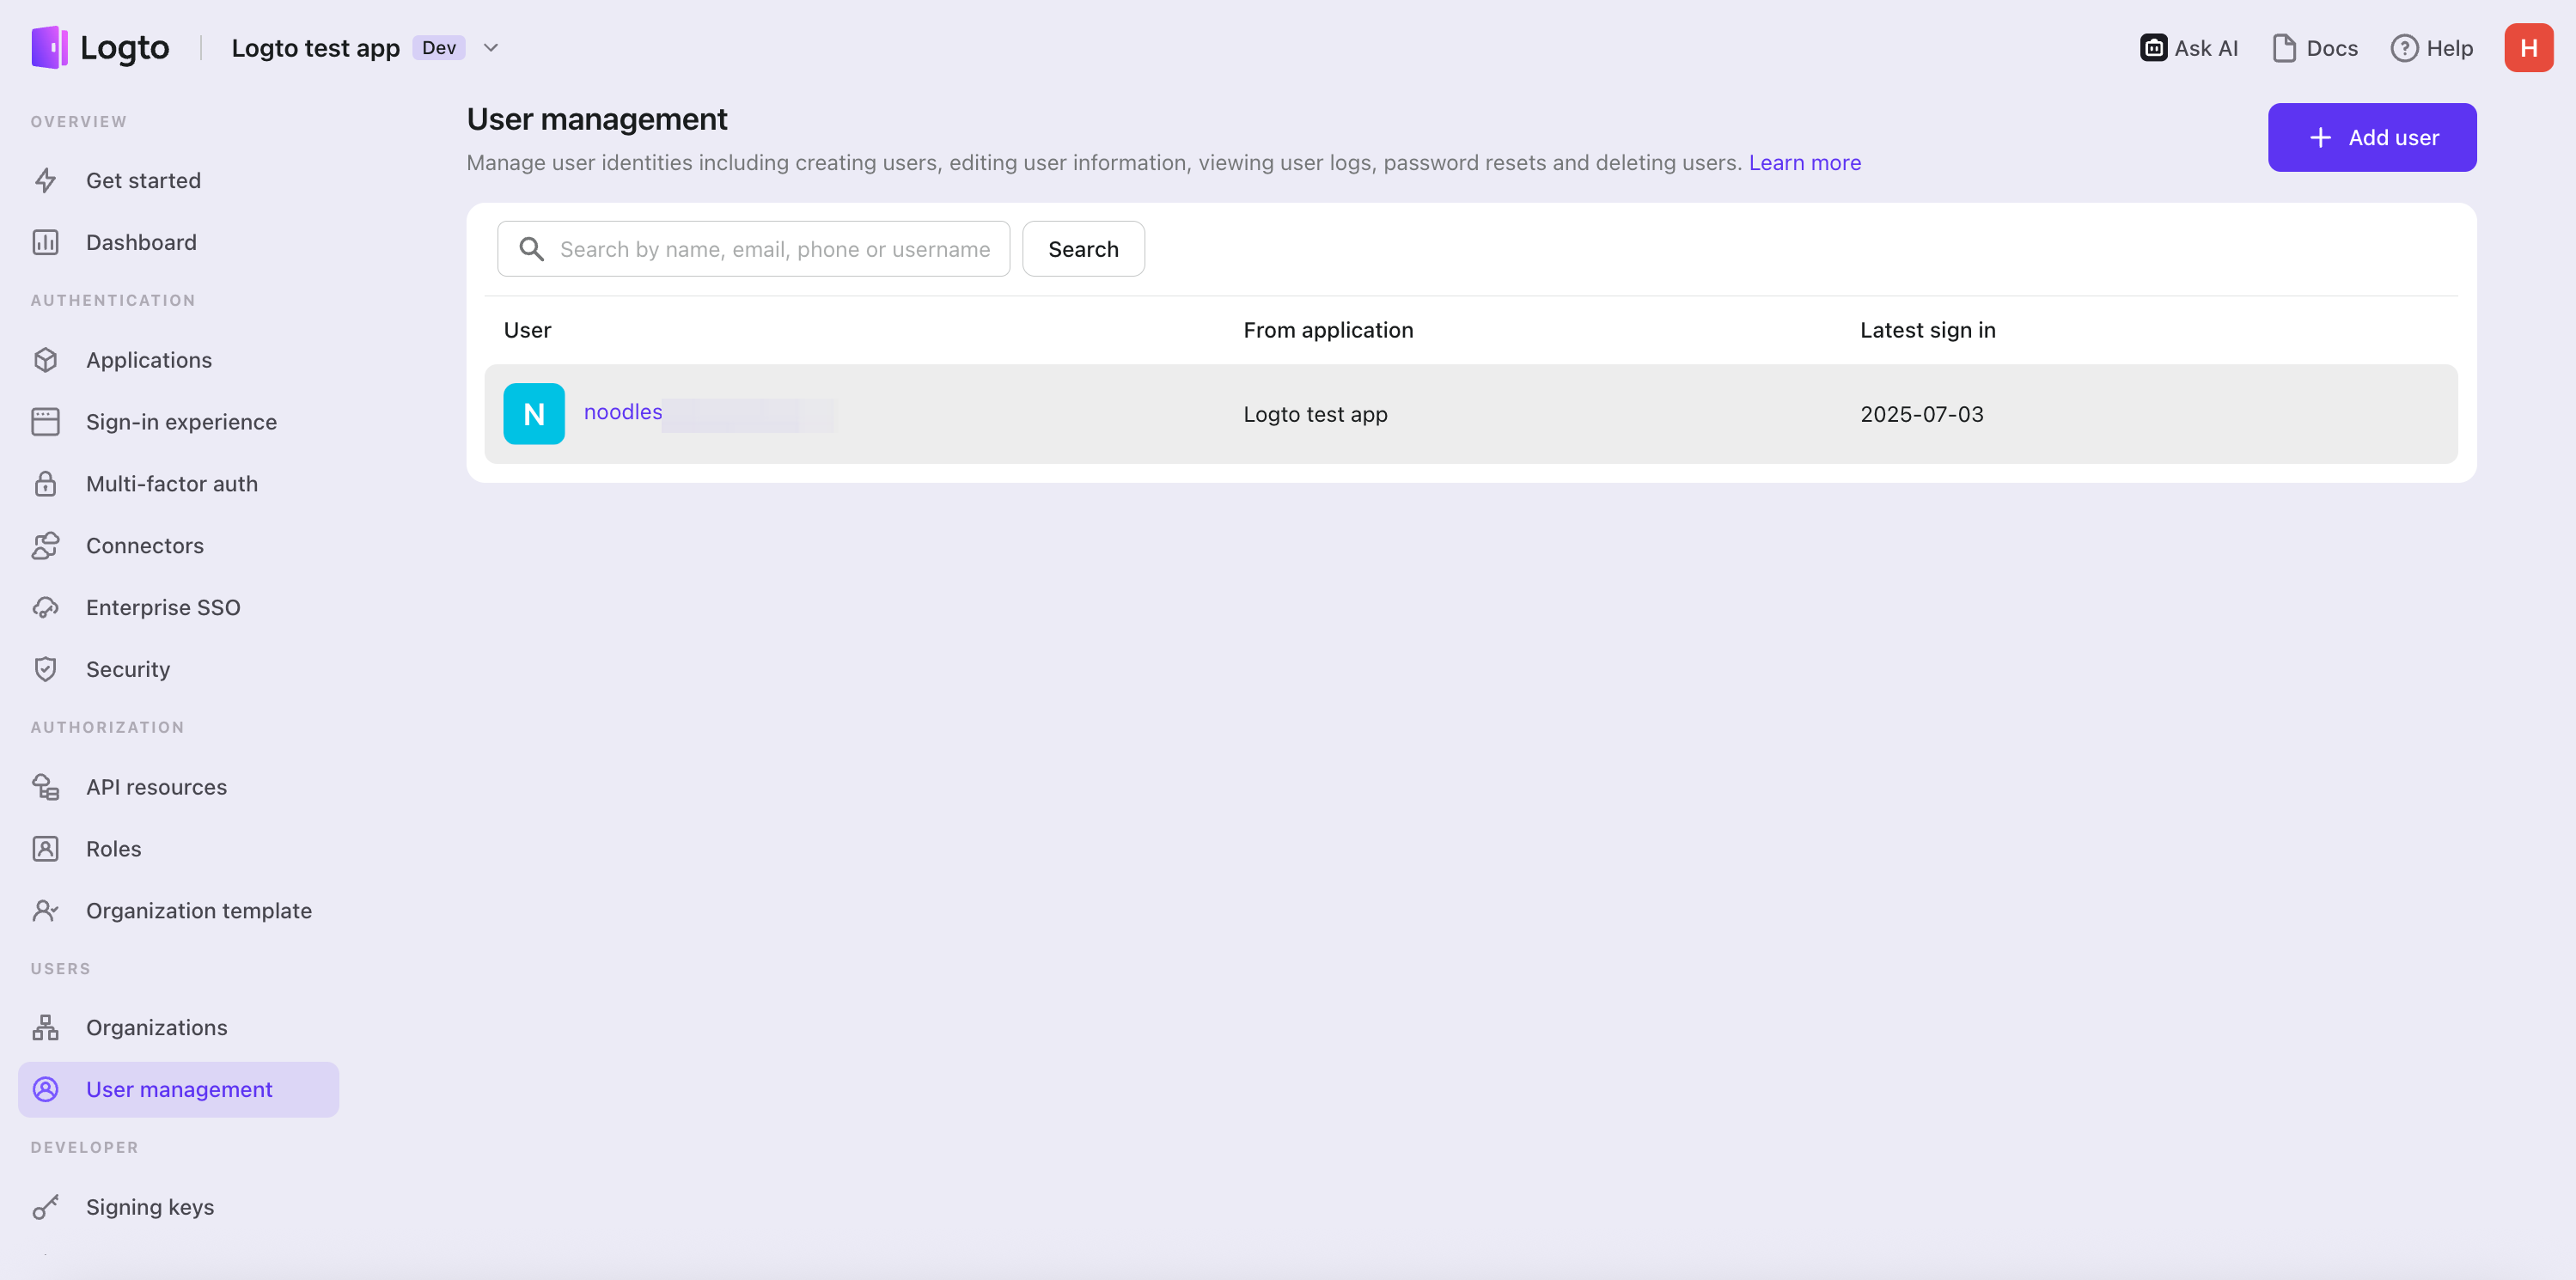
Now let’s check if this user has been added to the Logto Console… Woohoo! It’s there! 🎉
Thanks to Logto’s docs, best practices, and Copilot-style coding, integration is simple even for those with minimal technical experience. Setting up a login flow is no longer a heavy or tedious task.
Future iteration
This is just a small practice example. Logto is actively building MCP servers that run directly inside your IDE, allowing you to interact with the Logto Console and Management API without leaving your development environment. With this, you’ll be able to:
- Create and manage users
- Retrieve logs
- Configure and manage your login flows
- Design and manage authorization (e.g. API resources, permissions, and roles)
- Manage applications and resources
- And much more
Stay tuned, with the power of AI and Logto’s robust infrastructure design, auth integration is no longer a challenge!