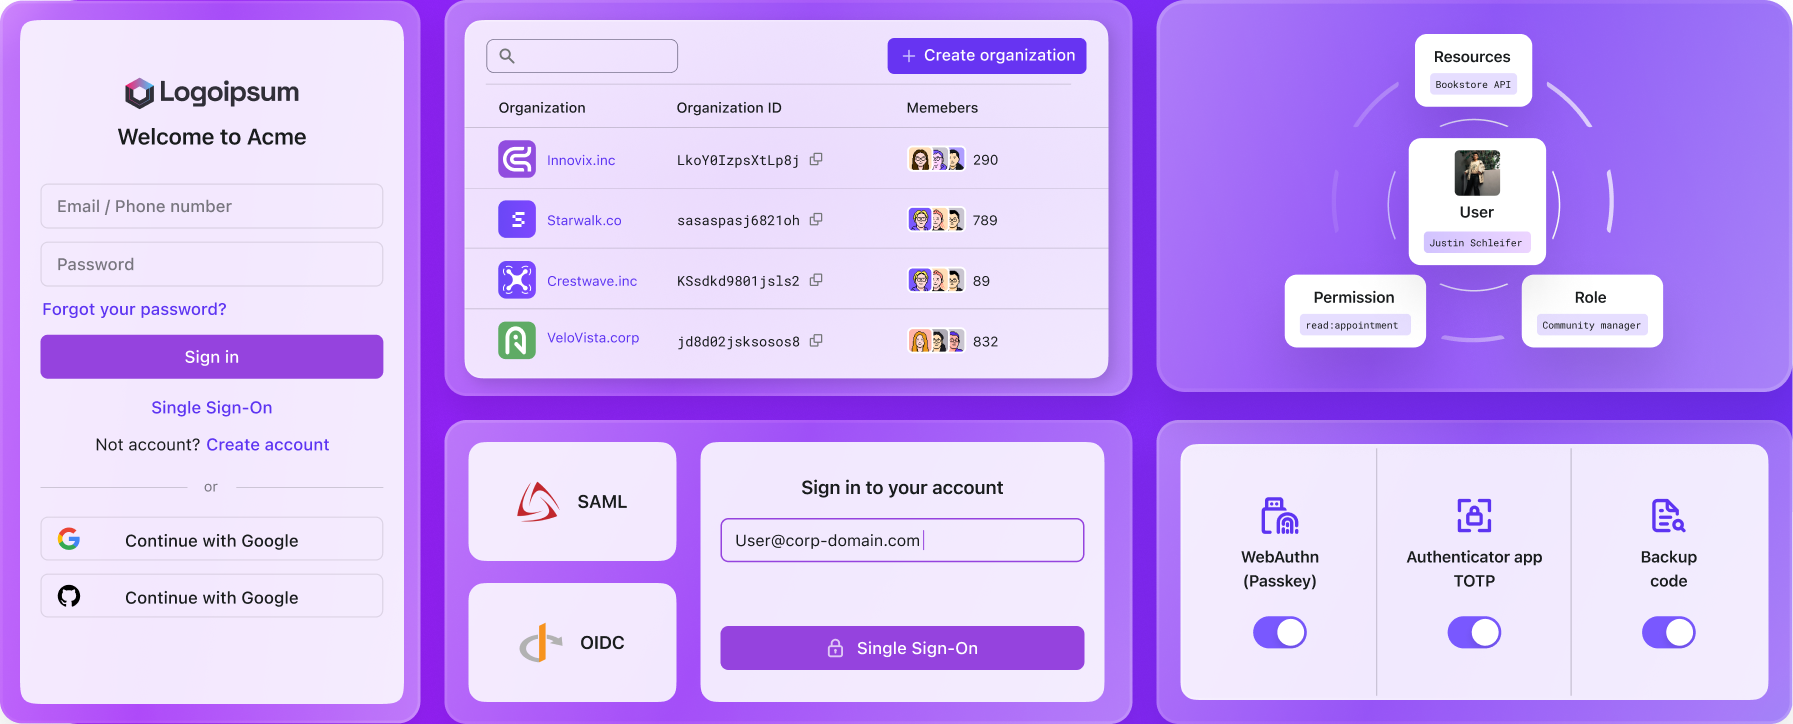
If you are a Logto user, you may find that our company’s website has been refreshed recently.
If you are not, check out the website, logto.io, and guess how many resources we put into making this happen.
You might think, are you guys going to self-promote that it takes a big chunk of work, effort, and careful design just to show your excellence in execution?
No!
On the contrary, we want to show how smartly we leverage tools and methods to improve our product quality and deliver the best products and services to our users.
We received some positive feedback from our community and are wondering how we did that. This round of updates is different because we completely reinvented a new workflow in a fast-moving environment. We would like to introduce our best practices and also take a closer look at our teamwork and collaboration culture.
We are a tech crew focused on providing a wide array of customer identity-related development services and infrastructure work. The pressure to deliver is significant. Meanwhile, we need to support various storytelling and operational tasks, such as building branded marketing websites, writing blogs, promoting our projects, and engaging with our users.
A compelling landing website is crucial as it often forms the first impression your audience has of your product, helping them understand the problems your product aims to solve, including pricing and any notable clients for social proof.
Additionally, it can fulfill multiple business objectives:
Showcase your product's brand and value proposition.
Generate leads.
Act as a content hub, especially important for a company focused on product-led or developer-led growth.
Provide a place to optimize SEO, acquire users, and track regular traffic.
In my previous job, I was ever involved in a website project. Let's look at what a typical workflow entails:
First, product marketing managers and product managers define the content and requirements.
Product designers and a UX writer refine the content.
We transition the work-in-progress, usually a low-fidelity version, to visual and branding designers for final touches before production.
Engineers and product managers then begin implementation, focusing on animation and responsive web design.
This process is tedious and involves many people and stakeholders, making it unsuitable for a fast-moving environment.
Even if we initially have only two people maintaining this—a product designer and an engineer—the tasks of managing web performance, uploading images, ensuring responsive design, handling image formats, and updating content still require a lot of back-and-forth communication.
This workflow is inefficient. I constantly think about how to free up engineering resources to focus on core product work while I manage the rest.
Using tools to enhance productivity is a key philosophy of our team. Therefore, I have started researching tools that can help streamline these processes.
To develop a successful SaaS marketing website, let's break down the essential elements needed:
Content: The foundation of any marketing site is knowing exactly what to display. This requires a deep understanding of your target customers, their typical use cases, and your product's value proposition. No tool can substitute for this understanding. Fortunately, my involvement in product design and go-to-market strategies means I'm well-equipped to create content that meets users' needs.
Design: The site should have a polished and sleek visual appeal. My background in UX/product design, though not as extensive as that of a dedicated creative designer, equips me to handle this aspect competently.
Engineering: Key technical considerations include hosting the site, ensuring responsive design, and enabling smooth micro-interactions. It's also crucial to integrate the site seamlessly with other components, such as link redirections and the product’s authentication page.
Having conducted some research, here is the toolkit I plan to use for the design aspects:
ChatGPT 3.5, ChatGPT 4.0, Gemini Advanced, Jasper, or similar AI applications for the copilot.
This is to fine-tune and optimize my marketing content and messages. It's important to be clear about the goal and intention behind them. AI is just a copilot, not a decision-maker. Before I write any marketing message, I ask myself a few questions:
Who will read the message?
Do they need some extra context?
What is the key point you want to address in the message?
What do you expect the user to do as a next step?
Is this message intended to educate or drive a specific action?
Does this have the potential to be misleading or exaggerated?
Then I will write an initial draft of the points I want to communicate.
Sometimes AI can introduce words that seem stale or twist your original intention to make it feel logically correct. However, you must reemphasize your intention and stick to your goals. You must establish standards to ensure that the words delivered to the audience are clear, straightforward, concise, and transparent. This is especially important in our product domain, which serves many businesses and developers.
Figma, Framer for interaction and visual design, as well as animation and prototyping
I have a background in design, primarily focused on product design, which involves crafting UI and UX. While designing polished UI isn't a challenge for me, my work isn't as sleek as a professional's. However, with some basic visual design and illustration skills, and by choosing the right tools, you can enhance the quality of your work. I use Framer and Figma in this creative process.
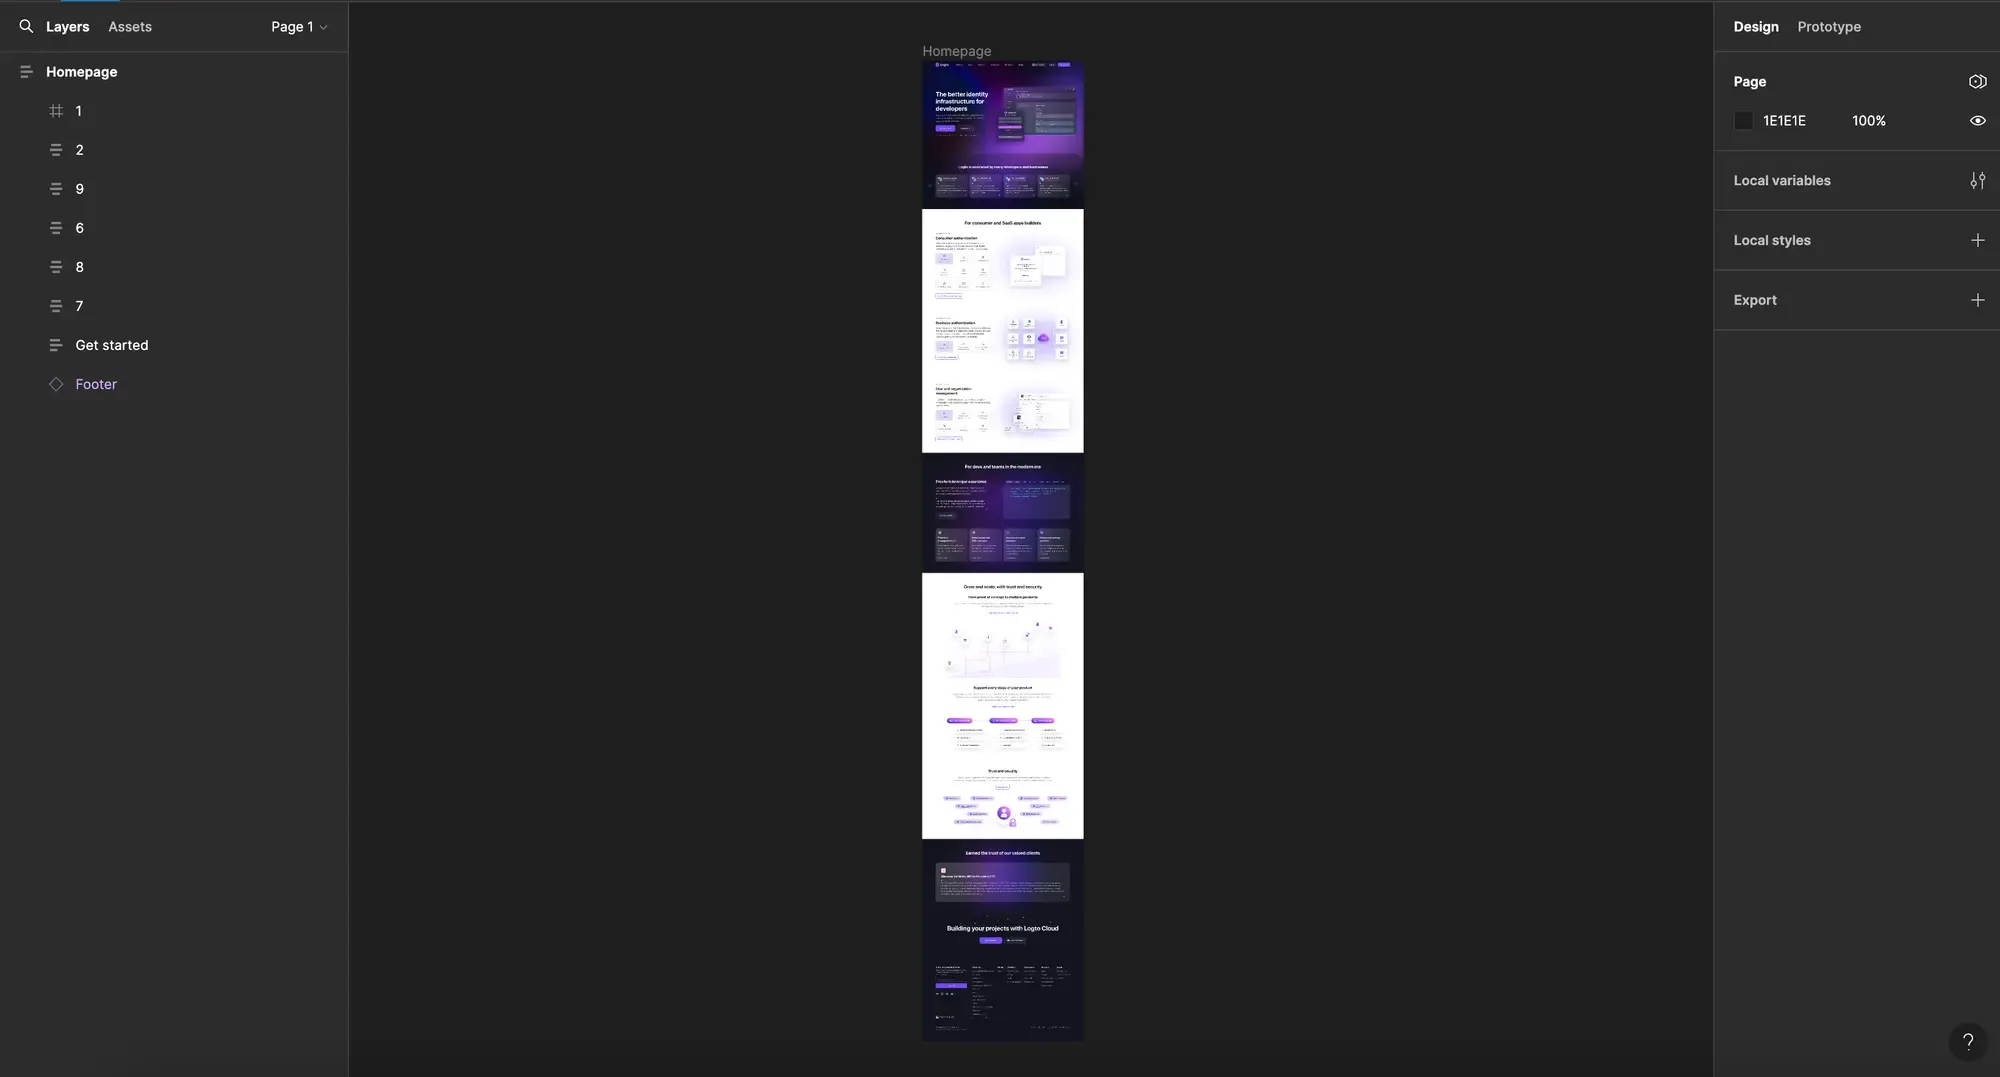
This is our old design, which is completely built by Figma
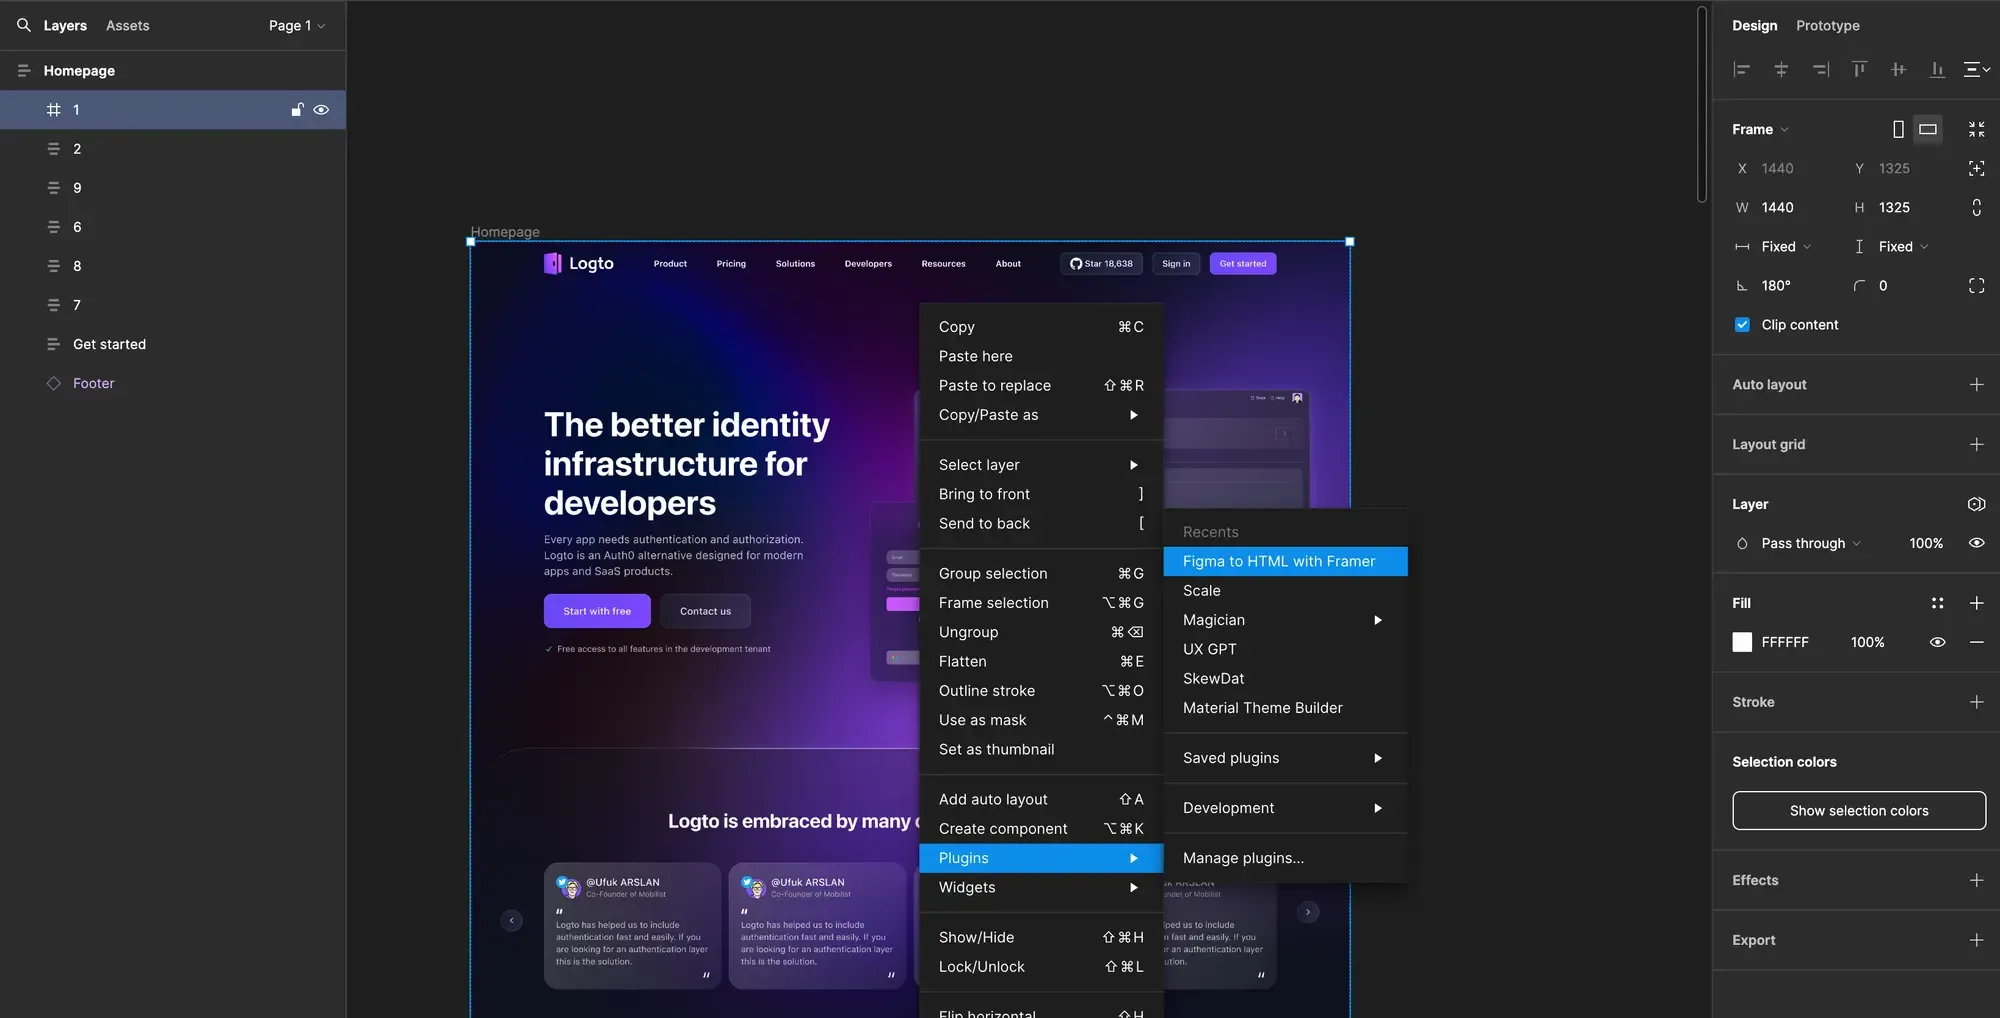
Our original design was created in Figma. I used the official Framer plugin, "Framer to HTML," to copy and paste the basic design into Framer, which provided a good starting point.
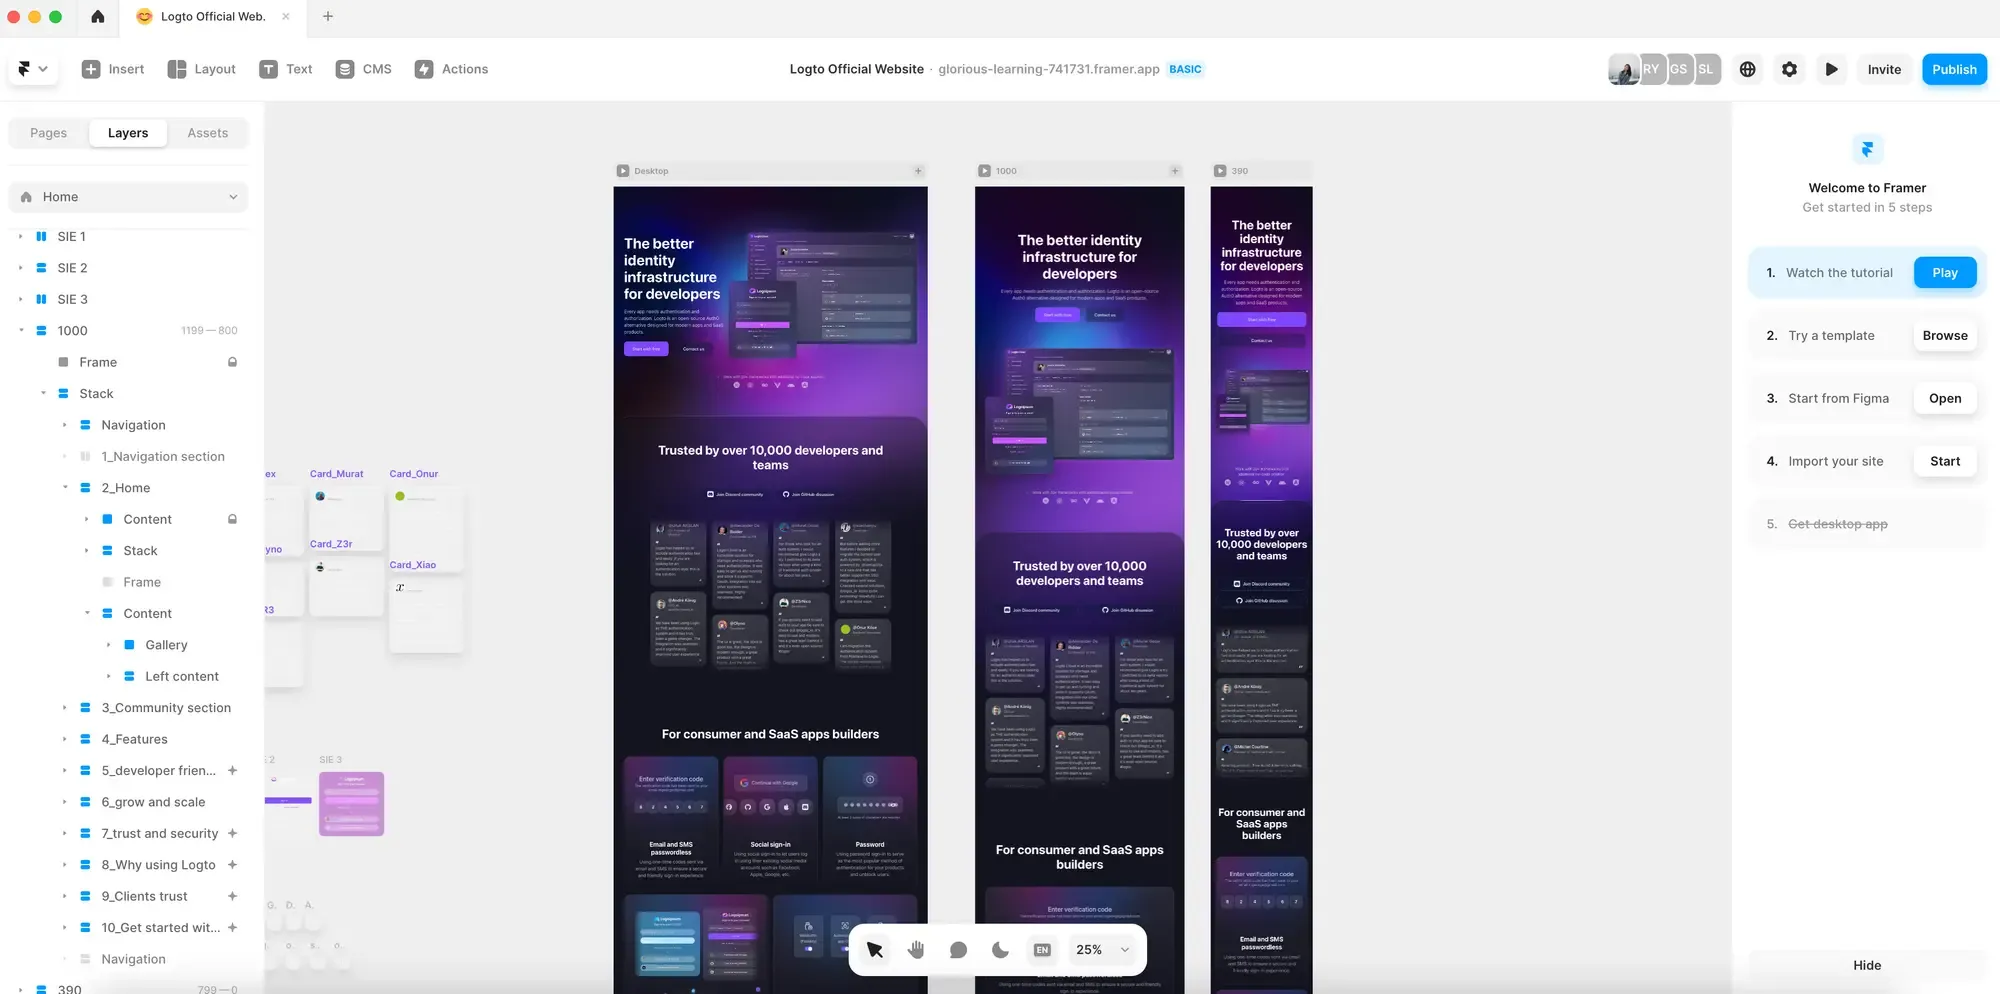
The next step is to design. If you've previously used Figma, transitioning to Framer is a smooth process since the overall user experience is quite similar. I’m going to highlight a few interesting interactions that significantly enhance productivity.
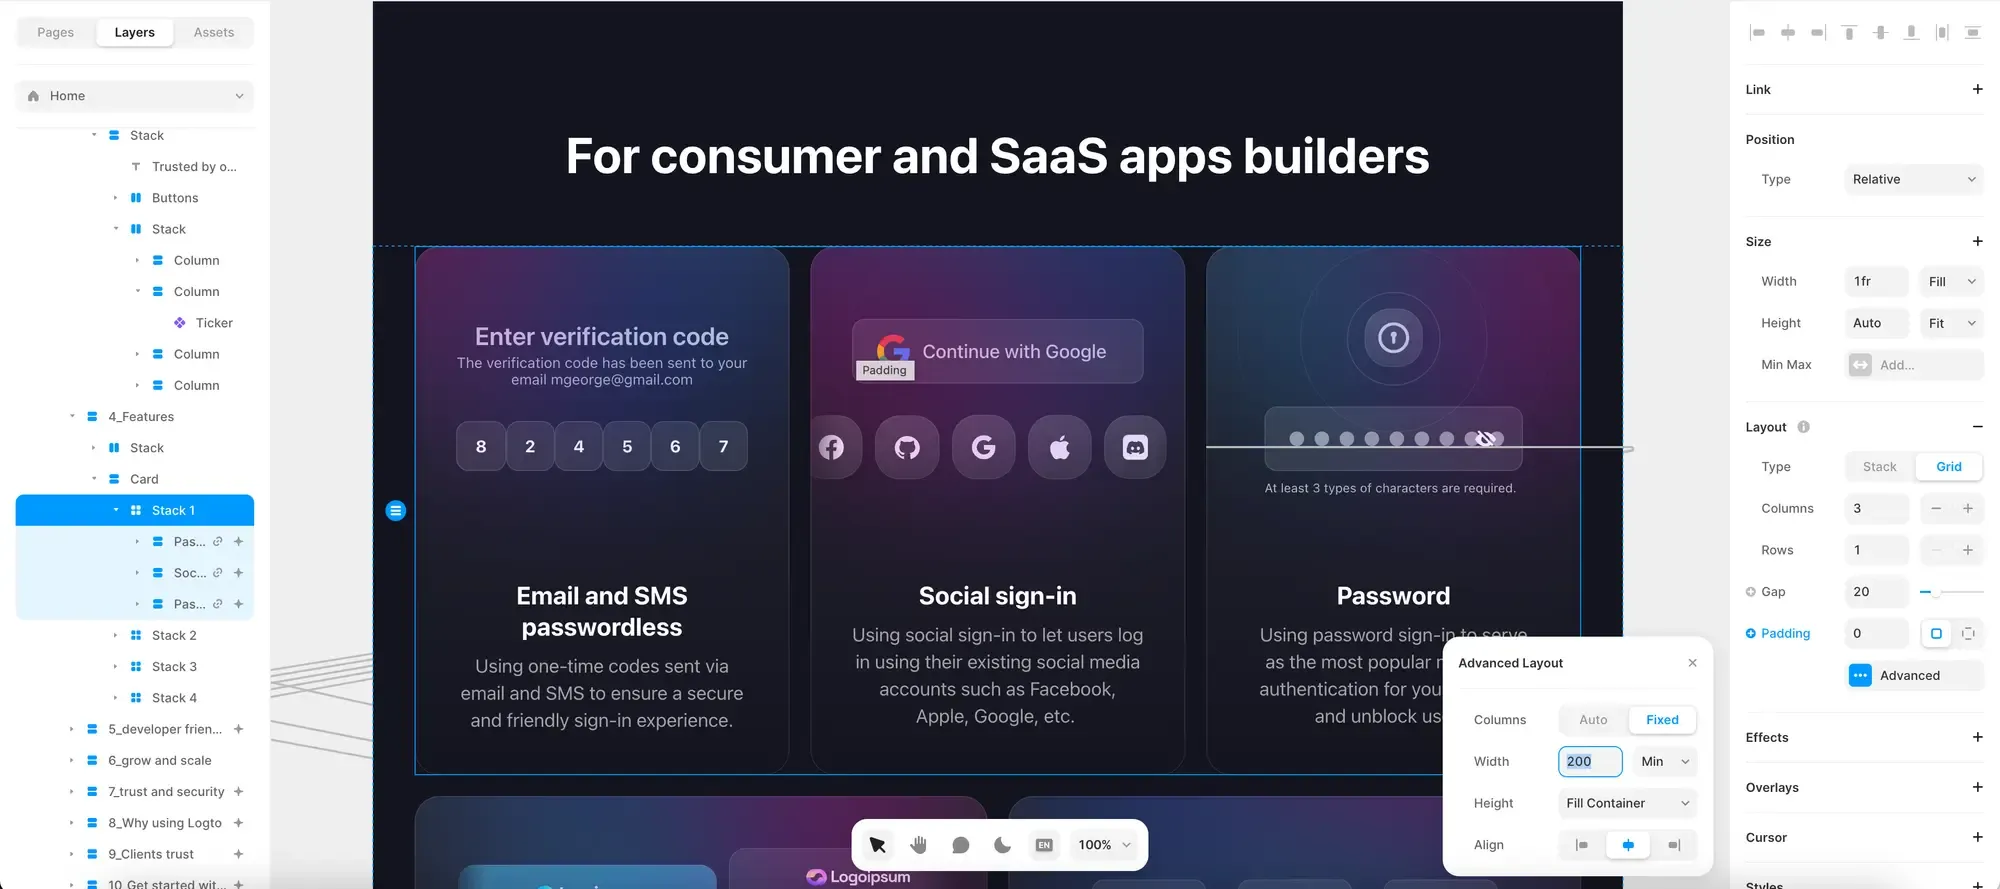
Figma users appreciate auto-layout because it saves a lot of time in laying out and placing elements. However, the layout functions in Framer are even smarter, aligning more closely with a front-end mindset. In Framer, you can choose whether to use a grid or stack layout, define the columns, set a maximum width, and it will automatically wrap to another row if necessary. This functionality enhances the design process by mirroring how elements will behave in a live web environment。
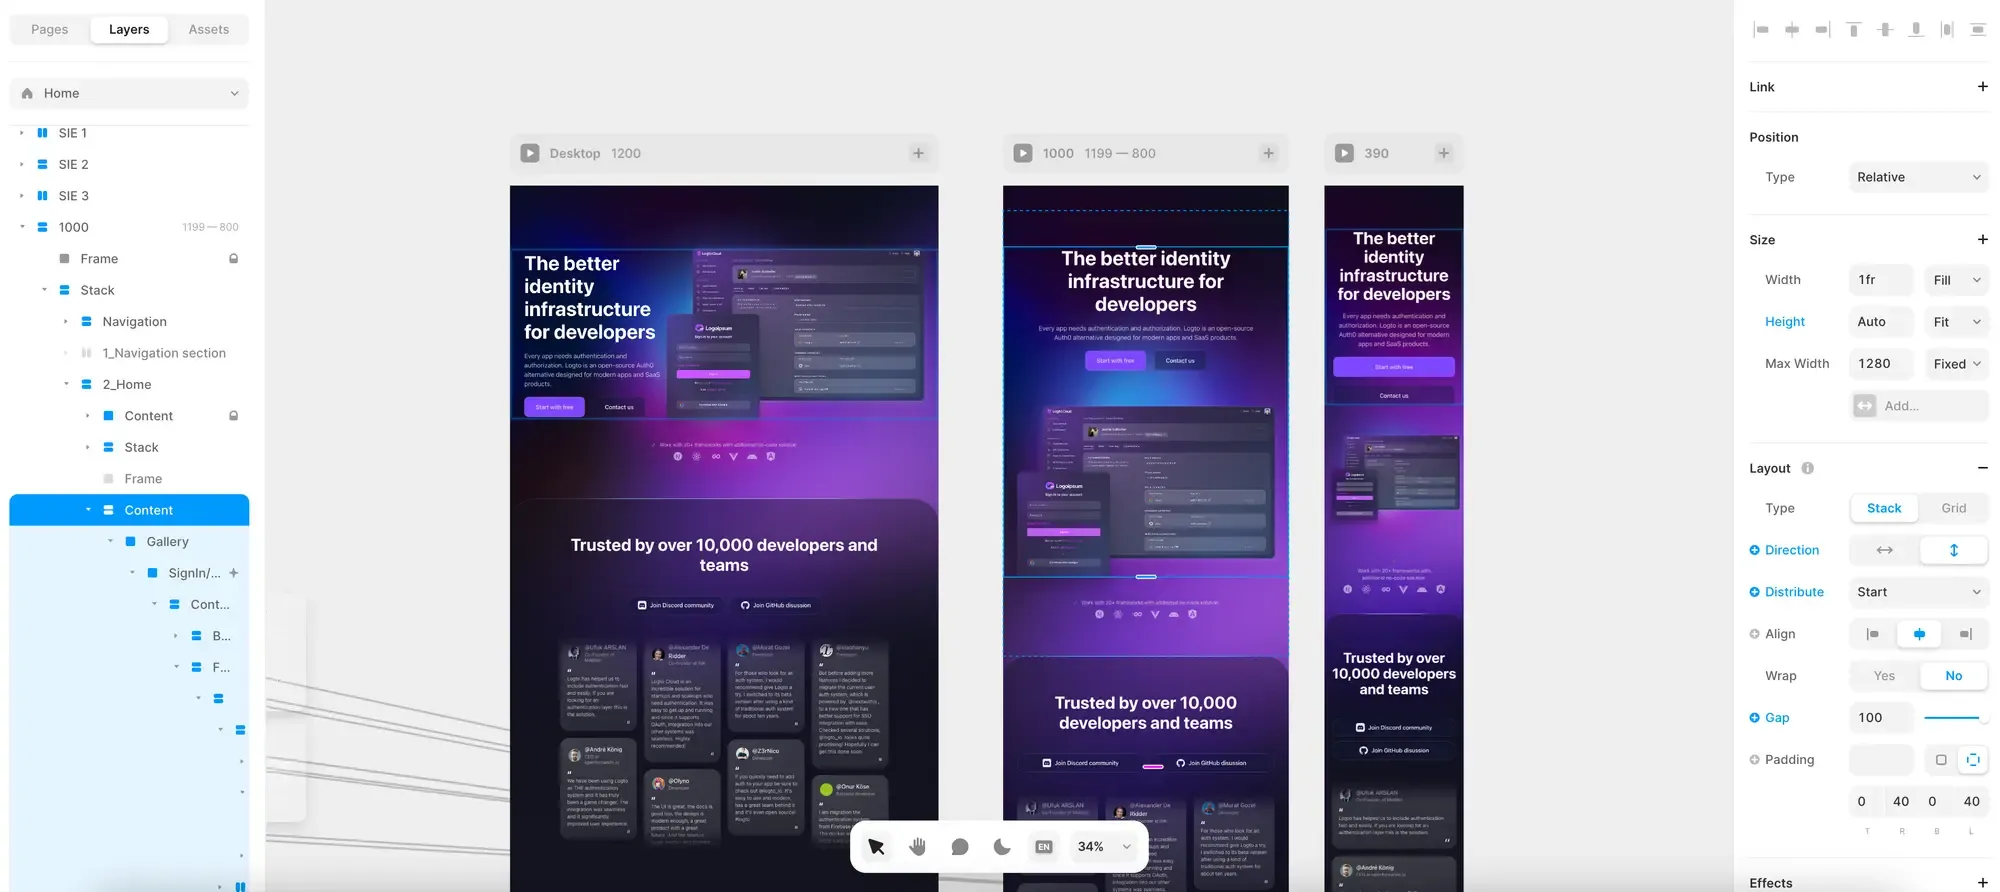
By smartly relying on setting up breakpoints and width settings (such as fill, fixed, relative, and fit to content) and defining different canvases, you can easily and accurately achieve various responsive designs. This approach allows you to tailor the layout to different screen sizes and devices efficiently.
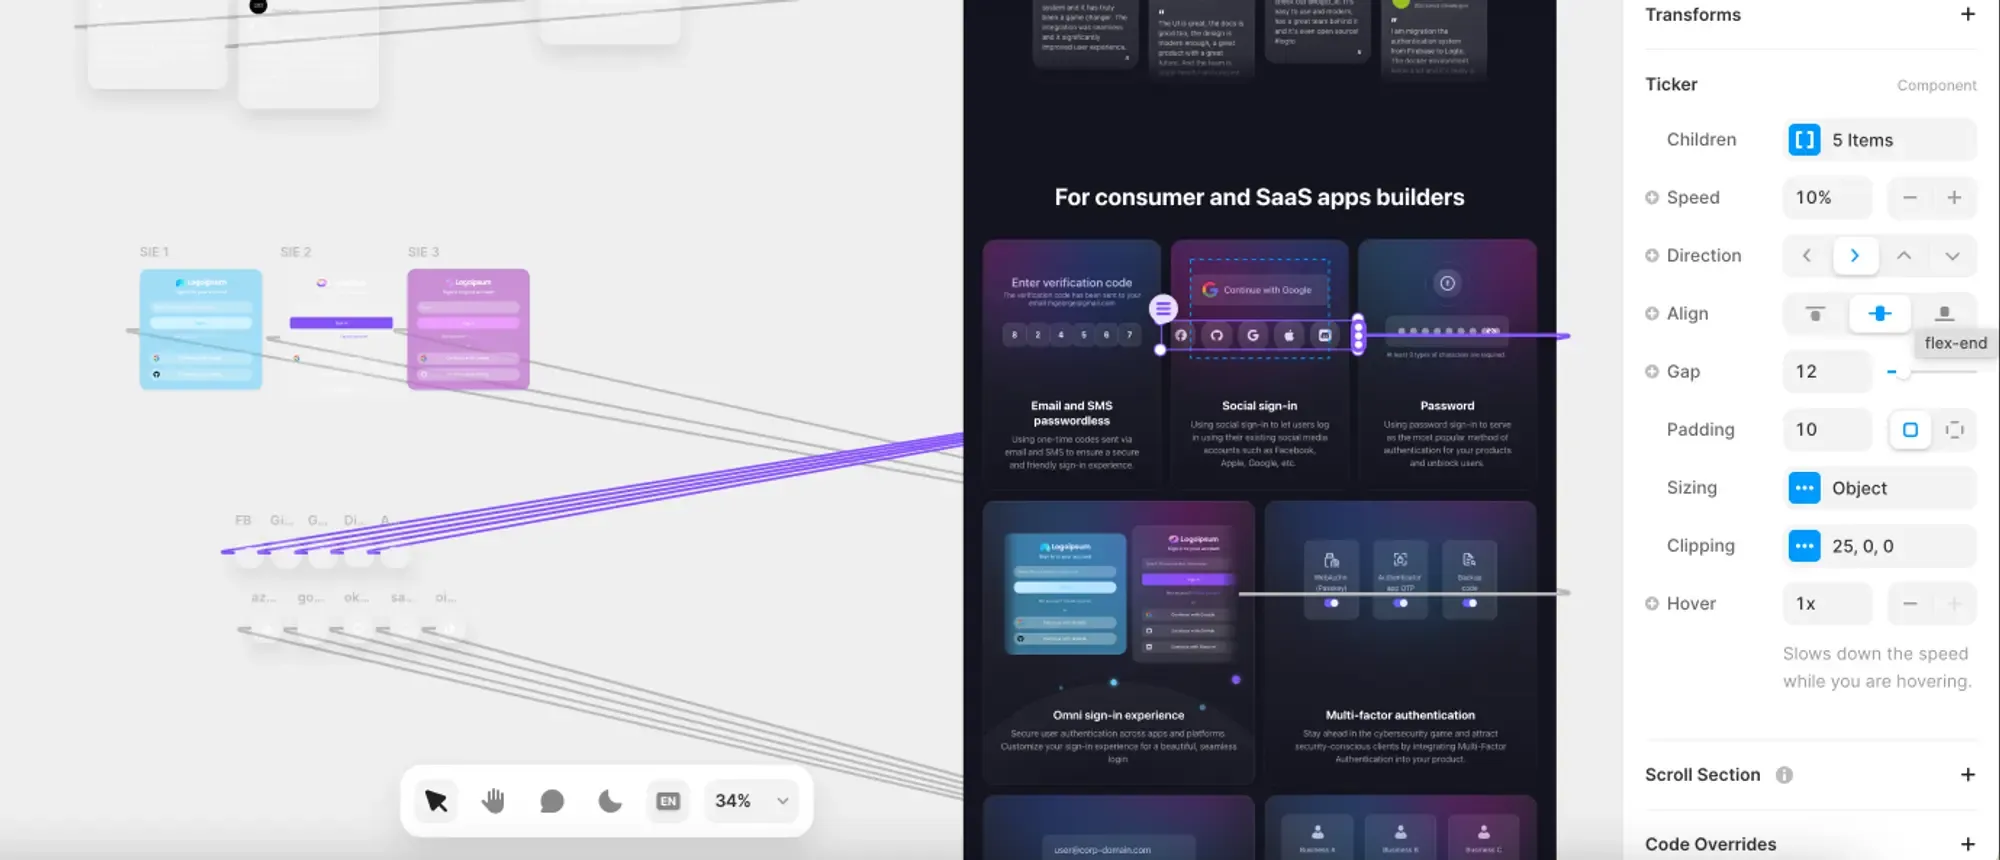
Framer offers a variety of pre-built animations, including a ticker animation that we use extensively on our website to showcase our work. You can set up the component and embed it within this widget. It allows you to define various configurations such as speed, direction, padding, and more, giving you flexibility and control over how the animation behaves on your site.
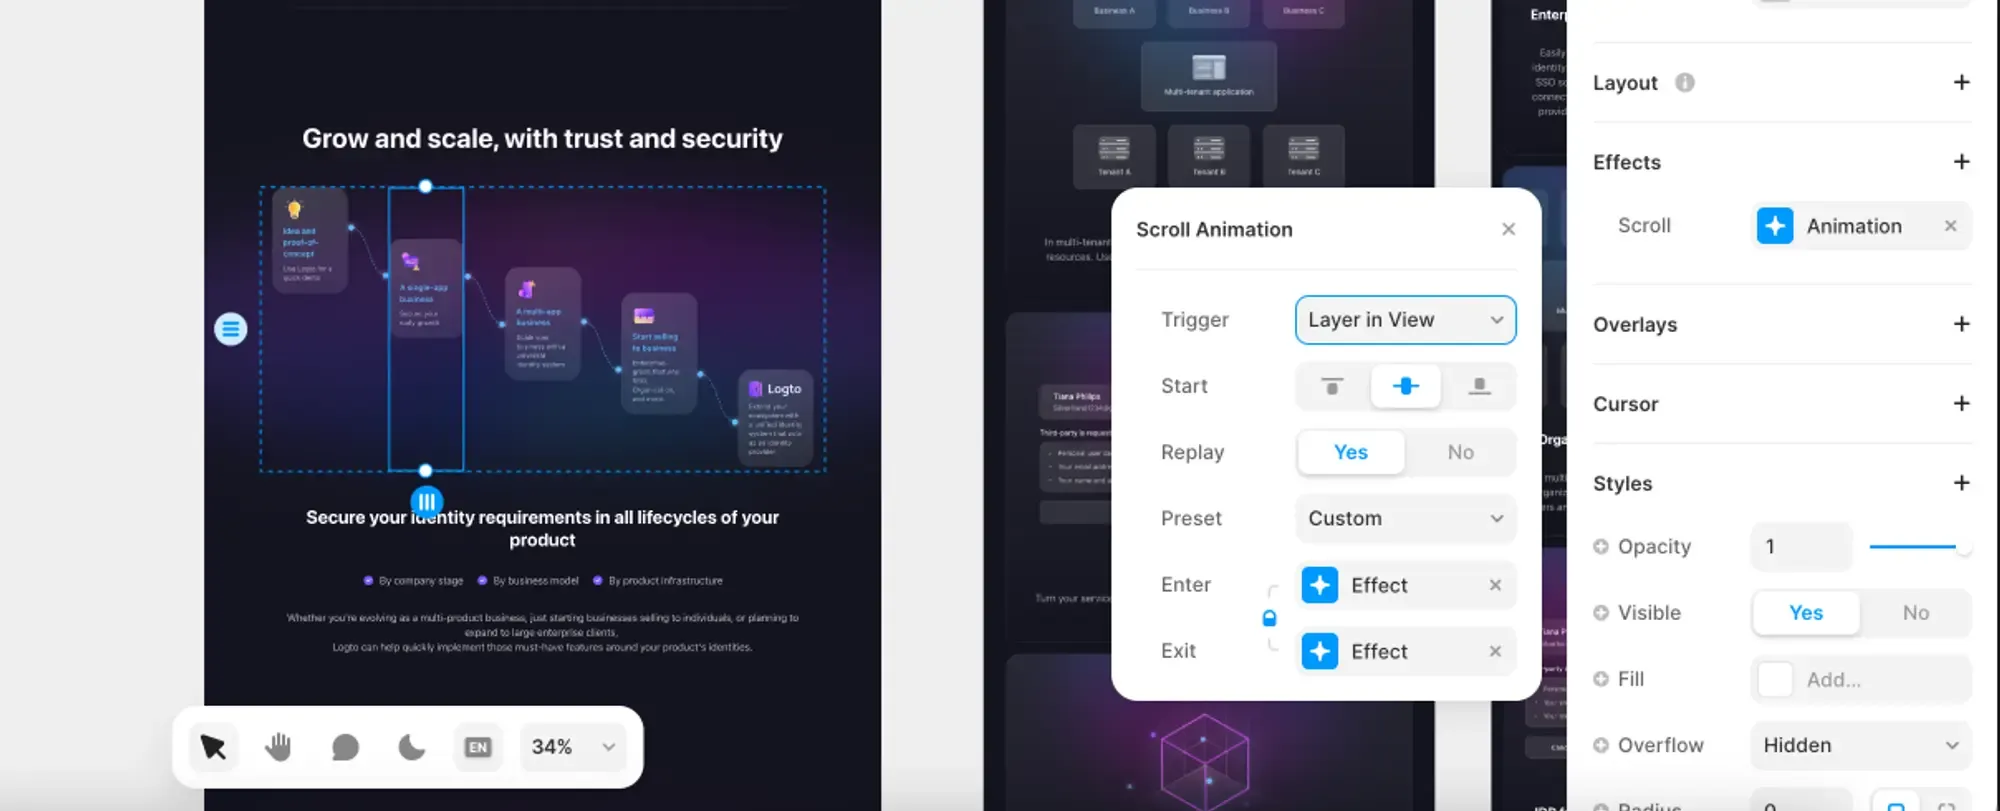
Another useful feature in Framer is the ability to customize scroll animations. For instance, you can specify how items appear as they come into view during scrolling. Setting up your scroll animation allows you to control the timing and style of how elements are displayed, enhancing the user experience and engagement with your content.
Rapidly design multiple landing pages for SEO optimization and marketing campaigns. Speed is a must.
Frequently update content on my own. Your product landing page reflects the latest developments and your current product positioning. Outdated content means missing market opportunities and not staying current with your customer's needs.
In my previous workflow, any time I needed to update content, I had to either ask an engineer to do it or submit a pull request myself. Our engineering team follows a stringent process to ensure code quality, which can be time-consuming and restricts my ability to make quick changes.
Framer has solved this problem for me. Now, whenever I make a change and click publish, it is immediately reflected live in production. This capability has significantly ease the process, allowing for swift updates and greater autonomy in managing content.
Since it is hosted by Framer, there is no need for any implementation or technical work on our part. Our engineers only needed about 10 minutes to integrate it with our rest of our website.
Our current website consists of 20-30 pages; some are developed using Framer, while others are created through traditional software development methods. We are in the process of selecting the best tools to maintain our pages. For instance, for developer documentation, which is challenging to manage with Framer, using a developer-friendly documentation framework to host your content is the optimal choice. Moving forward, we will assess our needs and decide whether to continue hosting on our own or to fully transition to Framer.
We completely transformed our workflow, making the production of marketing sites completely effortless. It's reliable, maintainable, and highly efficient.
I wrote this blog to share best practices. If you have experiences with Framer and designing beautiful websites, I’d love to hear about them. Let’s talk and learn from each other.
Now, it’s time to check out our product! Visit us at logto.io.